
Learning how to use manual ice cream maker equipment is simple if you freeze the canister completely before starting. To achieve a smooth, creamy texture, churn the chilled base consistently for 20 to 30 minutes while keeping the bowl below 32°F. This method suits those who prefer a hands-on approach and have the patience for manual labor.
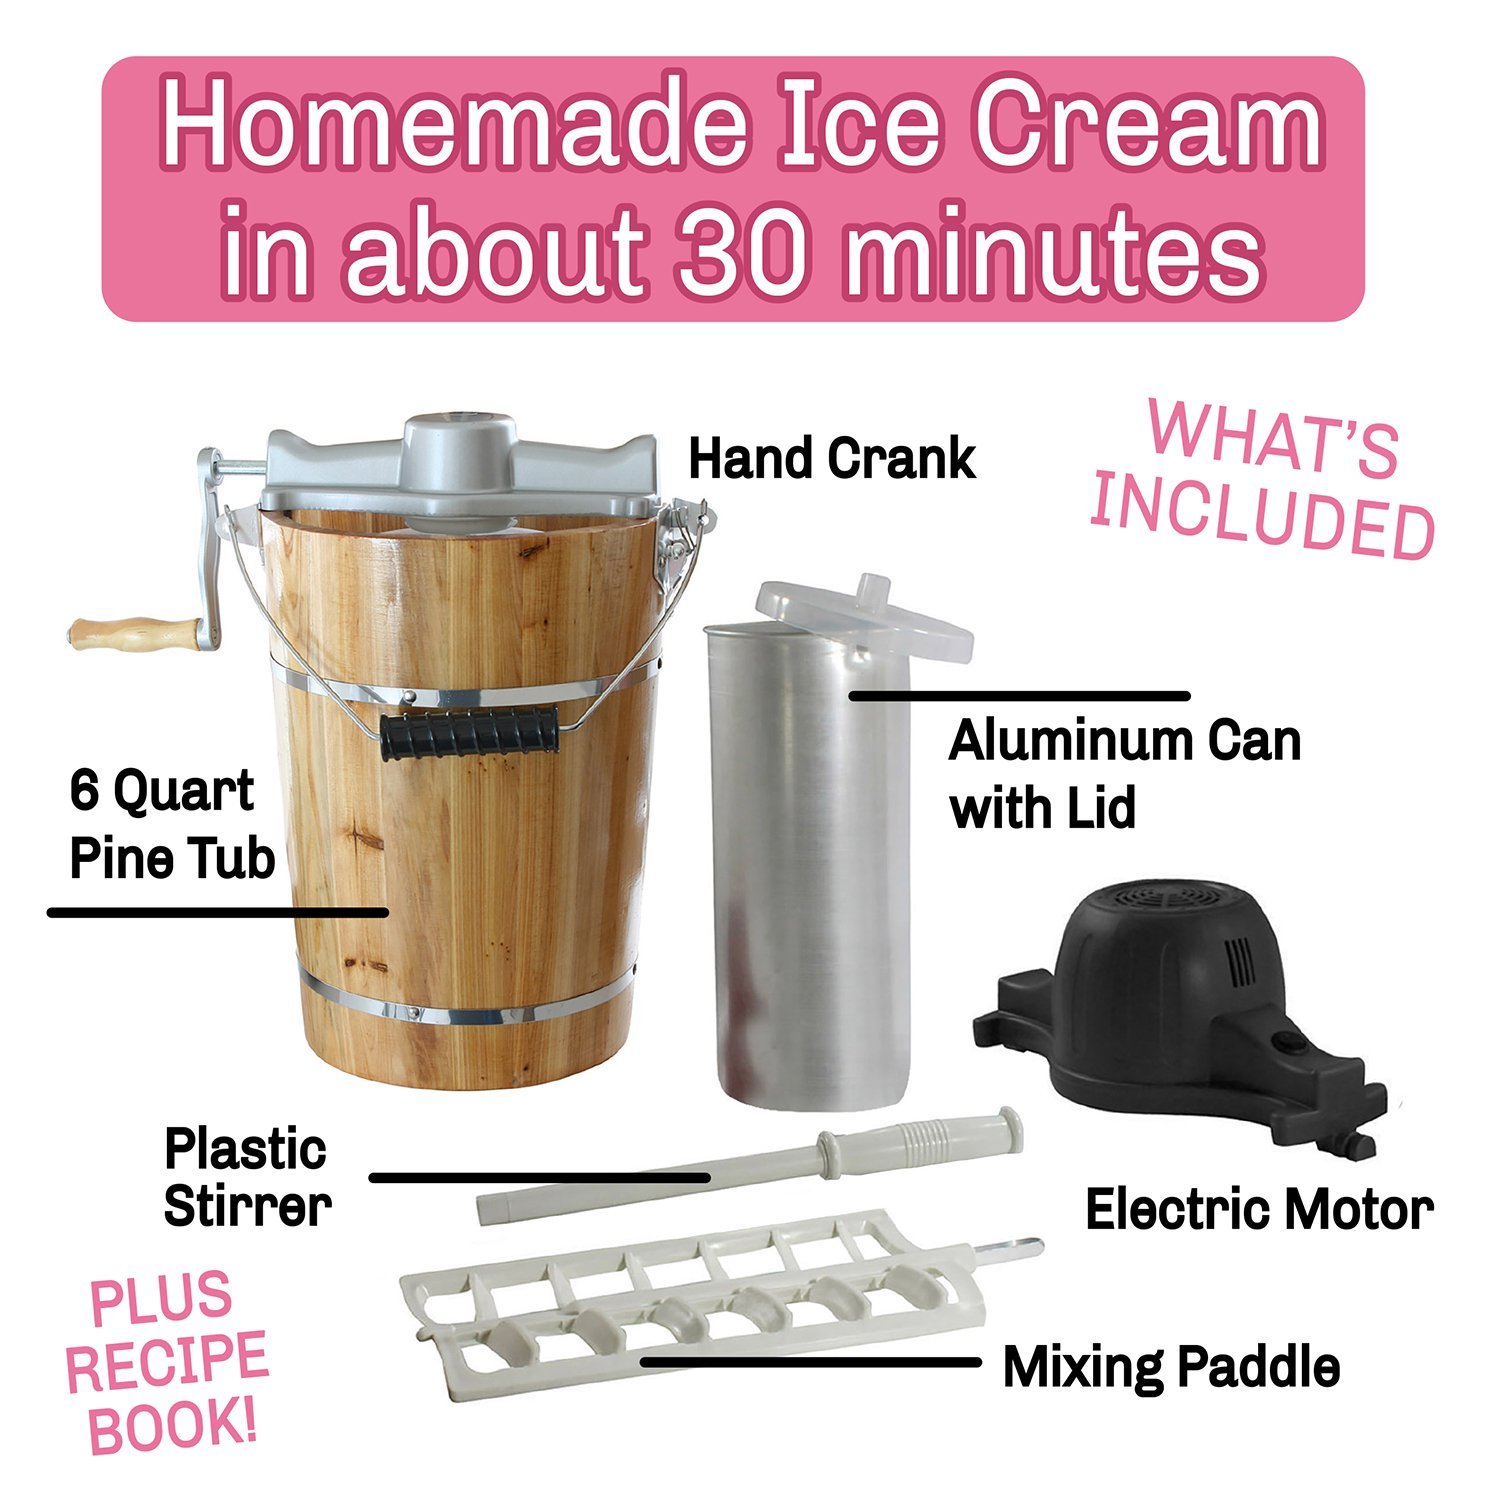
Tools for your manual ice cream maker
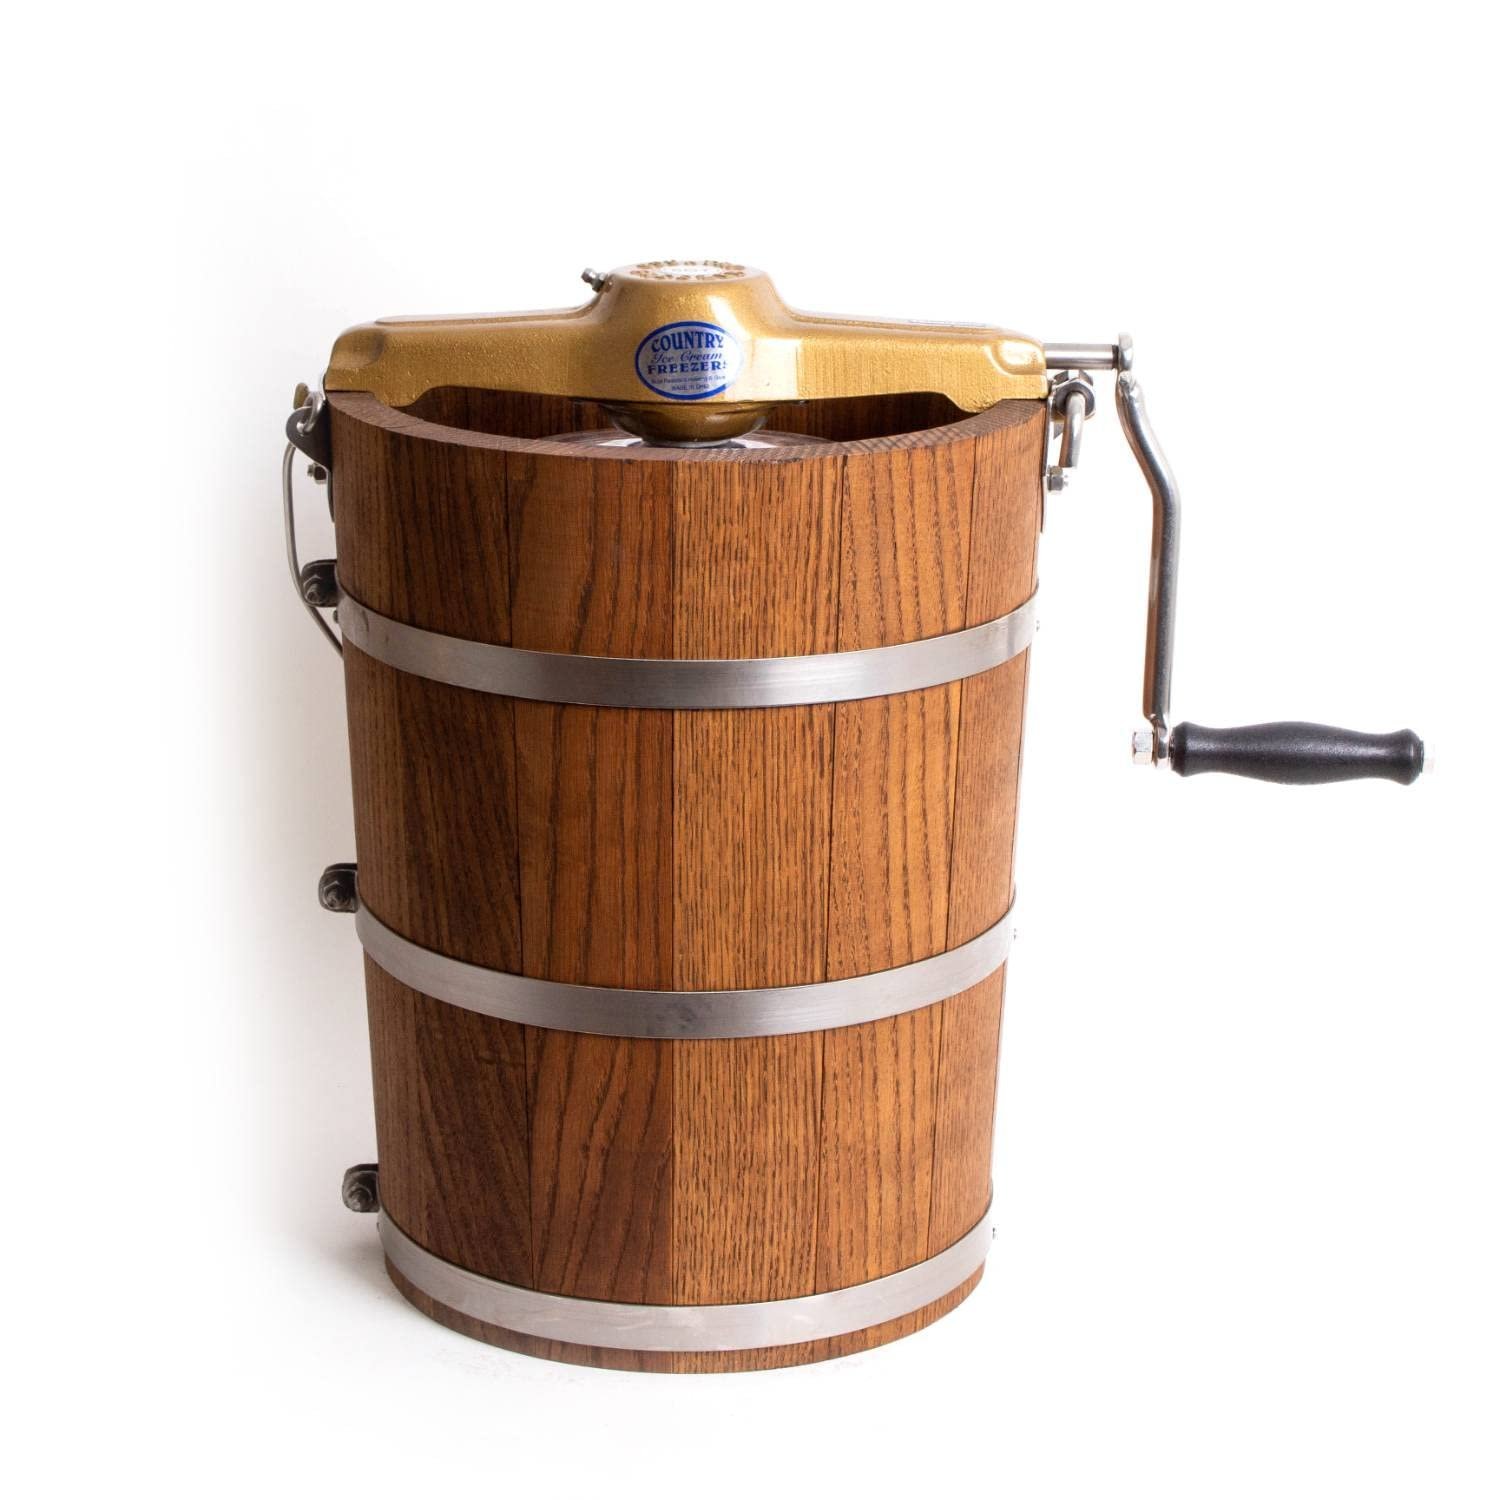
- Manual ice cream canister: Must be pre-frozen for at least 24 hours at 0°F or lower.
- Insulated outer bucket: This holds the ice and rock salt mixture.
- Ice: Use crushed or small cubes to maximize surface area contact.
- Rock salt: Coarse salt is necessary to lower the freezing point of the ice.
- Ice cream base: Chill your liquid mixture to 40°F or below before adding it to the bowl.
- Kitchen thermometer: Use this to verify the base is chilled correctly.
If you’re missing the canister, you can’t make the ice cream, as the bowl must reach sub-zero temperatures. You can substitute sea salt for rock salt, but don’t use fine table salt as it dissolves too quickly to maintain the necessary cooling effect.
How to use manual ice cream maker: Step-by-step
- Freeze your canister for at least 24 hours in a freezer set to 0°F. If you don’t wait this long, the base will remain a liquid soup.
- Prepare your ice cream base and chill it in the refrigerator until it reaches 40°F. According to FoodSafety.gov’s cold food storage charts, keeping your ingredients at this temperature prevents rapid bacterial growth before churning.
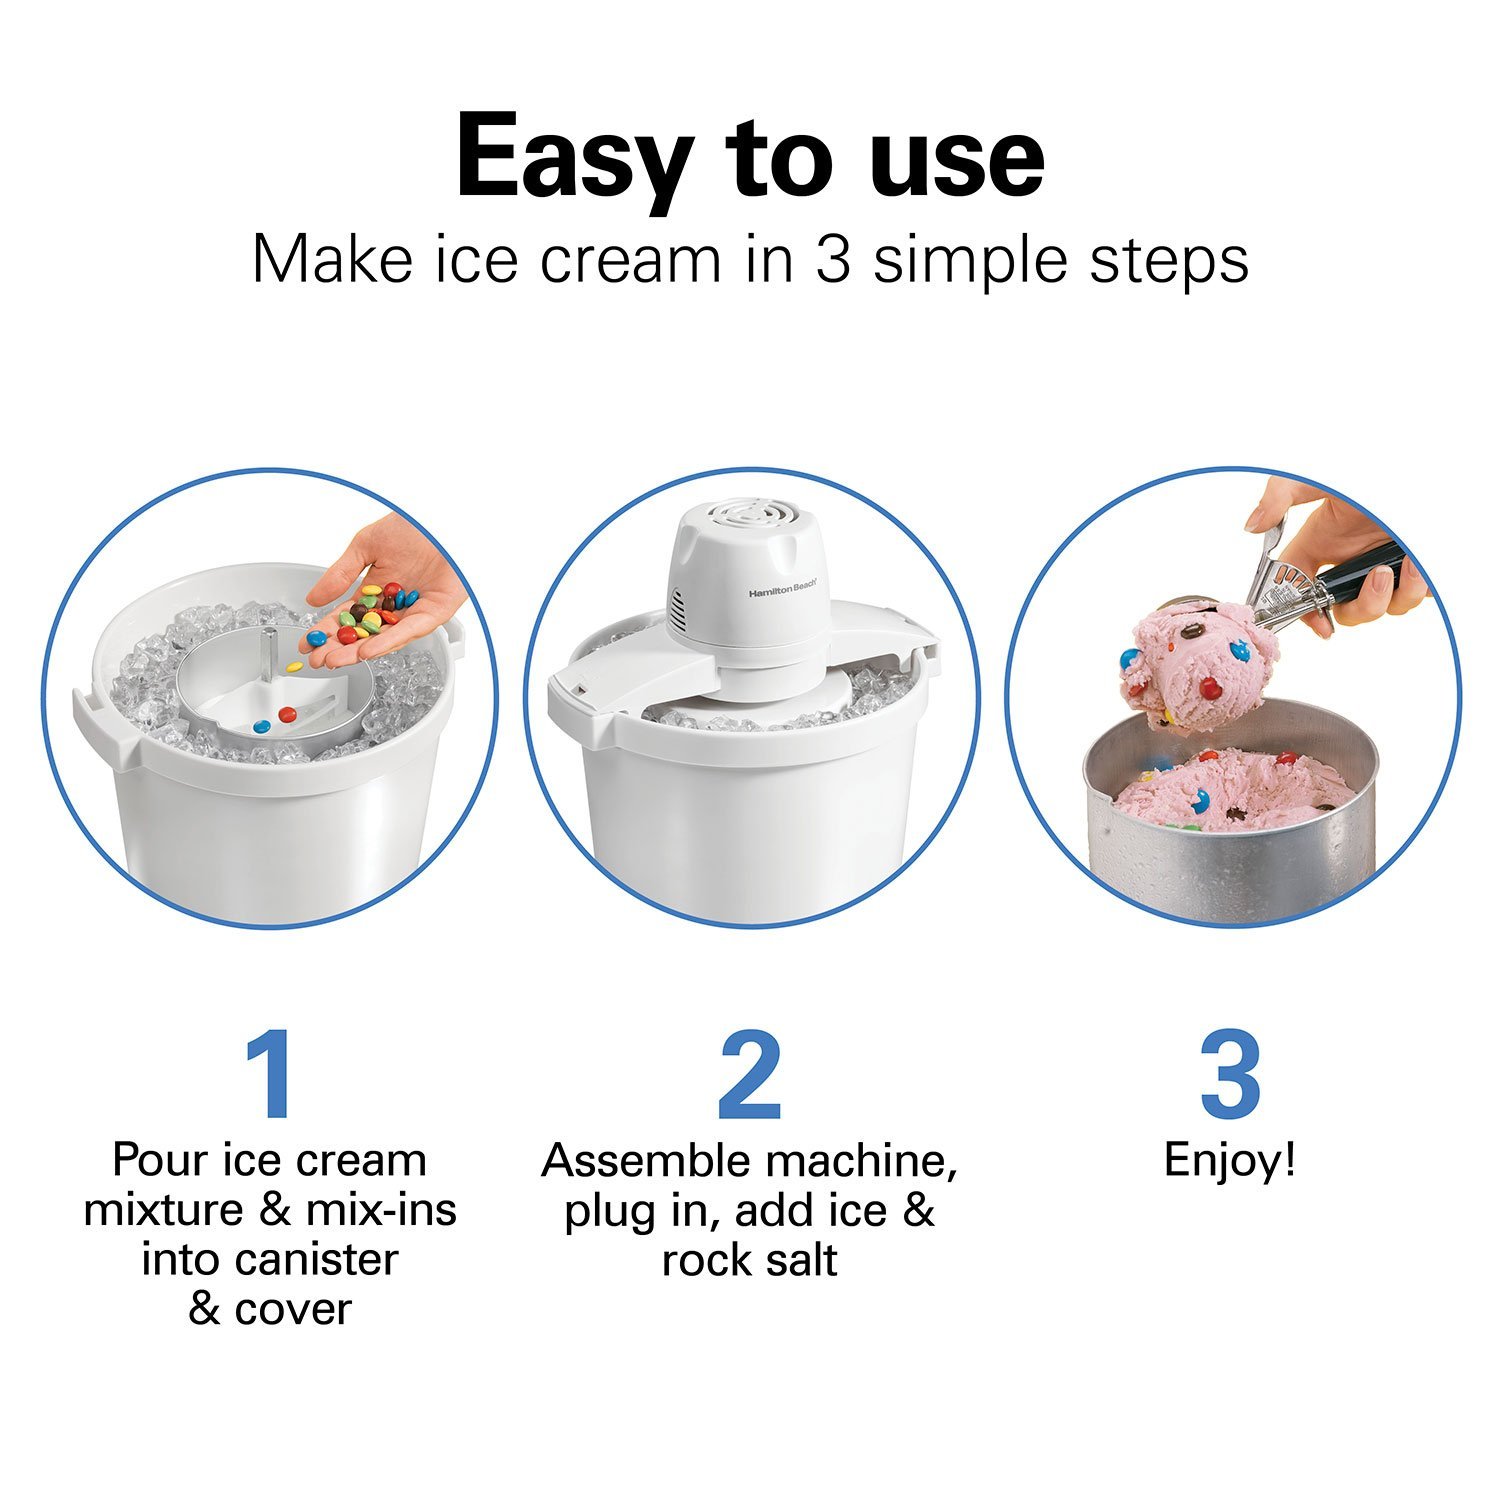
- Assemble the canister inside the bucket and pour in your chilled base, leaving at least two inches of space at the top for expansion.
- Pack the space between the canister and the bucket with a mixture of one part rock salt to three parts ice.
- Turn the handle at a steady, rhythmic pace for 20 to 30 minutes.
Careful:
- Check the resistance of the handle; it should become significantly harder to turn as the mixture thickens.
Tip: If the ice melts, add more salt and ice to keep the temperature low enough to finish the process. 7. Remove the dasher and transfer the soft-serve consistency ice cream to an airtight container.
Efficiency and cooling factors
The time and effort required change based on the amount of base and your ambient room temperature.
It’s always safer to start with a smaller batch to ensure the canister stays cold enough to finish the job.
How to tell you did it right
A successful result is thick, smooth, and holds its shape on a spoon. If your ice cream is gritty or has large ice crystals, the base likely warmed up too much during the process. This usually happens if the canister wasn’t frozen long enough or if the ice-to-salt ratio was incorrect. To prevent this, ensure your canister is bone-dry before freezing and keep your workspace away from direct sunlight or heat sources. Consistent, moderate churning speed is the secret to a professional texture.
Handling and storage standards
Follow the guidelines provided by the USDA for handling dairy products to ensure your frozen treats remain safe. Once the ice cream is finished, store it in the back of your freezer, not the door, to maintain a constant temperature. Homemade ice cream lacks the stabilizers found in commercial brands, so it’s best consumed within one week for the best quality. If you’re unsure about the safety of your ingredients, check the manufacturer’s manual for your specific machine to see if it lists any unique cleaning requirements.
Other ways to do it
Using a salt-free machine
Some modern manual machines use a gel-filled wall rather than ice and salt. This requires less preparation but demands a larger freezer space to accommodate the entire bowl.
The bag-in-bag method
Place your base in a small sealed bag, then put that inside a larger bag filled with ice and salt. This is cheaper but prone to leaks and mess.
Hand-cranked electric hybrid
If you get tired of manual churning, some makers allow you to attach an electric motor. This saves your arms but increases the cost and noise level during operation.
Frequently asked questions
Can I add fruit to the ice cream?
Yes, add fruit during the final five minutes of churning. Add fruit during the final minutes of churning to ensure even distribution.
Why is my ice cream still liquid?
The bowl was likely not cold enough. You must ensure your freezer is at 0°F and the canister has been inside for at least 24 hours. If the bowl feels warm, it can’t freeze the base.
Is it safe to use raw eggs?
No, raw eggs can carry salmonella. Use a cooked custard base, heating it to 160°F, or use pasteurized egg products to ensure your ice cream is safe for everyone to consume.
How long does the ice cream last?
It stays good for about seven days in the freezer. After this time, the texture often becomes icy and the flavor begins to degrade due to the lack of commercial-grade preservatives.
What happens if I use too much salt?
Can I refreeze melted ice cream?
No, don’t refreeze melted ice cream. Once the base has reached room temperature, it’s no longer safe to eat, as bacteria can grow rapidly in the dairy mixture while it sits out.
Final Thoughts
Once the mixture reaches a soft-serve consistency, transfer it to an airtight container and let it firm up in the freezer for a few hours. You’ll find that homemade batches taste far better than store-bought options. Don’t hesitate to experiment with fresh berries or crushed cookies during your next kitchen session.
Related guides
