
To operate an automatic ice maker how to use it effectively involves ensuring the water line is connected, the power is on, and the wire signal arm is in the down position. Most units begin producing ice within 24 hours of installation.
Preparing your automatic ice maker
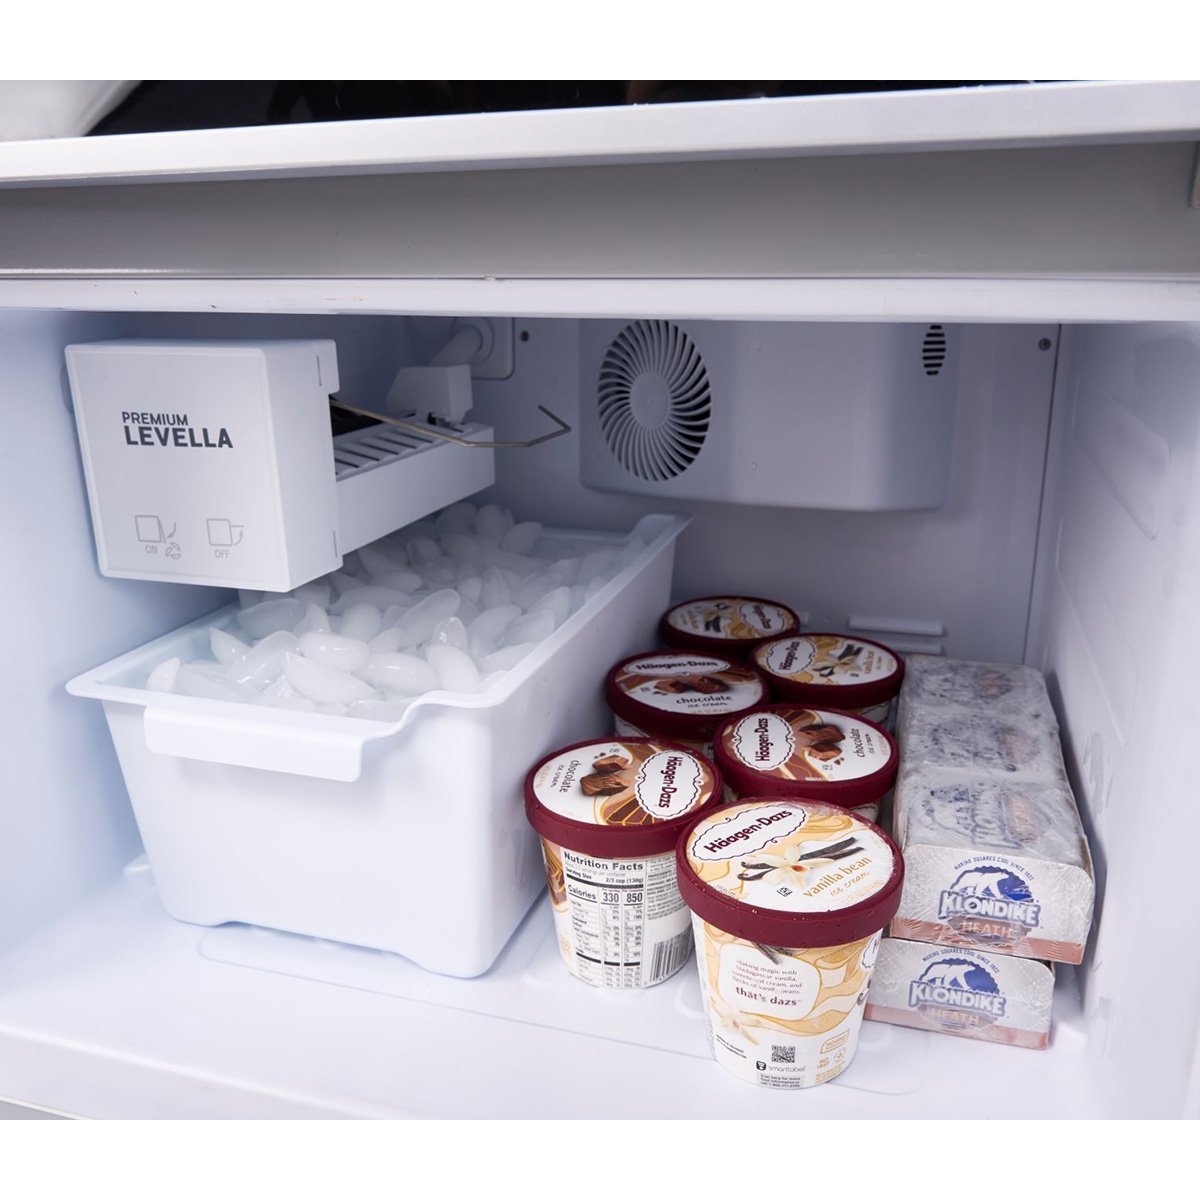
- Water supply line: A quarter-inch copper or plastic tube connected to your home’s cold water pipe.
- Water filter: Most modern fridges require a specific cartridge to remove sediment; check your manual for the exact part number.
- Power source: A grounded electrical outlet that meets the voltage requirements listed on the appliance label.
- Ice bin: The storage container that slides into the freezer cavity.
- Safety gear: Use adjustable wrenches to tighten connections.
If you’re unsure about plumbing, contact a licensed professional, as leaks can cause significant floor damage.
Step-by-step
- Connect the water supply line to the valve at the back of the refrigerator, ensuring the nut is snug but not overtightened.
- Turn on the water shut-off valve slowly to check for leaks at both the wall connection and the refrigerator entry point.
- Plug the refrigerator into the grounded outlet and verify that the control panel shows the ice maker function is set to “On.”
- Lower the wire signal arm or press the “Ice On” button on your digital display to begin the harvest cycle.
- Discard the first three batches of ice produced; this clears any residual dust or debris from the new water lines.
- Verify the bin is pushed fully into place so the sensor detects the ice level correctly.
Tip: If your ice tastes like plastic, check if the water filter is properly seated or if the lines were flushed long enough.
Careful: Never force the wire signal arm upward or downward if you feel resistance, as this can snap the plastic housing. If the arm is stuck, unplug the unit and consult NSF International’s appliance standards to ensure your equipment meets safety requirements for food-grade water contact.
Operational variables
Operating conditions change the speed and quality of your ice production.
| Situation | Time/Cost | Difference | Watch for |
|---|---|---|---|
| First installation | 24 hours | Full cooling cycle | Water line leaks |
| High humidity | Slower | Clumping ice | Frost buildup |
| Low water pressure | Very slow | Small cubes | Valve buzzing |
| Frequent use | Faster | Constant cycling | Bin level sensor |
Always start by setting your freezer temperature to the manufacturer’s recommended level; overshooting this setting by lowering it too far often leads to frozen water lines rather than faster ice production.
How to tell you did it right
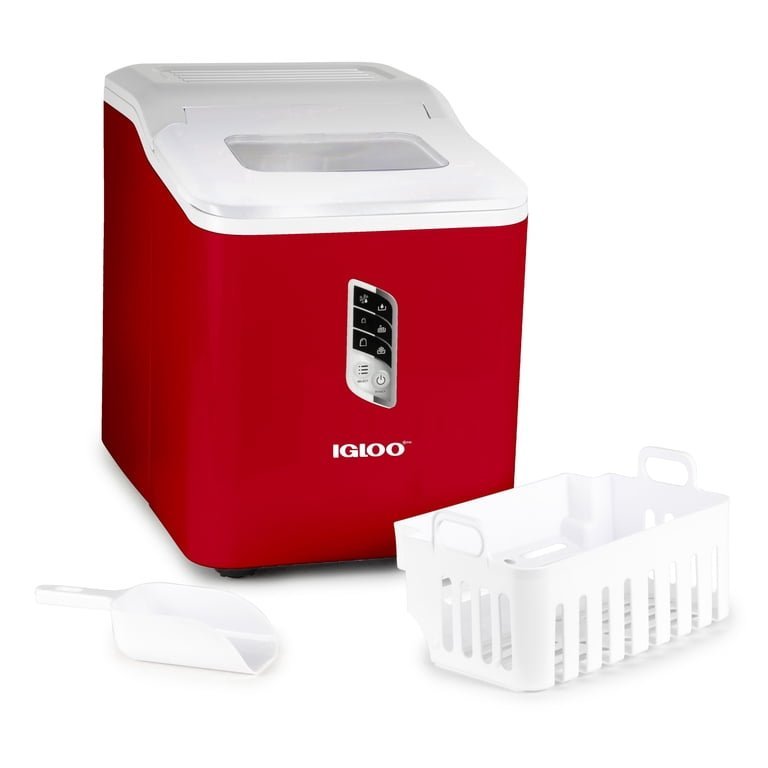
A successful setup produces clear, uniform cubes that fall easily into the bin without sticking together in a solid block. A poor result often manifests as “hollow” or undersized cubes, which usually happens because the water flow is restricted by a clogged filter or a partially closed supply valve. To prevent this, change your water filter regularly and ensure the freezer door seals tightly. If the ice maker stops producing entirely, check that the wire signal arm hasn’t been accidentally bumped into the “Off” position by a bag of frozen food.
Maintenance and safety standards
The primary rule for home ice safety is to keep the storage bin clean and free of stagnant water. Empty the bin and wipe it with a mild soap solution as part of your usual clean to prevent bacterial growth. If you’re leaving for a vacation longer than a week, turn the ice maker off and empty the bin to prevent the ice from absorbing odors from the freezer.
Alternative production methods
Manual Ice Trays
These are the most affordable option and use no electricity or plumbing. While they require effort to fill and crack, they’re the only way to guarantee a consistent supply if your water pressure is too low for an automatic valve.
Countertop Ice Machines
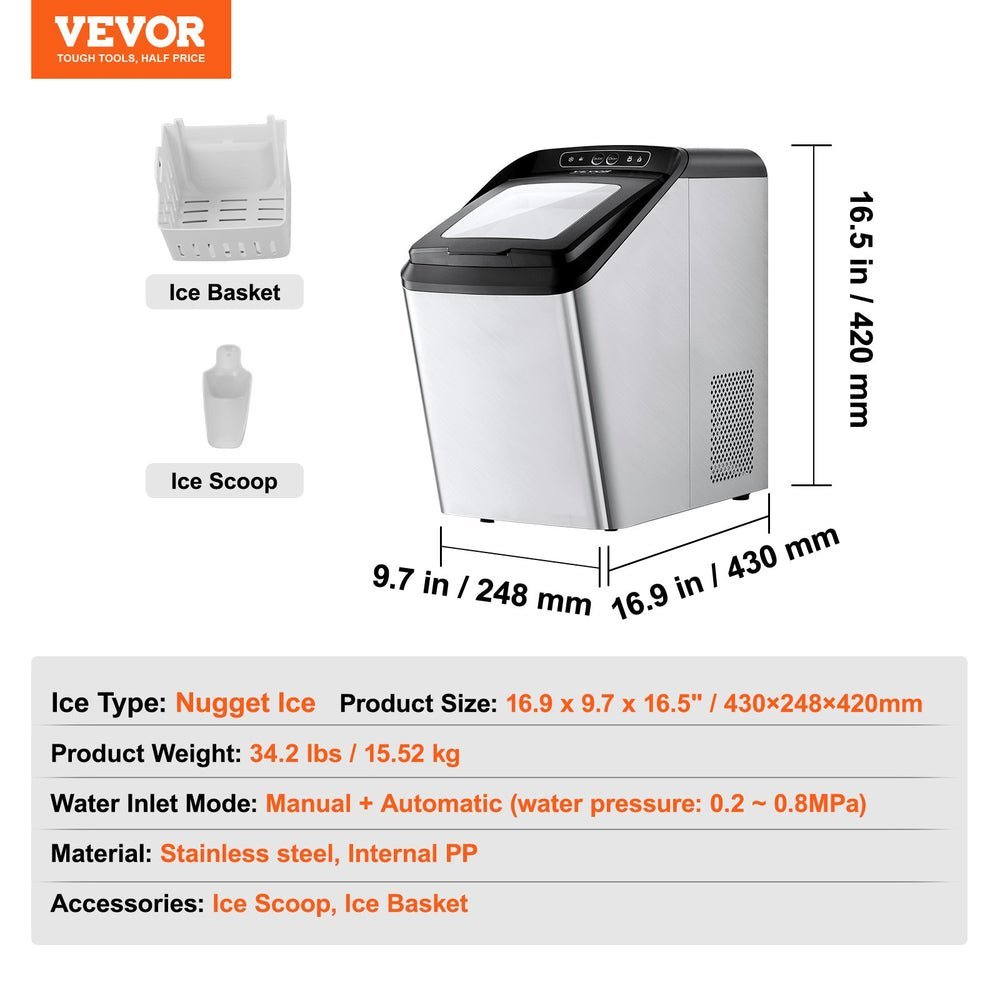
These portable units plug into a standard wall outlet and produce ice in minutes. They’re ideal for offices or temporary use, though they lack a freezer connection and require you to manually move ice to a cold storage area.
Bagged Ice
Buying ice from a local store is the fastest way to get large quantities for events. This removes the need for maintenance or plumbing but creates a recurring cost that adds up quickly over time.
Frequently asked questions
Can I use my ice maker immediately?
No, you must wait about 24 hours for the freezer to reach the correct temperature. Starting the machine before the interior is cold can cause the water valve to malfunction or freeze over, leading to leaks.
Why is my ice maker making a loud noise?
It’s likely the water valve struggling to open or the ejector arm hitting a clump of ice. Check the bin for jammed cubes, then ensure your water pressure meets the minimum requirements stated in your owner’s manual.
How long does an ice maker last?
This varies by model — check your user guide for maintenance schedules and parts availability.
Is it safe to eat the first batch of ice?
No, you should always discard the first two or three batches. These cycles contain air trapped in the new lines and potential manufacturing dust that needs to be flushed out before the ice is safe for consumption.
What happens if the ice maker isn’t level?
If the unit is tilted, the water may spill over the sides of the mold during the fill cycle. This creates a sheet of ice that prevents the harvest arm from turning, which eventually causes the motor to fail.
How do I reset my ice maker?
You can usually reset the system by pressing and holding the “Ice” button for three seconds or by unplugging the refrigerator for one minute. Check your specific model’s manual for the exact reset sequence required.
Final Thoughts
Keep an eye on the bin over the next few days to ensure everything is running smoothly. If you notice any strange noises or the ice tastes a bit off, don’t worry; it’s usually just the system settling in. You’ll be enjoying chilled drinks in no time, so just relax and stay refreshed.
Related guides
