
A countertop ice maker works by pumping water from a reservoir over cold metal evaporator fingers, which freeze the water into small bullet-shaped pieces before dropping them into a basket, and this is how a countertop ice maker how does it work to provide quick ice without a water line.
How the countertop maker does its work
| Part or input | What it does | What you notice when it goes wrong |
|---|---|---|
| Water reservoir | Holds liquid supply | Leakage or low water light |
| Water pump | Moves water to tray | No ice made, humming noise |
| Evaporator fingers | Freezes water into ice | Thin or hollow ice cubes |
| Ice shovel | Moves ice to basket | Jammed mechanism or sensor error |
| Cooling fan | Removes excess heat | Machine gets hot, stops running |
| Control sensor | Detects full ice bin | Machine stops making ice early |
The evaporator fingers are the most common point of failure. If your ice cubes are hollow or fragile, check the temperature of your incoming water.
Listen closely to the water pump. A healthy pump produces a steady, rhythmic hum. If you hear a grinding sound or silence during the fill cycle, the pump is likely clogged with mineral deposits. You can often clear this by running a cycle with a mixture of white vinegar and water.
The control sensor relies on an infrared beam to detect ice levels. If the sensor is dirty, the machine will report a full bin even when it’s empty. Wipe the sensor lenses with a dry microfiber cloth regularly. If the error persists, you must replace the sensor board to restore normal operation.
What happens, step by step
- You pour fresh, cold water into the reservoir up to the fill line, which usually holds about 2 to 3 liters depending on the unit size.
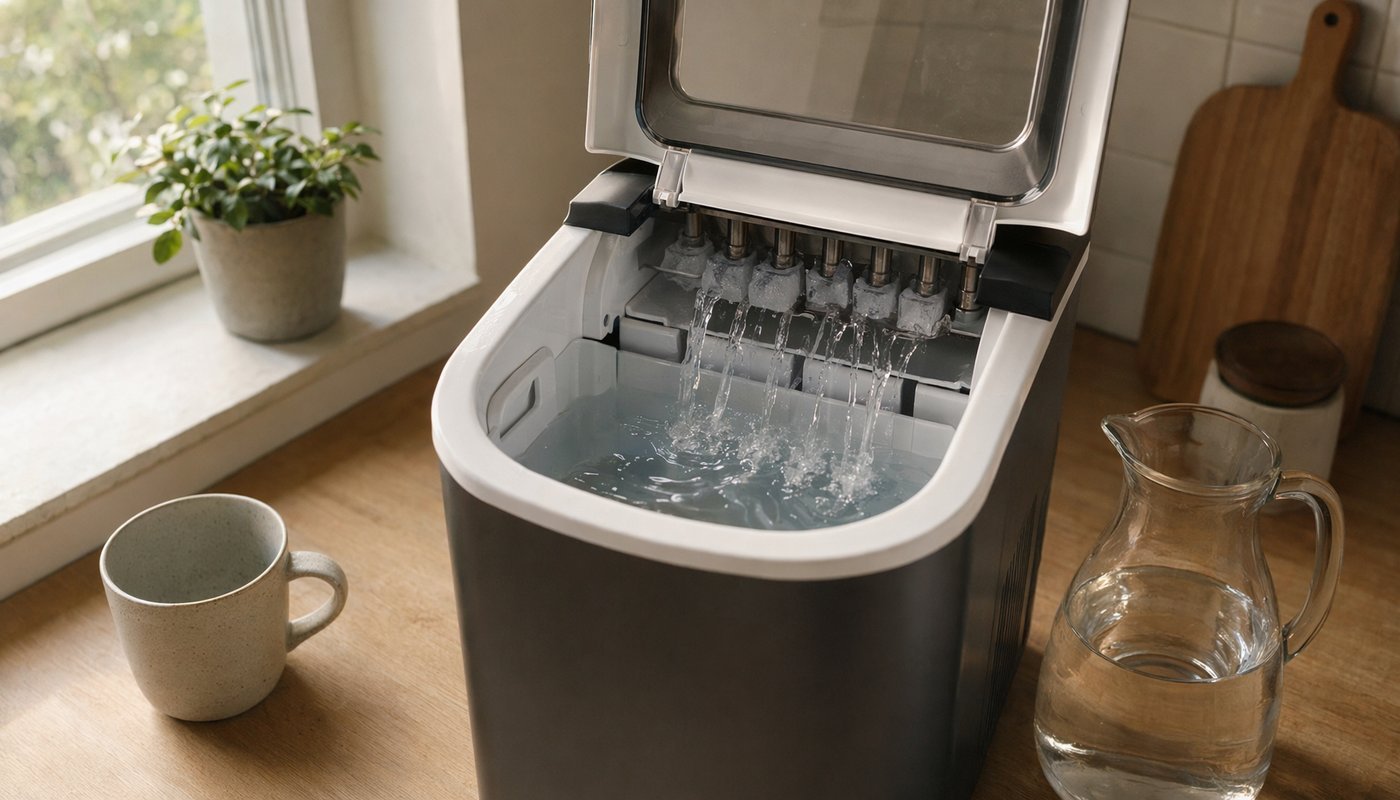
- The internal pump pushes water into the ice tray located above the evaporator fingers, a process taking about 5 to 10 seconds to prime.
- The compressor chills the metal evaporator fingers to sub-zero temperatures, causing the water touching the metal to freeze into solid shapes over 7 to 15 minutes.
- Once the ice reaches the desired thickness, the machine reverses the cycle, warming the fingers slightly so the ice cubes slide off into the basket.
- An automated shovel pushes the newly formed ice into the storage bin, which takes about 30 seconds to complete each harvest cycle.
- A sensor detects when the ice bin is full and pauses the process, or it stops if the water level drops too low for the pump.
Why this matters when something goes wrong
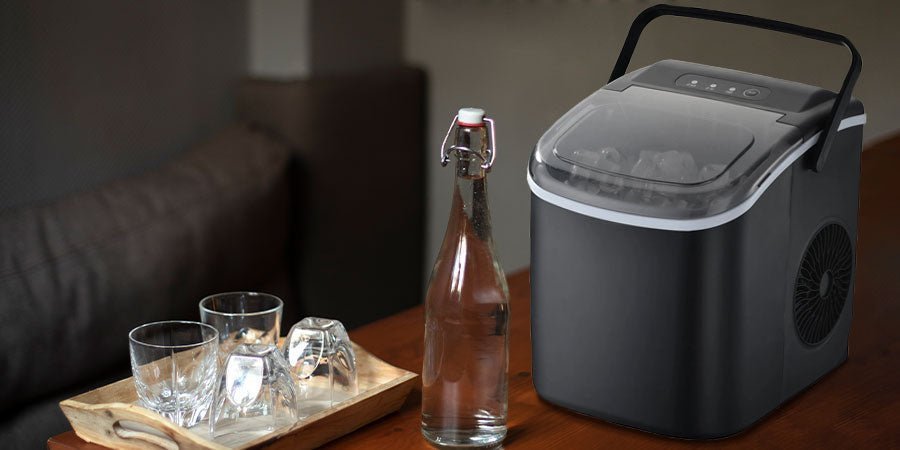
If your ice cubes are thin or slushy, the evaporator fingers are likely not reaching the freezing point, often because the ambient temperature of the room is too high or the vents are blocked. Because these machines aren’t freezers, the ice begins to melt as soon as it drops into the basket; this is why you must move it to a freezer for long-term storage. If the machine runs but produces no ice, the water pump has likely failed or become clogged with mineral deposits. You can check the FoodSafety.gov cold food storage chart to understand how to store ice safely once it’s harvested. If the unit stays hot to the touch, the cooling fan is blocked or broken, which prevents the refrigerant from cycling properly.
What you can change, and what you cannot
Things you can change
- The temperature of the water you add, which speeds up the initial cycle. Use water between 50 and 70 degrees Fahrenheit. If you use warmer water, the compressor works harder, increasing the risk of premature motor failure.
- The location of the machine, ensuring at least six inches of space for airflow. Without this clearance, heat traps inside the casing, causing the unit to cycle off early.
- The frequency of cleaning, using vinegar or citric acid to remove mineral buildup. Hard water deposits act as an insulator on the evaporator, reducing efficiency and ice production speed.
- The room temperature, keeping it below eighty degrees Fahrenheit for best performance.
Things that are fixed
- The size and shape of the ice, which is set by the metal evaporator mold.
- The speed of the compressor, which is calibrated to the specific cooling capacity.
- The sensor sensitivity, which determines when the machine stops producing ice.
Getting more out of it
To keep your machine running well, always use filtered or distilled water to prevent scale buildup on the evaporator fingers. Mineral deposits from hard water act as an insulator, forcing the compressor to work harder to reach freezing temperatures.
If you use tap water, run a descaling cycle with a mixture of water and white vinegar as part of your usual clean to ensure the pump doesn’t clog. If the water flow slows to a trickle, the pump is likely struggling against calcium deposits and requires an immediate deep clean.
Always empty the ice basket and wipe the reservoir dry if you plan to leave the machine unused for more than three days, as standing water can grow bacteria. If you notice the machine is loud, check that it’s on a perfectly flat surface. Vibrations against a countertop can cause internal components to rattle, leading to premature mechanical failure of the cooling fan.
Related guides
