
Setting the temperature to 0°F, turning the shutoff arm down, and waiting about 90 to 120 minutes for the first batch is how to use an ice maker in a freezer. This method suits anyone with a plumbed, built-in freezer ice unit.
Items for your freezer ice maker
- An active water line connected to the rear inlet valve.
- An in-line or internal water filter (a fresh carbon filter cartridge; bypass plugs work only for pre-filtered water).
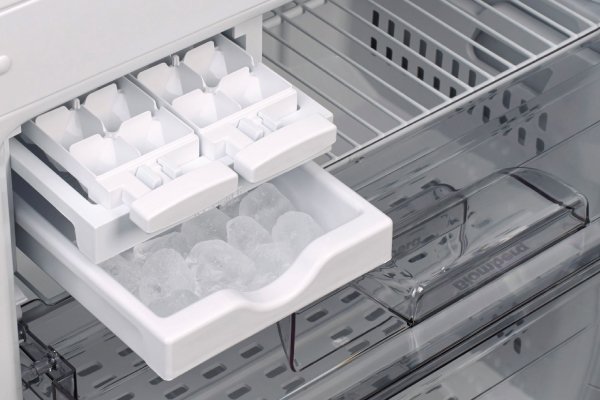
- A plastic ice storage bucket matched to your freezer model.
- A basic food thermometer to check compartment cooling.
- Household plumbing tools if the line isn’t installed; running a copper line into home plumbing needs a licensed plumber.
A genuine manufacturer replacement bucket works safely; thin plastic tubs don’t because they crack under cold temperatures.
How to use an ice maker in a freezer: Step-by-step
- Set the freezer temperature control to 0°F (-18°C), because harvest mechanisms stall if the air stays above 10°F.
- Open the water supply saddle valve completely by turning the handle counterclockwise until it stops.
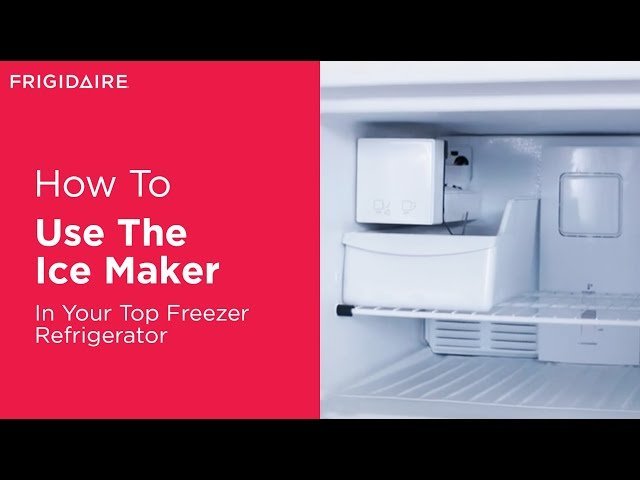
- Lower the wire shutoff arm into the down position, or flip the rocker switch to “ON”.
- Insert the clean ice storage bin directly beneath the ejector teeth on the mold.
- Wait roughly 90 minutes for the internal thermostat to close and trigger the water valve.
- Check that 3 to 4 fluid ounces of water fill the tray evenly without spilling over the mold edges.
- Discard the first 3 full bins of cubes to clear factory dust and carbon fines out of the water tube.
Tip: If cubes look thin, check your water supply line for kinks or clogs; if cubes merge into one block, lower the fill time adjustment screw a quarter turn.
Careful: Never force the metal shutoff arm down past its natural stopping point, or the plastic gear inside the housing will break.
If the copper inlet pipe leaks behind the refrigerator wall, turn off the house main and call a certified plumber.
Temperature and harvest cycles
Freezer operating conditions directly control how fast the machine cycles and drops new cubes.
| Freezer Condition | Time per Cycle | What Changes | Watch Point |
|---|---|---|---|
| Normal (0°F) | 90–120 minutes | Standard harvest and fill timing | Cube shape and bin level |
| Warm Compartment (12°F to 15°F) | 180+ minutes | Thermostat delay prevents mold heating | Soft or hollow cubes |
| Quick Freeze (-5°F) | 60–75 minutes | Faster water freezing, rapid tray cycling | Ice clumping in the bin |
How to tell you did it right
A good harvest yields clear or slightly frosty, individual crescent cubes that break apart when shaken. A poor result looks like a solid block of ice or tiny, hollow shells that crumble instantly.
Cube clumping happens when warm kitchen air enters through a bad door gasket, which melts the outer layer of cubes before they freeze together again. Keep the freezer door closed tight, level the appliance feet so the door seals shut on its own, and empty the bin regularly to stop stale lumps from forming.
Safety rules and maintenance
The FDA food storage guidance requires freezers to stay at 0°F to keep contents safe.
Pull the storage bin whenever you notice it, wash it with warm water and mild soap, and dry it completely before sliding it back. Replace the water filter cartridge as part of your usual clean to prevent mineral scale build-up inside the valve.
This process lasts without adjustment for several years until the water filter clogs. If the electrical switch burns out or sparks, unplug the unit and contact an authorized appliance repair service.
Other ways to freeze
Portable countertop unit
This unit needs no plumbing. Pour 2 quarts of tap water directly into the bottom reservoir and select small or large cube size; it produces nine bullet cubes in roughly 8 minutes.
Manual silicone trays
This approach costs very little. Fill two standard 16-cube silicone trays with 12 ounces of filtered water each and rest them flat on a shelf for 4 hours to freeze completely.
Clear ice insulated mould
This uses directional freezing. Pour 16 ounces of warm water into an insulated box with bottom drainage holes, giving crystal-clear craft cubes in 18 to 24 hours while using more shelf space.
Frequently asked questions
Why is my ice maker not making ice?
The shutoff arm is raised, the water supply valve is closed, or the freezer temperature is sitting above 10°F. Check the water shutoff valve behind the unit and confirm the wire lever points downward.
How long does the first batch take?
It takes between 90 minutes and 2 hours for the first cycle to drop. The freezer must cool down to 0°F before the internal thermostat will allow the water valve to open.
Can I leave the ice maker on all the time?
Yes, you can leave it switched on continuously. The mechanical shutoff arm automatically halts production once the bucket fills to the top, stopping water from overflowing.
Is it safe to use the first batch of ice?
No, discard the first three batches after installation. The initial cycles flush manufacturing dust, residue, and loose carbon particles from the brand-new water filter.
What happens if the water pressure is too low?
The machine produces small, hollow ice crescents. Most refrigerator valves require 20 to 120 psi of water pressure to fill the mold properly before the timer shuts off.
Can I pour water directly into the ice mold?
Final Thoughts
Enjoying a cold drink is much better when you don’t have to worry about running out of cubes. If you notice the bin getting low, just remember to keep the freezer door closed tightly so the system doesn’t struggle. You’ll be ready to host your next gathering with plenty of ice on hand.
