
To understand how do tabletop ice makers work, consider that they pump water over cold metal fingers to freeze it into shapes, repeating this cycle until the bin is full.
How tabletop ice makers work
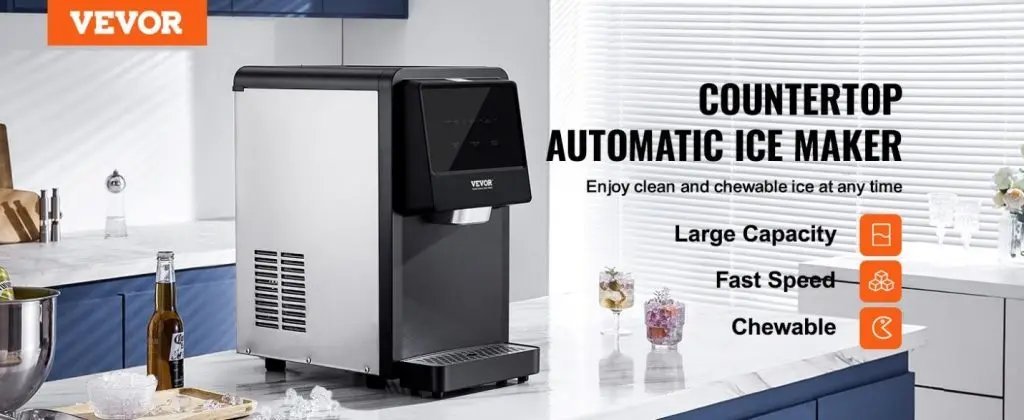
| Part or input | What it does | What you notice when it goes wrong |
|---|---|---|
| Water reservoir | Holds liquid for freezing | Ice production stops completely |
| Metal fingers | Evaporator freezes water | Thin or missing ice cubes |
| Compressor | Circulates refrigerant gas | Unit runs but stays warm |
| Sensor | Detects full ice bin | Machine shuts off too early |
| Water pump | Moves water to tray | No water reaches the fingers |
The reservoir’s intake valve is the most common point of failure. If you hear a faint humming but the tray remains dry, check for mineral buildup clogging the line. A simple vinegar flush often restores flow.
When the metal fingers fail, look for a frost pattern. If ice forms only on the top half, your refrigerant level is likely low. Don’t attempt to recharge this yourself; the sealed system requires professional tools to avoid toxic leaks.
The sensor relies on infrared beams to track bin capacity. If your machine stops prematurely, wipe the lenses with a dry cloth. Dust or condensation frequently tricks the sensor into thinking the bin is full.
Finally, distinguish between a pump failure and a frozen intake. If the pump is silent, it has burned out. If it vibrates but moves nothing, a block of ice is likely obstructing the supply tube.
What happens, step by step
- You pour water into the reservoir until it hits the fill line, which usually holds about 2 liters of water in standard models.
- The water pump activates to move the liquid from the reservoir directly onto the metal evaporator fingers.
- The compressor chills the metal fingers to a temperature well below freezing, causing water to solidify around them over 8 to 12 minutes.
- The machine switches to a harvest cycle, where the metal fingers warm up slightly to release the ice cubes into the basket.
- A plastic shovel pushes the finished ice into the storage bin, a process that takes about 30 seconds to complete each batch.
- The sensor detects the ice level; if the basket is full, the machine stops until you remove some cubes from the bin.
Why this matters when something goes wrong
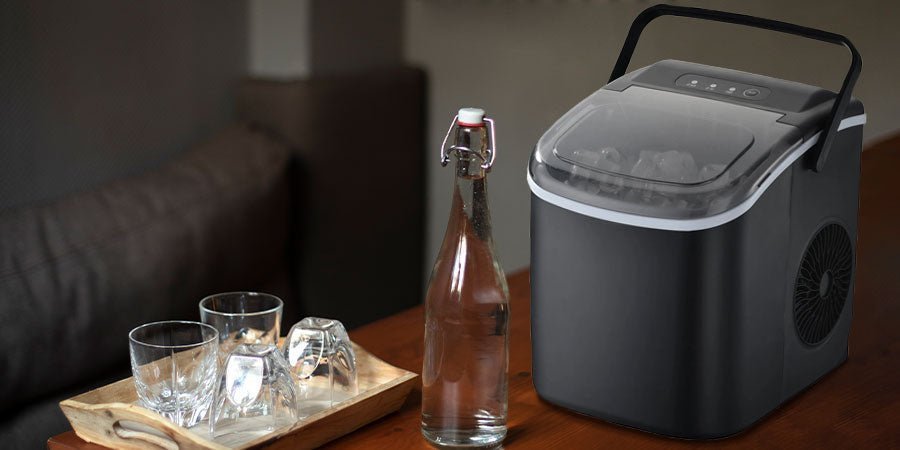
The cooling cycle is a delicate balance of heat exchange, and small disruptions quickly show up as poor ice quality. If your machine makes thin, slushy ice, the issue is often the water pump or a clogged intake, as these prevent enough water from coating the metal fingers during the freeze phase. Conversely, if the unit runs but never drops ice, the compressor or the refrigerant lines are likely failing. These machines rely on NSF International food equipment standards to ensure the materials used in the water path don’t leach chemicals into your ice. When you hear a loud grinding noise, it usually means the shovel is hitting ice that failed to drop properly, which often happens if the room temperature exceeds 90 degrees Fahrenheit.
What you can change, and what you cannot
Things you can change
- The amount of water you add to the reservoir.
- The ambient room temperature where you place the unit.
- How often you clean the internal water lines.
- The size setting for the ice cubes on the display.
Things you can’t change
- The speed of the compressor’s cooling cycle.
- The shape of the metal fingers inside the unit.
- The internal software that triggers the harvest mode.
If the internal electrical components fail, you must contact a professional repair service or the manufacturer; don’t open the sealed refrigeration system yourself as this creates a risk of refrigerant leaks and voids your warranty.
Getting more out of it
Use filtered water to prevent mineral buildup on the metal fingers. Scale makes the ice harvest cycle stick, leading to smaller cubes. If you see white flecks in your ice, your water is too hard and requires a dedicated inline filter.
Move the machine to a cooler spot in your kitchen to see faster freeze times. The compressor works less to remove heat from the air in a room below 75°F. Avoid placing the unit next to an oven or a sunny window.
Drain the reservoir completely after every use to stop bacteria growth in stagnant water. If the machine sits idle for extended periods, the internal lines can become a breeding ground for biofilm.
If the ice tastes like plastic, run a mixture of 1 cup white vinegar and 1 liter of water through a cycle. Flush the system twice with fresh water afterward. Check your manual for the specific vinegar concentration allowed, as high acidity can corrode internal rubber seals.
Related guides
