
If you are wondering how much is a ice maker, standalone countertop units cost $100 to $300, while built-in models range from $800 to $3,000. These prices vary by capacity, finish, and cooling technology.
Quick buying facts
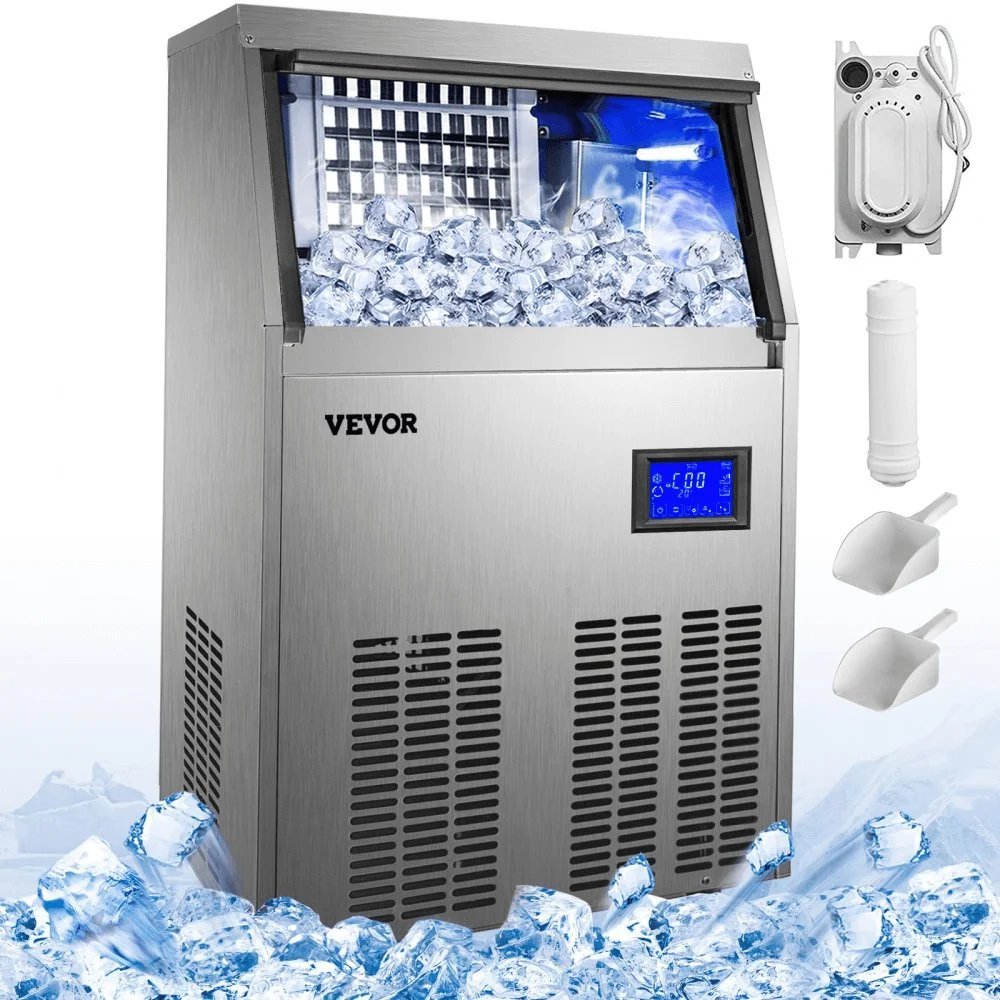
- Countertop models produce 20 to 30 pounds of ice daily but require manual water refilling.
- Built-in units connect directly to your home plumbing for continuous, automatic ice production.
- Portable machines take 10 to 15 minutes to drop the first batch of ice cubes.
- Stainless steel finishes usually add $50 to $100 to the base price of any unit.
- Professional installation for built-in models adds $200 to $500 depending on your existing plumbing.
How much is a ice maker: Understanding price differences
The cost of ice-making equipment shifts based on the cooling mechanism and the hardware required to maintain a frozen state. Most inexpensive countertop units use a simple air-cooled compressor and plastic casing, which is why they’re affordable but noisy. These machines aren’t designed for long-term storage; if you don’t empty the basket, the ice melts, drains back into the reservoir, and refreezes.
Built-in models carry a higher price tag because they include heavy-duty insulation, internal pumps, and sensors that monitor bin levels. These components must withstand constant use and moisture exposure. If you’re comparing two models, look at the cooling capacity and the material of the ice bin. A model with a stainless steel liner will cost more than a plastic one but resists cracks and odors better over time. Always check the manufacturer’s manual for the specific daily production rating, as ambient room temperature significantly affects how much ice the machine can actually make.
When the price changes
| Situation | What changes | What to do instead |
|---|---|---|
| High-volume demand | Daily production | Buy commercial-grade units |
| Limited counter space | Physical footprint | Choose slim under-counter models |
| Hard water supply | Maintenance needs | Install a water filter |
| Outdoor usage | Weatherproofing | Buy UL-rated outdoor units |
| Luxury finish | Aesthetic cost | Select basic black plastic |
How to install your unit properly
- Place your machine on a flat, level surface with at least 6 inches of clearance on all sides for proper airflow.
- Clean the interior reservoir with a solution of 1 tablespoon of mild dish soap and 1 quart of warm water before first use.
- Connect the water supply line to your cold water pipe using a standard 1/4-inch compression fitting for all built-in residential models.
- Flush the system by running two full cycles of ice and discarding the cubes to remove any manufacturing dust or plastic residue.
- Plug the unit directly into a dedicated wall outlet; avoid using extension cords, which can cause voltage drops and compressor failure.
- Set the ice thickness or harvest timer according to the user manual to ensure cubes don’t bridge together in the bin.
- Check for leaks at the connection points after 24 hours of operation to ensure the seals are tight and secure.
Common mistakes that ruin machines
- Using distilled water in sensors that rely on mineral conductivity to detect water levels can cause the machine to report an empty tank.
- Blocking the rear vents forces the compressor to work harder, which leads to premature motor burnout and higher electricity bills.
- Failing to descale the unit according to the manufacturer’s recommended schedule causes mineral buildup that restricts water flow and ruins the flavor of the ice.
- Installing an indoor-only model in a garage during summer heat causes the system to overheat and stop producing ice entirely.
Frequently asked questions
Can I install an ice maker myself?
Yes, you can install a countertop unit by simply plugging it in, but built-in units require basic plumbing skills. If you’re uncomfortable working with water lines or electrical connections, hire a licensed plumber to prevent leaks and ensure the warranty remains valid.
How long does an ice maker last?
This timeframe varies by model; ensure you perform the recommended descaling tasks listed in your owner’s manual.
Is it safe to drink ice from a new machine?
Yes, it’s safe, provided you run two complete cleaning cycles and discard the initial batches of ice before using them. This process removes any lingering factory dust or residue from the internal tubing and the ice mold itself.
What happens if the ice melts inside the bin?
It happens because the storage bin isn’t refrigerated, which is common in many countertop and portable models. If you need ice to stay frozen for hours, you must choose a built-in unit that features an insulated, actively cooled storage bin.
Does it matter if I use filtered water?
Yes, using filtered water significantly extends the life of your machine by reducing mineral buildup on the internal sensors and water valves. Hard water creates scale that forces the machine to work harder, eventually leading to reduced production or mechanical failure.
How much electricity does an ice maker use?
The power consumption varies by model; check the Energy Star label on the back of the unit for the exact wattage. Most countertop units use about 100 to 200 watts per hour while actively running, but they cycle off once the ice bin is full.
Final Thoughts
Before you head to the store, measure your available counter or cabinet space carefully. You’ll also want to check if your kitchen has a nearby water line, as that’s essential for built-in models. Once you’ve confirmed the fit, you’re ready to pick the perfect machine that’ll keep your drinks chilled all year long.
