
You fill a countertop ice maker by pouring fresh, drinkable water directly into the internal reservoir until it reaches the fill line marked inside the unit. This is how to fill countertop ice maker models safely, ensuring you stay below the maximum capacity to prevent spills or mechanical damage.
Filling your countertop ice maker
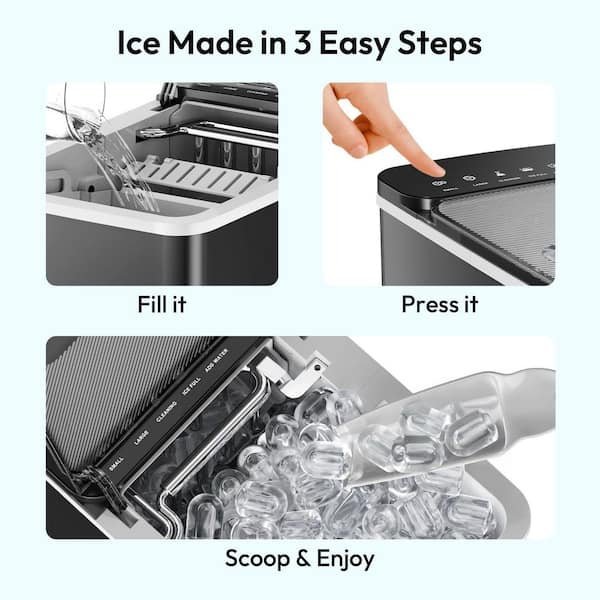
This task takes about 2 minutes to complete. It costs nothing beyond the price of your filtered water. The process is easy, provided you have a steady hand and a clear view of the internal water line. Always check your specific owner’s manual to find the exact maximum capacity for your unit.
What you need
| Item | How much | Why it’s needed | A substitute |
|---|---|---|---|
| Potable water | 2 to 3 liters | Creates the ice | None — don’t swap this |
| Measuring cup | 1 cup | Prevents overfilling | Clean pitcher |
| Soft cloth | 1 piece | Wipes spills | Paper towel |
| Level surface | 1 square foot | Keeps water balanced | None — don’t swap this |
Before you start
- Place the unit on a flat, stable table where the base remains level.
- Unplug the power cord if you plan to move the machine.
- Ensure the drain plug at the bottom is tightly closed and secure.
- Wash your hands thoroughly to keep the water supply clean and safe.
- If the unit is new, run one cycle of plain water through it without making ice to clean the internal lines according to the FoodSafety.gov cold food storage guidance on maintaining sanitary kitchen equipment.
Step by step
- Open the top lid of the ice maker to expose the internal water reservoir area.
- Locate the “MAX” fill line embossed on the plastic wall inside the water reservoir.
- Pour cold, filtered water slowly into the reservoir until the water level reaches the line.
- Stop pouring immediately once the water touches the bottom of the “MAX” indicator mark.
- Check the drain plug on the bottom of the unit to ensure no water leaks out.
- Close the lid firmly until you hear a click to keep the internal temperature stable.
- Plug the power cord into a grounded electrical outlet to begin the cooling cycle.
- Press the power or “On” button to activate the pump and start ice production.
- Verify the “Add Water” light is off, which confirms the reservoir has enough volume.
How to know it worked
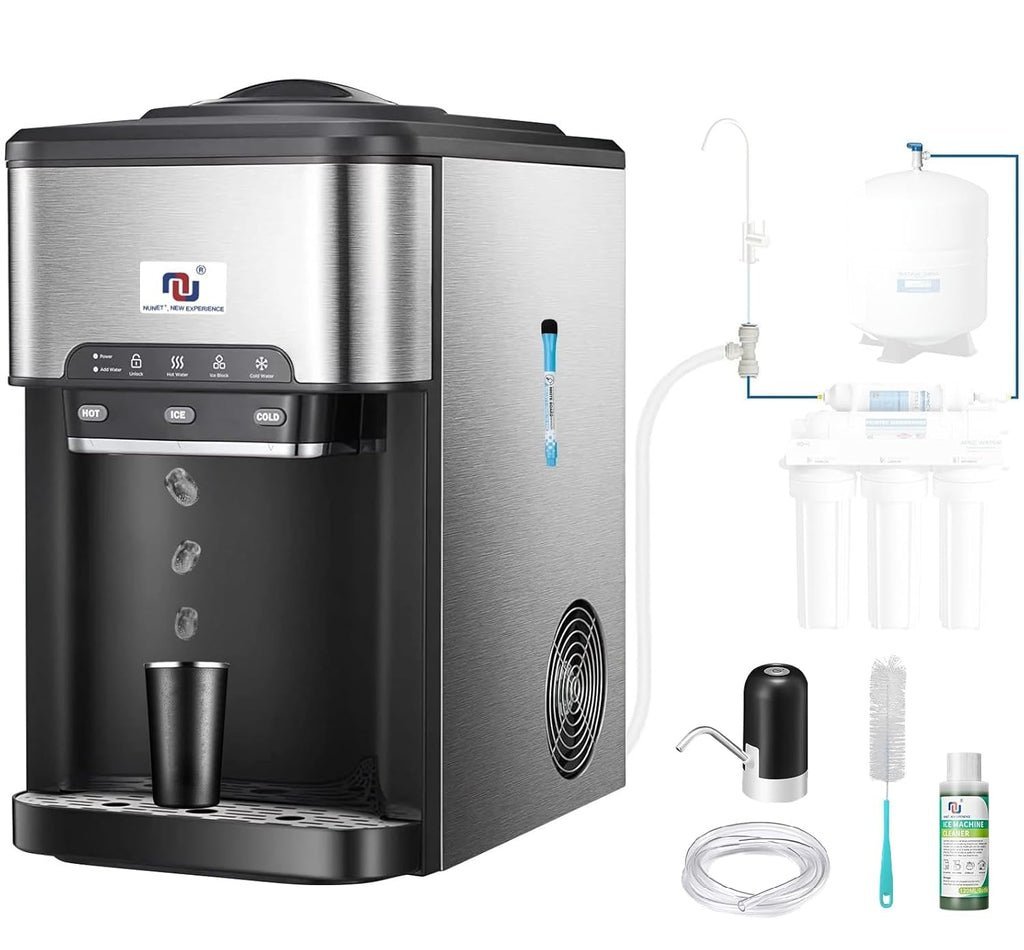
You’ll know the unit is filled correctly when the “Add Water” indicator light turns off and the cooling fan starts to hum. If the light stays on, the water level is likely too low; add another half-cup of water. If you see water overflowing into the ice basket during the first cycle, you have added too much. Simply remove the excess water with a clean spoon until the level sits just below the overflow grate.
If something goes wrong
| What happened | Why | What to do |
|---|---|---|
| Water leaks out | Drain plug loose | Tighten the bottom plug |
| Add Water light stays on | Sensor is dry | Add more water slowly |
| Ice is too small | Water is too warm | Use colder filtered water |
| Machine makes loud noise | Unit is uneven | Adjust the base feet |
| Water overflows | Overfilled reservoir | Remove water with spoon |
How often to do this
You should fill the reservoir whenever the “Add Water” light flashes or the ice basket appears empty. Refill frequency depends on your specific model’s reservoir capacity and ice production rate. This frequency changes based on the ambient room temperature and how often you remove ice, as higher heat causes the machine to work harder and consume more water. If your unit stays in a hot kitchen, you’ll need to monitor the levels more often.
Frequently asked questions
Can I use tap water?
Yes, you can use standard tap water if it’s safe for drinking. However, using filtered water prevents mineral buildup inside the pump, which extends the life of your machine and keeps your ice tasting fresh.
Why is the Add Water light on?
The light turns on when the internal sensor detects the water level has dropped below the minimum threshold. This is a safety feature that prevents the pump from running dry and burning out the motor.
How long does it take to freeze?
It usually takes about 7 to 15 minutes to produce the first batch of ice. This varies by model — check the label for the specific cycle time, as larger machines or those in warmer rooms take longer.
Is it safe to leave water inside?
No, you should drain the reservoir if you plan to leave the machine off for more than 24 hours. Stagnant water can develop bacteria, so always empty the unit and wipe it dry before storing it.
What happens if I overfill it?
Overfilling causes water to spill into the ice basket or leak from the bottom seals. This can damage the internal electronics or cause the ice to clump together into one large, unusable block of frozen water.
Does it matter if the water is cold?
Yes, using cold water makes the ice-making process faster. If you use warm water, the cooling system must expend extra energy to lower the temperature before the freezing cycle can even begin.
Final Thoughts
Once the water is settled, you’re ready to enjoy your first batch of fresh, cold ice. Don’t forget to wipe down the interior occasionally to keep everything tasting crisp and clean. You’ll find that keeping your machine well-maintained makes it much easier to stay refreshed whenever the heat picks up.

Pingback: Where Can I Buy an Ice Maker Machine: Best Retailer Guide