
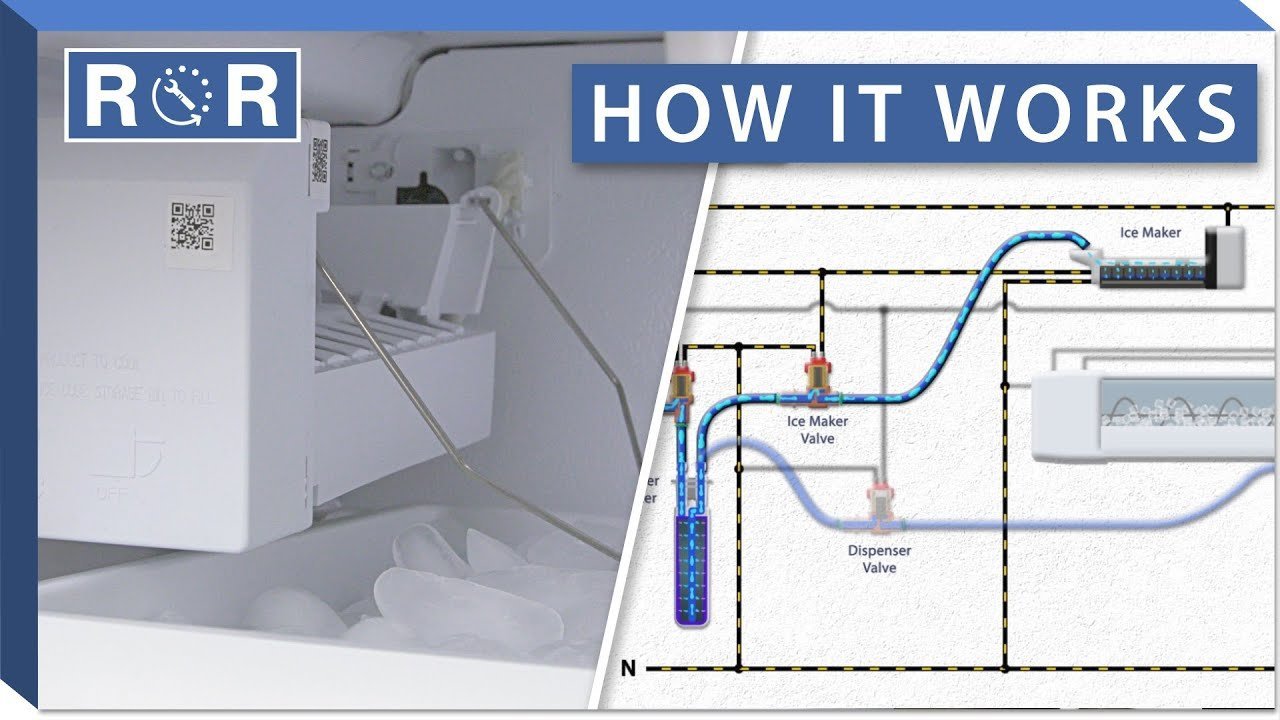
To understand how does an icemaker work, consider that it pulls water into a mold, freezes it, and uses a heating element to release the cubes into a bin. It acts as an automated factory that cycles until the storage bin is full.
How the icemaker components work
| Part or input | What it does | What you notice when it goes wrong |
|---|---|---|
| Water inlet valve | Controls the water flow | No ice or leaking water |
| Mold or tray | Shapes the ice cubes | Misshapen or stuck ice |
| Thermostat | Detects the temperature | No ice or constant running |
| Heating element | Loosens ice for harvest | Ice stuck in the mold |
| Ejector arms | Pushes ice into bin | Ice jams in the tray |
| Storage bin sensor | Stops when bin full | Overflowing ice or no ice |
Most users mistake a faulty water inlet valve for a broken pump. If your unit is silent but the water line is pressurized, the valve solenoid has likely burned out. Test this by listening for a faint click when the cycle starts. If you hear nothing, the valve is dead.
If your cubes come out cloudy or small, scale deposits are restricting the flow.
If your bin overflows, the sensor arm is often merely stuck. Check if the plastic lever moves freely. A jammed arm costs you a flooded freezer floor. If the lever moves but the machine keeps running, the internal microswitch has failed and requires a full sensor replacement.
What happens, step by step
- The control module opens the water inlet valve for about 5 to 7 seconds, filling the mold with fresh water from your home supply.
- The freezer air cools the mold, dropping the temperature until the water solidifies into ice, which usually takes 45 to 90 minutes.
- A bimetallic thermostat senses the mold has reached the target temperature, typically around 15 degrees Fahrenheit, signaling that the cycle is ready to finish.
- The heating element activates for about 2 minutes to slightly warm the mold surface, allowing the ice cubes to release their grip on the plastic.
- The ejector arms rotate, pushing the loosened ice cubes out of the mold and into the waiting storage bin below the unit.
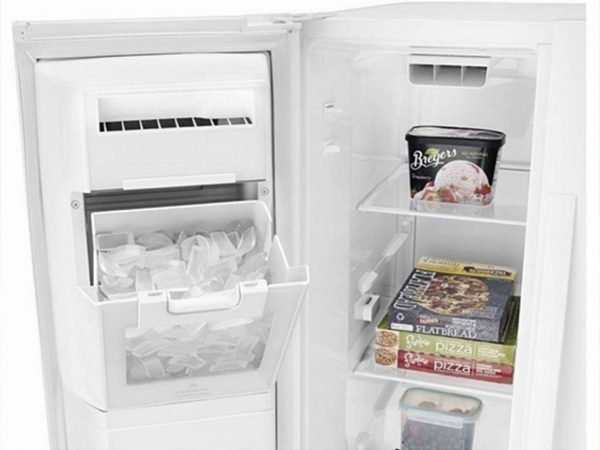
- The sensor arm or infrared beam detects if the bin is full; if it’s not, the valve opens again to start the next cycle.
Why this matters when something goes wrong
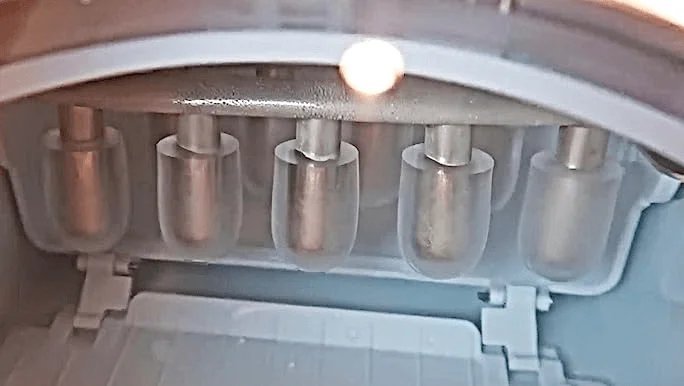
Knowing the cycle helps you pinpoint why your appliance has stopped producing ice. If the machine makes a clicking sound but no ice fills the bin, the issue often lies with the water inlet valve failing to open or a frozen supply line.
If you see ice cubes that are only half-formed, this usually indicates that the water flow is restricted. Check your filter first; a clogged filter is the most common culprit and is relatively inexpensive to replace. If the filter is clear, test your home’s water pressure. It must be at least 20 PSI to trigger the valve correctly.
When the bin is full but the ice is fused into a single block, the thermostat or the harvest cycle is likely not triggering correctly. This causes the ice to melt and refreeze.
By identifying whether the failure happens during the fill, the freeze, or the harvest stage, you save time on unnecessary repairs. If the bin is empty, focus on the inlet valve. If the bin is full, focus on the thermostat sensors.
What you can change, and what you cannot
Things you can change
- Replace the water filter regularly to maintain flow.
- Adjust the freezer temperature to zero degrees Fahrenheit for best results.
- Clear ice jams in the ejector arms using a warm, damp cloth.
- Level the refrigerator so the mold sits flat for even cubes.
Things fixed by design
- The cycle timing is pre-set at the factory and can’t be adjusted.
- Electrical repairs on the control board require professional service to avoid shock.
Getting more out of it
To keep your unit running, check the water pressure, as most valves require at least 20 pounds per square inch to open correctly. If the flow feels sluggish, use a pressure gauge on your supply line to confirm it hits that 20 PSI threshold before calling a technician.
If you notice the ice tastes strange, replace the filter; carbon filters lose their effectiveness after 6 months of use. Mark the date on a piece of tape stuck to the housing so you don’t lose track.
If you go on vacation, turn the unit off or lift the wire arm to stop the cycle. Sitting ice absorbs odors from your freezer within 48 hours.
When cleaning the bin, use only mild soap and water. Harsh chemicals damage the plastic and leave toxic residue. If you see frost buildup, check the door seal. Warm air leaking into the freezer forces the unit to work harder, increasing your electricity bill.
