
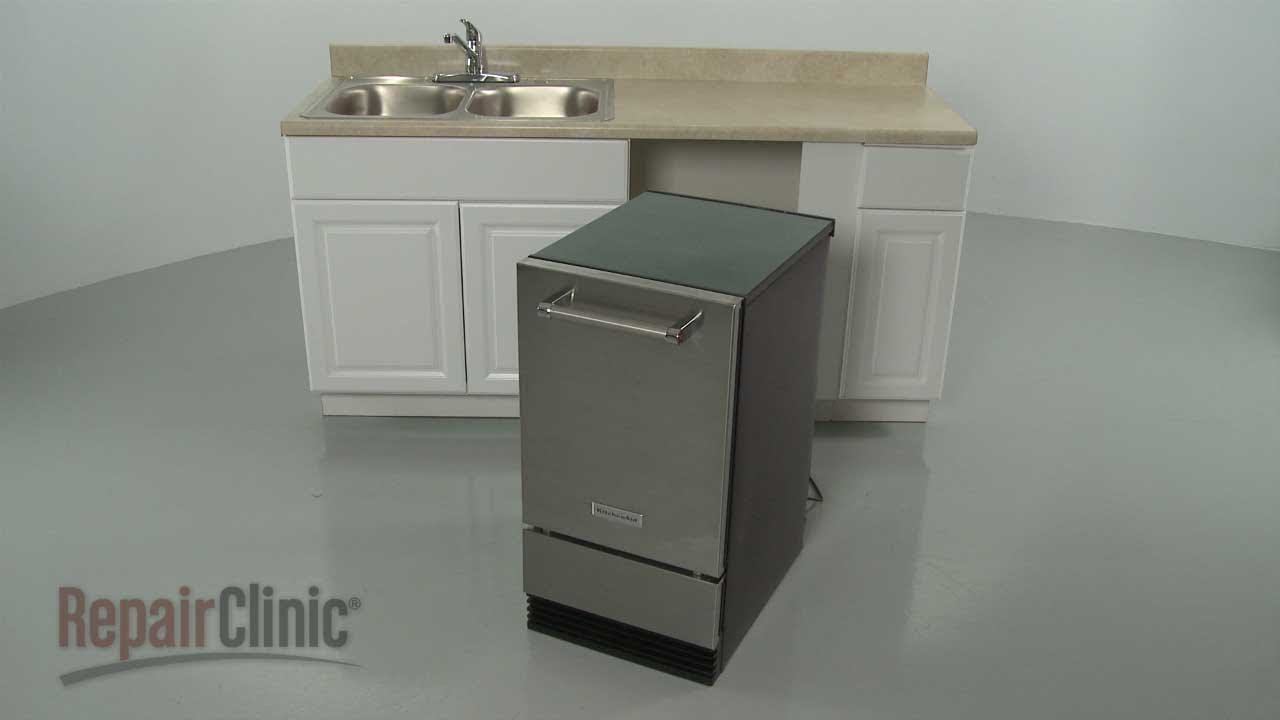
Learning how to install under counter ice maker units involves connecting the water line, verifying the drain path, and leveling the chassis within your cabinet. This project takes 3 to 5 hours, depending on your plumbing and electrical setup. Because improper connections cause water damage, you must have a dedicated GFCI-protected outlet nearby. Always check your specific model’s manual for the exact dimensions, as these vary by brand and capacity.
Tools for your ice maker installation
| Item | How much | Why it’s needed | A substitute |
|---|---|---|---|
| Flexible water line | 6-10 feet | Connects supply to unit | none — don’t swap this |
| Adjustable wrench | 1 tool | Tightens plumbing fittings | none — don’t swap this |
| Level | 1 tool | Ensures proper drainage | none — don’t swap this |
| Teflon tape | 1 roll | Seals threaded connections | none — don’t swap this |
| Bucket | 1 unit | Catches residual water | Plastic bowl |
| Screwdriver | 1 tool | Secures mounting brackets | none — don’t swap this |
Before you start
- Shut off the main water valve to the house or the specific branch line to prevent flooding.
- Clear the cabinet space completely and vacuum any debris that might block the unit’s ventilation.
- Verify your floor is level; if it’s not, the machine may fail to drain correctly or produce inconsistent ice.
- Consult the ENERGY STAR product installation guidance to ensure your chosen location allows for the required air clearance around the condenser.
- If you aren’t comfortable working with high-voltage electrical outlets or water supply lines, hire a licensed plumber or electrician to avoid safety hazards or voiding your warranty.
How to install under counter ice maker: Step by step
- Measure the height, width, and depth of your cabinet opening to ensure the ice maker fits with at least 1/4 inch of clearance on all sides.
- Turn off the water supply at the nearest shut-off valve and place your bucket under the connection point to catch any remaining water in the pipe.
- Don’t apply Teflon tape to the threaded ends of the water inlet valve if it uses a compression fitting with a rubber gasket, as this can prevent a proper seal.
- Attach the flexible water supply line to the inlet valve using your wrench, tightening it until firm but avoiding excessive force that could crack the plastic.
- Connect the other end of the supply line to your cold water pipe using a T-fitting with a dedicated shut-off valve, ensuring the connection is secure.
- Position the ice maker in front of the cabinet opening and plug the power cord into the dedicated GFCI-protected outlet located behind or near the space.
- Slide the unit into the cabinet slowly, making sure not to kink or crush the water supply line or the drain hose during the process.
- Place your level on the top surface of the unit and adjust the leveling legs by rotating them until the bubble is perfectly centered.
- Turn the water supply back on slowly and inspect every connection point for moisture or drips, tightening the fittings slightly if you see any leaks.
How to know it worked
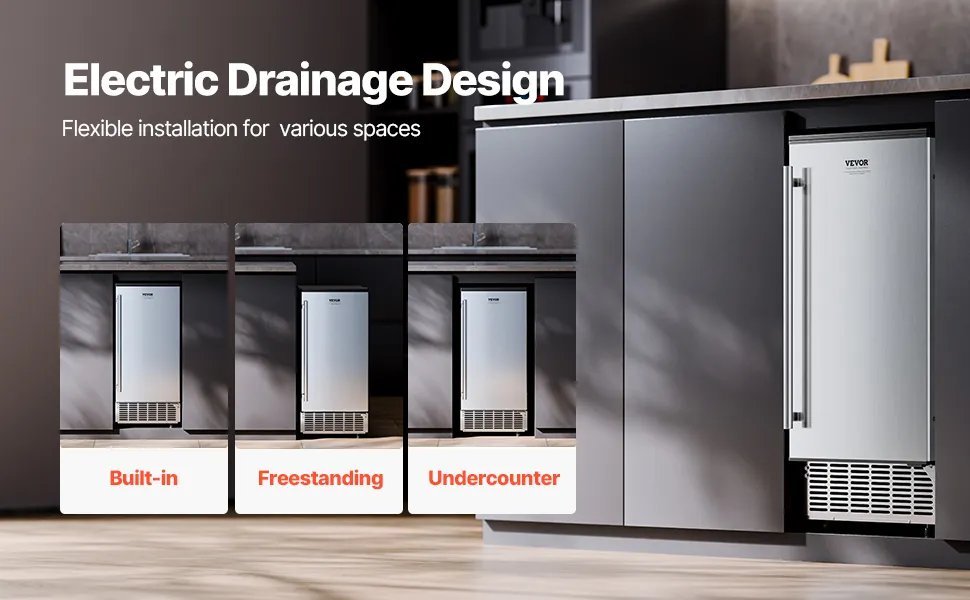
The unit is installed correctly if it powers on without tripping the breaker and begins the initial freeze cycle within 30 minutes. You should hear the water valve open and the compressor start to hum. If the unit makes a loud grinding noise or fails to draw water, verify that the supply valve is fully open and the intake line isn’t pinched. Check the ice bin after 4 hours; if it contains a small amount of fresh ice, your installation is successful.
If something goes wrong
| What happened | Why | What to do |
|---|---|---|
| Water leaking | Loose fitting | Tighten with wrench |
| No ice produced | Valve closed | Open supply valve |
| Unit vibrates | Not level | Adjust leg height |
| Loud rattling | Touching cabinet | Reposition unit |
| Power failure | GFCI tripped | Reset outlet |
How often to do this
You should perform a full cleaning and inspection of your ice maker regularly. This frequency changes based on your local water hardness and the amount of ice you use. If you live in an area with hard water, you may need to descale the internal components more often to prevent mineral buildup. Always check the manual for the manufacturer’s recommended schedule, as some models require filter replacements as part of your usual clean.
Frequently asked questions
Can I install an ice maker without a drain?
No, you can’t install a standard gravity-drain ice maker without a drain line. If your location lacks a floor drain, you must purchase a model with an internal drain pump to force water to a sink or waste pipe.
Is it safe to plug an ice maker into an extension cord?
No, it isn’t safe to use an extension cord for an ice maker. These appliances draw high current during startup, which can cause extension cords to overheat and create a fire hazard; use a dedicated wall outlet.
How long should I wait before turning it on?
You should wait at least 2 to 4 hours before turning on the unit if it was transported on its side. This allows the compressor oil to settle back into the motor to prevent permanent internal damage.
Does the ice maker need a water filter?
Most manufacturers recommend a water filter to improve ice quality and protect the internal pump. Check your specific manual to see if your model has a built-in filter or if you need an inline external system.
What happens if the water pressure is too high?
Excessive water pressure can cause the internal solenoid valve to leak or fail prematurely. If your home water pressure exceeds 80 psi, install a pressure-reducing valve to protect the ice maker’s internal plumbing components.
Do I need a professional for the water hookup?
You don’t need a professional if you’re comfortable working with standard household plumbing fittings. However, if your setup requires soldering copper pipes or drilling through structural framing, contact a licensed plumber to ensure compliance with local codes.
Final Thoughts
Once everything is secure, let the machine sit upright for a few hours before plugging it in to protect the cooling system. You’ll want to discard the first few batches of ice to ensure the lines are clean. Enjoy your fresh, chilled drinks whenever you’re ready for a cold refreshment.
