
You can effectively how to make ice in chest freezer by placing containers of water on the bottom floor where the coldest air settles. This process takes 12 to 24 hours depending on the volume of water and the freezer’s temperature setting.
Supplies to make ice in your freezer
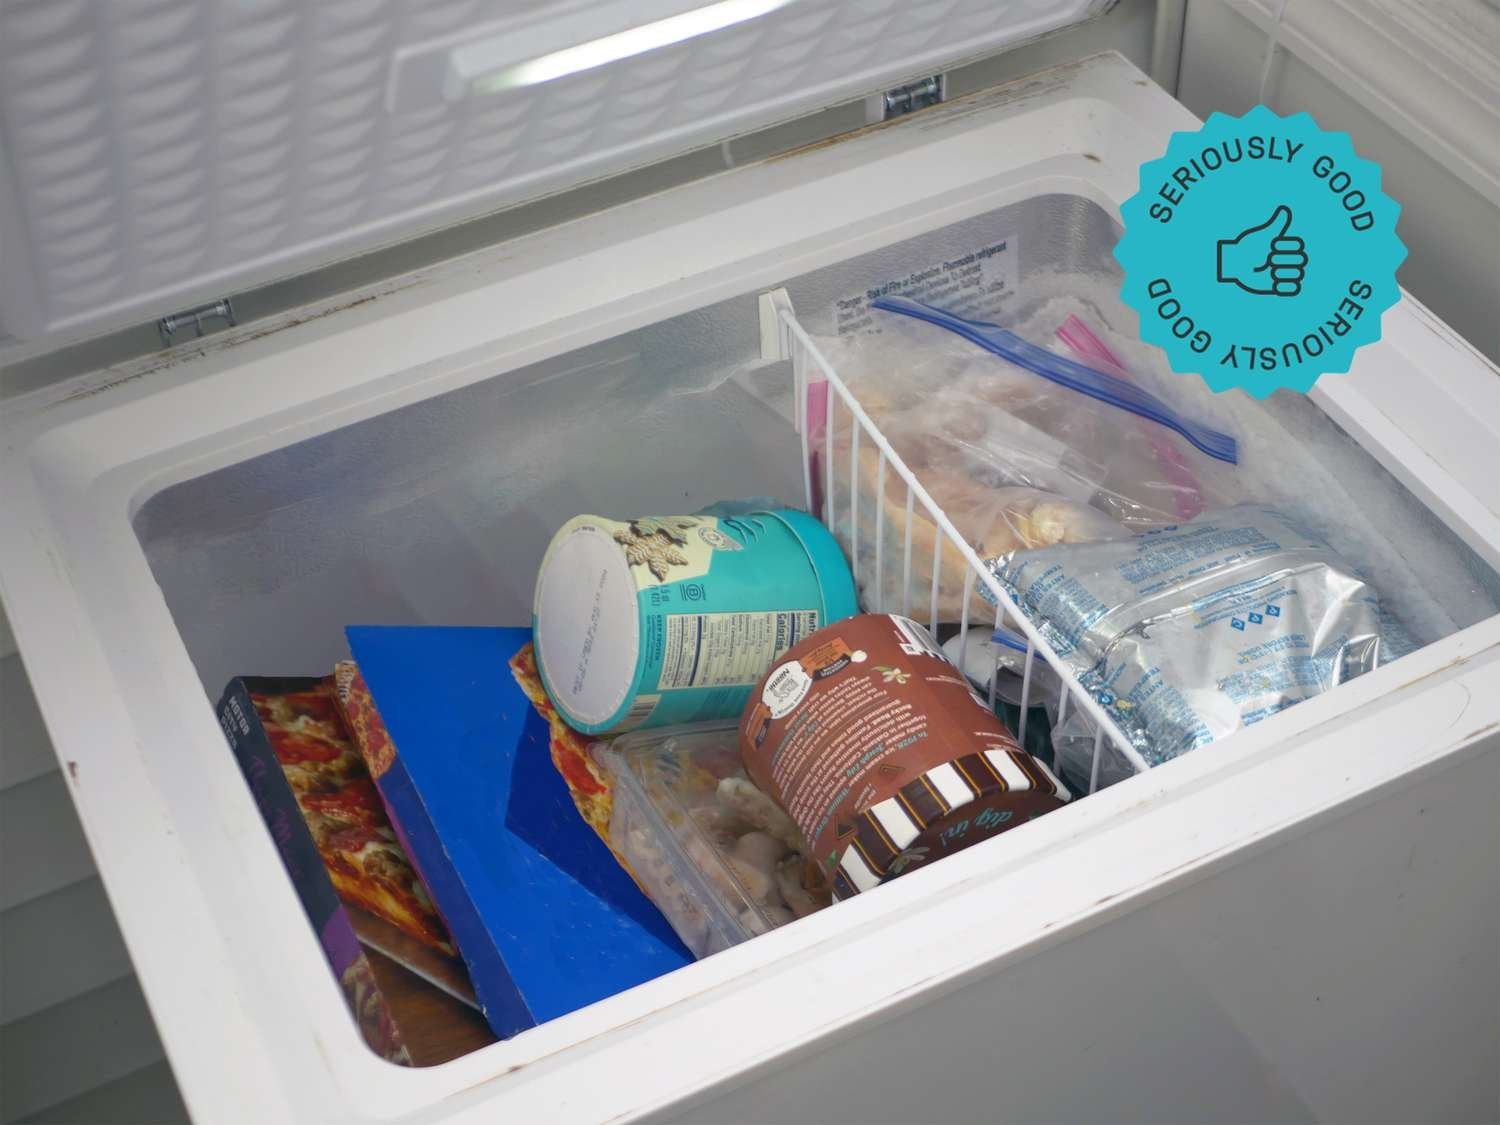
- Plastic containers: Use flexible, food-safe plastic bins or silicone trays. Avoid glass, as it will shatter when the water expands during freezing.
- Filtered water: Use cold water to speed up the process and reduce air bubbles.
- Thermal spacer: A small piece of cardboard or a plastic trivet keeps the containers off the very bottom to prevent them from sticking to the liner.
- Chest freezer: Ensure the unit is set between 0°F and -10°F.
If you don’t have plastic, you can use stainless steel pans, but never use ceramic, which may crack under extreme cold.
How to make ice in chest freezer: Step-by-step
- Clear a flat section on the floor of your freezer, removing any food items that might block airflow to your containers.
- Fill your containers with cold water, leaving at least 2 inches of space at the top because water expands by about 9% as it turns into ice.
- Place a spacer, like a thin plastic mat, on the freezer floor and set your containers on top to allow cold air to circulate underneath.
- Set your freezer to its coldest setting for the first 12 hours if it’s currently near its maximum capacity, then return it to the normal range.
- Wait 12 to 24 hours without opening the lid, as each opening lets in warm, humid air that slows down the freezing process significantly.
- Remove the containers once the water is solid throughout, which you can check by gently pressing the center of the ice.
- Run the outside of the container under room-temperature water for 10 seconds to loosen the ice block for easy removal.
Careful: Don’t use sharp tools like knives or ice picks to pry containers off the freezer floor, as you risk puncturing the coolant lines, which requires a professional technician to repair.
Freezing variables and outcomes
| Situation | Time Required | Effort Level | Key Observation |
|---|---|---|---|
| Full freezer | 24+ hours | Low | Needs extra space |
| Empty freezer | 12 hours | Low | Faster cooling |
| Large block | 36 hours | Medium | Needs deep freeze |
| Small cubes | 8 hours | High | Frequent checking |
It’s always safer to start with smaller containers to test your freezer’s capacity before trying to freeze large blocks.
How to tell you did it right
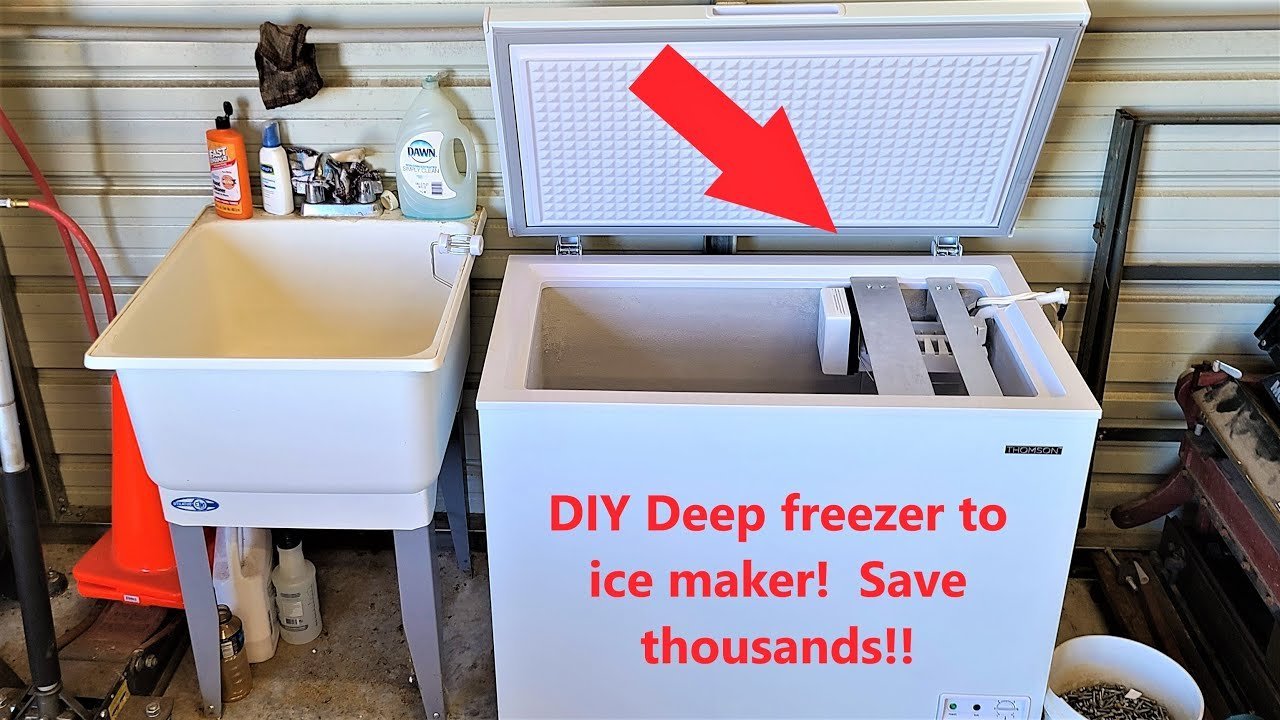
A successful batch of ice will be clear to cloudy throughout with no liquid water remaining in the center. If you find a liquid core, it means the center didn’t reach the freezing point, often because the container was too deep for the cold air to penetrate effectively. To prevent this, use shallower containers with a wide surface area. A poor result often looks like “slush” or cracked plastic containers. This happens when you overfill the container, leaving no room for the natural expansion of ice, which creates enough pressure to burst even durable plastic bins.
Operational standards and maintenance
Follow the manufacturer’s manual regarding the internal temperature, as most household chest freezers are designed to maintain a stable environment at 0°F. After you remove your ice, wipe down the floor of the freezer to clear away any frost or condensation that gathered during the process. If you notice thick ice buildup on the walls, it’s time to defrost the unit according to the brand instructions. Never use heat guns or hair dryers to speed up defrosting, as the high heat can damage the interior plastic lining.
Other ways to do it
Using silicone molds
These allow for smaller, individual ice cubes that freeze faster than large blocks. The flexible material makes it simple to pop the ice out without needing to run the mold under water.
Using insulated bags
Using professional ice makers
If you need high volumes daily, install a standalone ice machine. These units are built specifically for ice production and offer consistent results, though they require a dedicated water line and professional installation.
Frequently asked questions
Can I use glass containers to make ice?
No, you should never use glass containers in a chest freezer because the expansion of water as it freezes will cause the glass to crack or explode, creating a significant safety hazard with sharp shards.
How long does it take for water to freeze?
It takes 12 to 24 hours for water to freeze solid in a standard chest freezer. This time varies based on the volume of the water and how often you open the freezer lid during the process.
Is it safe to make ice in a chest freezer?
Yes, it’s safe as long as you use food-grade plastic containers. Ensure your freezer is kept clean and free of spills to prevent the growth of bacteria, which can survive even at freezing temperatures.
What happens if I overfill the containers?
If you overfill the containers, the water has no room to expand as it turns to ice. This creates pressure that can crack the container, causing water to leak and potentially damage the bottom of your freezer.
Why is my ice cloudy?
Your ice is cloudy because of trapped air bubbles and minerals in your water supply. This is perfectly safe to consume, but you can get clearer ice by using distilled water or boiling the water twice before freezing.
How do I stop containers from sticking?
You can stop containers from sticking by placing them on a plastic tray or a thin mat. If they do stick, never use a metal tool to pry them off, as you might puncture the cooling coils.
Final Thoughts
Once your first batch is ready, try using silicone molds to create different shapes for your drinks. It’s a simple way to keep your stash organized and easy to grab. You’ll find that having a steady supply on hand makes hosting friends much easier whenever they drop by for a visit.
Related guides
