
To understand how does a mini ice maker work, consider that it circulates refrigerant through a closed loop to chill a metal evaporator plate, which freezes water into cubes before a heating cycle releases them into a storage bin.
How does a mini ice maker work?
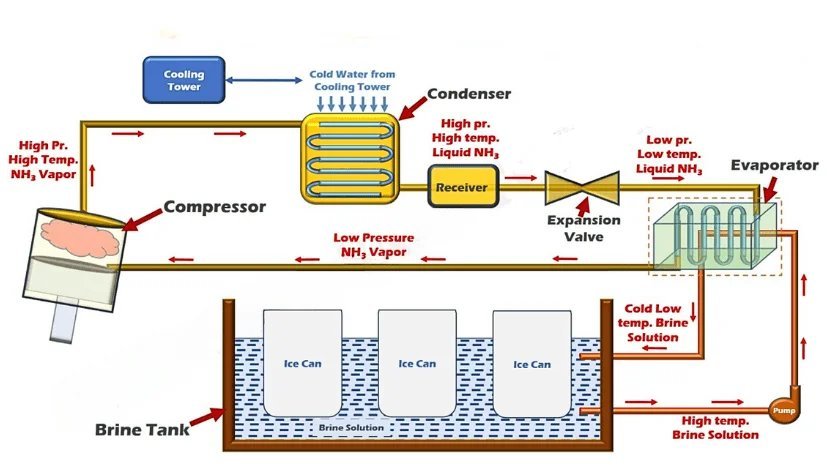
| Part or input | What it does | What you notice when it goes wrong |
|---|---|---|
| Compressor | Pushes refrigerant through the coils | It hums loudly or won’t start |
| Evaporator | Freezes water into ice shapes | Ice forms only on one side |
| Water pump | Moves water to the tray | The unit runs but stays dry |
| Thermostat | Senses the temperature for harvest | Ice doesn’t drop or melts fast |
| Fan | Cools the internal condenser coils | The exterior feels hot to touch |
Low pressure causes uneven freezing, which eventually kills the compressor.
When the water pump runs but the tray stays dry, inspect the intake screen for mineral buildup.
The thermostat is the most common point of failure for harvest cycles. If the ice stays frozen to the grid, use a multimeter to test for continuity. If the switch shows infinite resistance, replace it before the heater burns out.
Finally, touch the exterior housing. If it feels hot to the touch, the fan motor is likely failing. Ignoring this heat will warp the plastic casing and trigger an internal thermal shutdown. You must clear any dust from the intake vents to prevent this permanent motor damage.
What happens, step by step
- The water pump fills the ice tray with fresh water, usually taking about 30 seconds to reach the correct level for your model.
- The compressor starts to circulate refrigerant, which rapidly lowers the temperature of the evaporator fingers submerged in the water tray.
- Over the next 10 to 15 minutes, thin layers of ice build up on the cold metal fingers until they form solid cubes.
- The system switches to a harvest cycle, where a small heater warms the evaporator fingers just enough to loosen the ice.
- A plastic pusher arm moves forward to eject the cubes into the storage basket, which usually takes about 2 minutes to complete.
- The machine checks the water level and temperature; if the bin isn’t full, it immediately begins the next freezing cycle.
Why this matters when something goes wrong
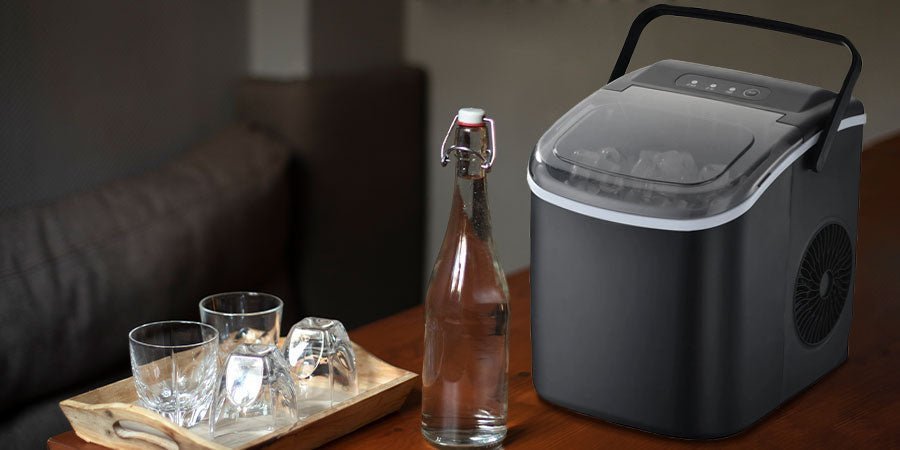
Knowing the cycle helps you find the fault when your machine stops making ice. If the unit runs but no ice forms, the issue is often a blocked water pump or an empty reservoir, as the evaporator can’t freeze air. If the machine makes ice but the cubes are soft or slushy, the thermostat or the refrigerant level is likely failing to reach the freezing point required for solid ice. When the machine stops mid-cycle, the harvest sensor might be dirty or broken, preventing the pusher from moving the cubes. You can check the FoodSafety.gov cold food storage charts to see how long ice remains safe if the power fails, but remember that these machines aren’t freezers; they’re designed to produce ice, not store it for long periods.
What you can change, and what you cannot

Things you can change
- The water temperature; use cold water to speed up the freezing process.
- The ambient room temperature; keep the unit in a cool area for better performance.
- The mineral content; use filtered water to prevent scale buildup on the evaporator.
- The frequency of cleaning; remove mineral deposits regularly to keep sensors working.
Things you can’t change
- The cycle time; this is fixed by the factory based on the compressor power.
- The cube shape; the evaporator mold design determines the size and shape of the ice.
- The refrigeration system; this is a sealed unit that requires a licensed professional to repair.
Getting more out of it
To keep your machine running well, always clear the ice basket once it’s full. The internal sensor stops production immediately when it detects a full bin, which can lead to ice clumping and sensor errors if left unattended.
If you notice ice production slowing down, check the air vents on the side of the unit. They must stay at least 6 inches away from walls to allow the fan to exhaust heat properly. Placing the unit too close to a wall causes the compressor to overheat, which forces the safety shutoff to trigger.
Wipe the inside with a soft cloth and a mix of water and mild vinegar regularly to remove mineral buildup. If you live in a hard water area, descale the internal pump whenever necessary to ensure water flows freely during the fill step. If the pump makes a grinding noise, you’re already overdue for this descaling process.
Related guides
