
This guide explains how to use a fridge ice maker, a method that works for most standard residential models.
Tools for your fridge ice maker
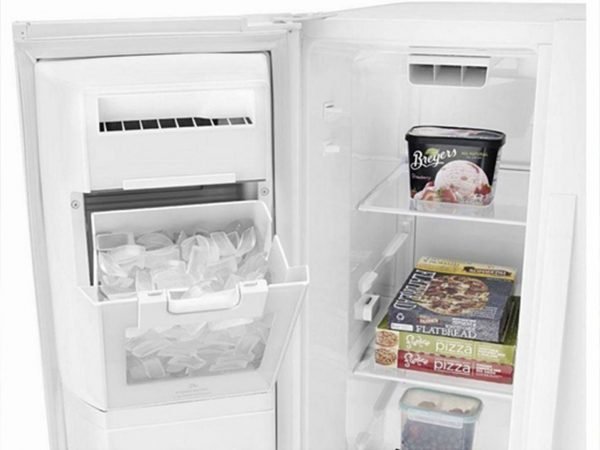
- Water supply line: A flexible plastic or braided steel tube connected to a cold water pipe.
- Shut-off valve: A physical valve located behind the unit or under the sink that controls water flow.
- Operating manual: The specific guide for your model to locate the power switch or reset button.
- Container: A clean, food-grade bin if your unit doesn’t have a built-in drawer.
- Clearance: Space to move the fridge away from the wall to check connections.
If you lack a water line, you can’t use an automatic maker; you must use manual trays. Professional plumbing installation is recommended if you aren’t comfortable with water shut-off valves.
How to use a fridge ice maker: Step-by-step
- Verify the water connection: Check that the shut-off valve behind the fridge is fully open by turning it counter-clockwise.
- Activate the unit: Flip the wire shut-off arm downward or press the “Ice On” button on your digital display panel.
- Wait for production: Allow 24 hours for the first batch to fill the bin, as the system needs time to cool the water.
- Discard the first batch: Empty the initial bin of ice, as it may contain dust or debris from the new supply line.
- Monitor the level: Ensure the bin remains clear of obstructions so the sensor can detect when it’s full and stop production.
- Clean the bin: Wash the bin with mild soap and warm water regularly to prevent bacteria buildup according to FoodSafety.gov’s cold food storage charts.
Tip: If ice tastes metallic, your water filter is likely overdue for a change; most manufacturers suggest replacing it regularly. Careful: Never use a sharp tool like an ice pick to break up frozen clumps, as you may puncture the plastic bin or the cooling coils.
Operational variance by model
The time and effort required depend on the specific unit you have installed in your kitchen.
It’s always safer to start with a small, trial batch to ensure the line is clean before filling the entire storage bin.
How to tell you did it right
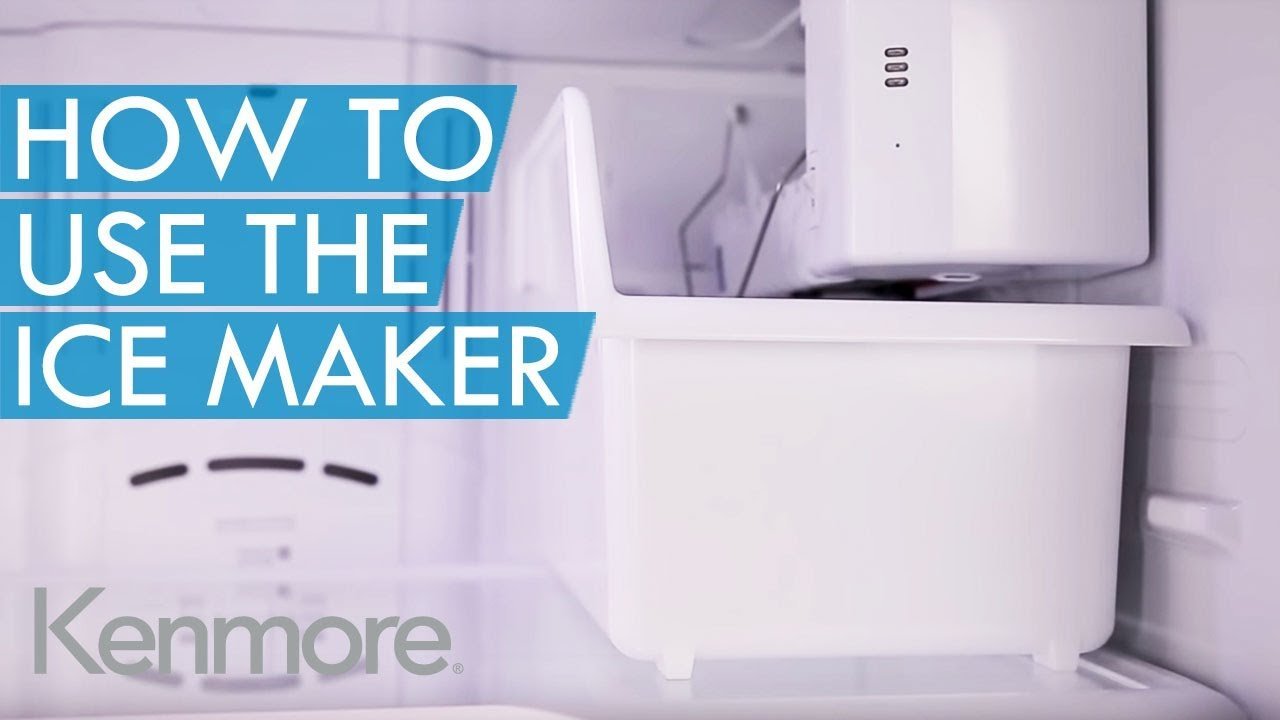
A good result is a bin filled with individual, clear ice cubes that don’t stick together. A poor result involves a solid, frozen block of ice or no ice at all. This usually happens when the temperature inside the freezer is too high or the water line is kinked behind the unit. To prevent this, keep your freezer set to zero degrees Fahrenheit and ensure the water line has enough slack to avoid sharp bends when you push the fridge back into place.
Managing your ice supply
Maintaining a clean environment helps prevent cross-contamination. If you plan to leave for a vacation, you should shut off the water valve and empty the bin to prevent stale ice or potential leaks while away. For units that have been inactive for more than a week, discard all existing ice and run one full cycle before consuming. If you encounter mechanical issues, contact a certified technician, as the internal components involve electrical systems that aren’t user-serviceable.
Other ways to do it
Manual ice trays
This is the most reliable method for fridges without built-in systems. It requires active effort to fill and empty, but it eliminates the risk of water leaks or filter maintenance costs.
Countertop ice machines
These portable units produce ice in minutes rather than hours. They’re ideal for events or small spaces, but they require manual water filling and take up valuable counter space.
Buying bagged ice
Purchasing ice from a store is the simplest alternative. It removes all maintenance and setup requirements, though it becomes expensive over time and requires storage space in your freezer.
Frequently asked questions
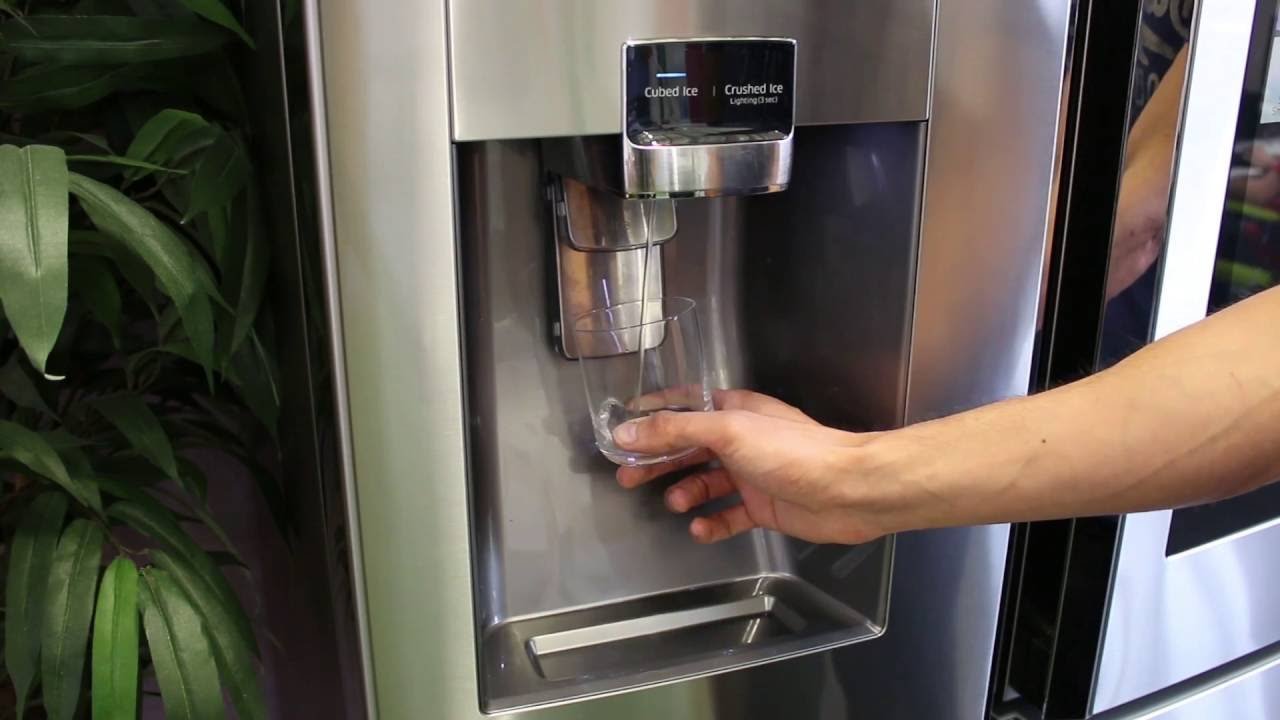
Can I leave the ice maker on all the time?
Yes, you can leave it on as long as the bin is in place. The internal sensor detects when the bin is full and automatically stops the production process to prevent overflowing.
Why is my ice maker not making ice?
It’s likely that the water shut-off valve is closed or the freezer temperature is too high. Check that the unit is turned on and that the water supply line isn’t kinked behind the fridge.
How long does it take to make a full bin?
It usually takes 24 hours to fill the bin completely after initial startup. This varies by model — check the label for your specific production rate, as larger bins take longer to fill.
Is it safe to eat ice from my fridge?
Yes, it’s safe if you maintain the system properly. Always change the water filter as recommended by your manufacturer and keep the bin clean to avoid any buildup of impurities.
What happens if the power goes out?
The ice will begin to melt and may refreeze into a solid block. Once power returns, you should empty the bin and wait for a fresh batch to ensure quality.
How often should I clean the ice bin?
You should wash the bin regularly. Use mild dish soap and warm water, then dry it completely before placing it back into the freezer to prevent frost buildup.
Final Thoughts
If your ice tastes a bit strange at first, don’t worry. It’s common for the first few batches to absorb odors from the freezer, so just toss them out. Once you’ve cleared those away, you’ll have a steady supply of fresh cubes ready for your favorite cold drinks all summer long.
