
You activate the cooling cycle by flipping the wire shut-off arm down or toggling the electronic control panel to “On” to see how to use a fridge ice maker effectively. These systems typically produce their first batch within 24 hours of connection.
Fridge ice maker setup supplies
- Water line connection: A quarter-inch plastic or copper tubing securely attached to your home’s cold water supply.
- Water filter: A cartridge matching your fridge model, replaced regularly to ensure water quality.
- Leveling tool: A standard bubble level to ensure the unit sits flat, which prevents internal jamming.
- Owner’s manual: The specific document for your appliance, as it details the exact reset sequence for your unit.
- Cleaning cloth: A soft, microfiber towel for wiping down the interior bin.
If your fridge lacks a pre-installed line, you’ll need a professional plumber to tap into your plumbing, as improper connections often lead to leaks that damage flooring.
How to use a fridge ice maker: Step-by-step
- Verify the water supply valve behind the refrigerator is fully open by turning the handle counter-clockwise until it stops.
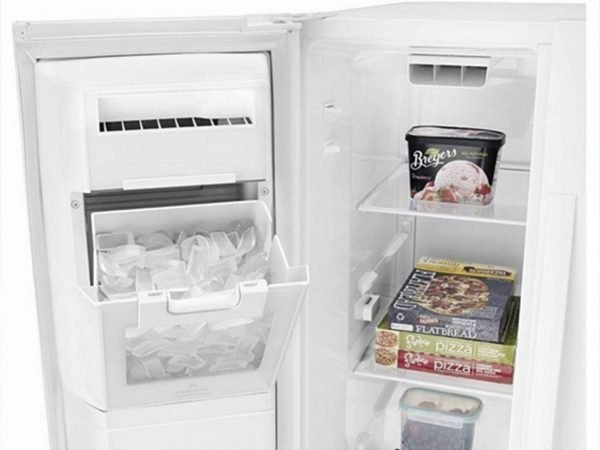
- Clear the ice bin of any debris or old frost buildup before you begin the first cycle.
- Lower the wire shut-off arm into the “down” position or press the “Ice On” button on your digital display to start the process.
- Discard the first two or three batches of ice produced, as these may contain dust or air from the initial line installation.
- Check the ice bin periodically to ensure the sensor arm isn’t blocked, which signals the machine to stop production when full.
- Adjust the freezer temperature to 0°F (-18°C) to ensure the ice cubes remain solid and don’t stick together in the bin.
Tip: If you notice the cubes are small or hollow, check your water pressure, as most makers require at least 20 psi to function correctly.
Careful: If you hear a loud grinding sound, stop the unit immediately and check for a jammed cube, as forcing the motor to run against a blockage can strip the internal plastic gears.
Operational variables and timing
The time and effort required to maintain your system depend on your usage levels and the quality of your home water supply.
| Situation | Time Required | Difference | What to Watch |
|---|---|---|---|
| Initial Setup | 24 hours | First cycle delay | Water line leaks |
| Filter Change | 5 minutes | Every 6 months | Seal integrity |
| Jam Removal | 10 minutes | Manual effort | Gear damage |
It’s always safer to start small by inspecting the bin weekly rather than waiting for a complete blockage to occur.
How to tell you did it right
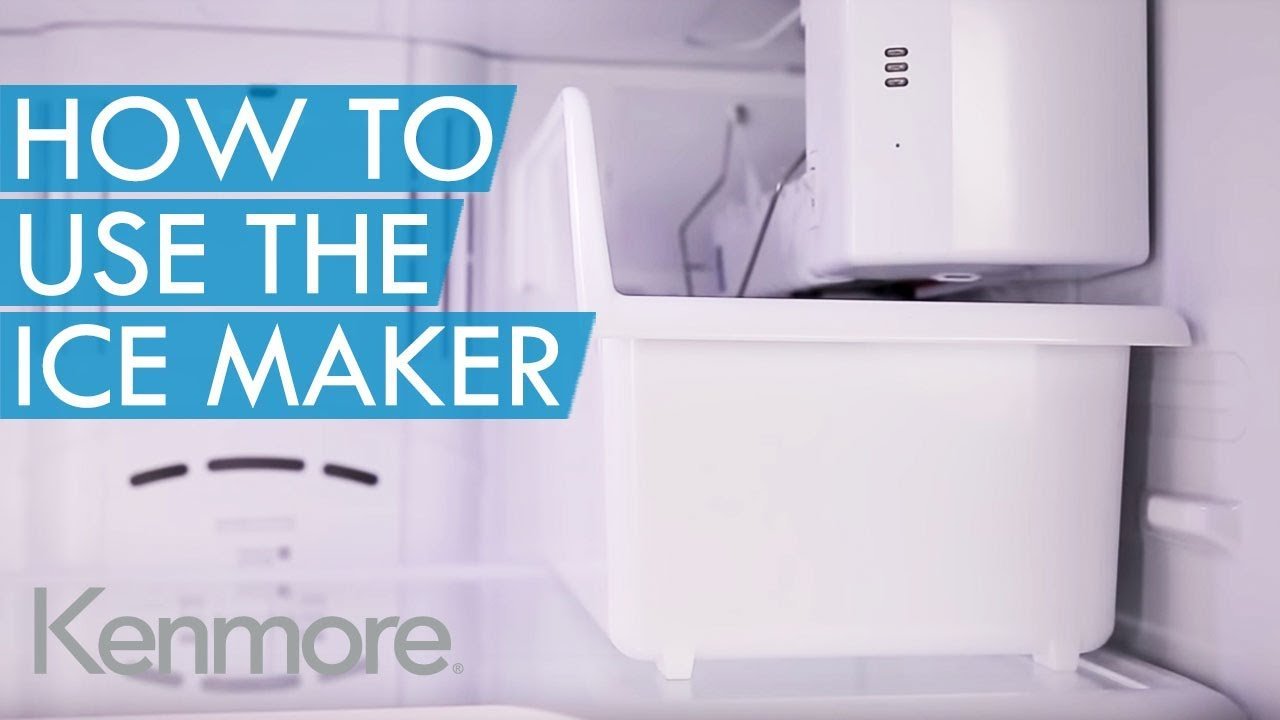
A properly functioning system produces clear, uniform cubes that fall easily into the bin without clumping. If you see misshapen or cloudy ice, it’s often a sign of a clogged water filter or high mineral content in your supply. You can prevent these issues by keeping the bin dry and ensuring the temperature remains stable. If the ice tastes like other food in the freezer, it means the ice has absorbed odors, which happens because the bin is open to the air. Keep the freezer door shut as much as possible to maintain a consistent environment.
Maintenance and safety standards
The Cold Food Storage Charts published by the USDA indicate that maintaining a consistent freezer temperature is essential for food safety and ice quality. You should empty and wash the ice bin with mild soap and warm water as part of your usual clean to prevent bacterial growth. If you’re going away for more than a week, turn the unit off and empty the bin to prevent stale ice. Only qualified technicians should service the internal motor or electrical components, as capacitors can hold electrical charges even when unplugged.
Other ways to do it
Manual ice trays
Use traditional plastic or silicone trays for a low-cost alternative. This method takes longer to freeze, usually four to six hours, but it avoids the mechanical risks and plumbing maintenance associated with automatic systems.
Portable countertop makers
These standalone units produce ice in ten minutes without needing a water line. They require manual filling and regular draining, which increases your daily effort but provides a portable solution for events or small kitchens.
Direct water hookup kits
If your fridge lacks a built-in line, you can buy a third-party installation kit. This requires basic plumbing skills to connect to your cold water pipe, effectively converting a standard fridge into an automatic ice-producing unit.
Frequently asked questions
How long does it take for a new ice maker to start working?
It typically takes 24 hours for a new or reset ice maker to reach the temperature needed to produce a full bin of ice. Don’t expect ice in the first few hours, as the cooling system must stabilize first.
Why is my ice maker not making ice?
It’s likely that the shut-off arm is in the “up” position or the water line is kinked. Check that the water supply valve behind the unit is fully open and the filter isn’t clogged with sediment.
Can I turn off my fridge ice maker when I am away?
Yes, you can turn it off by lifting the wire arm or pressing the “Off” button on your control panel. This prevents the unit from cycling unnecessarily and keeps the remaining ice from melting and refreezing.
Is it safe to eat ice from a fridge that hasn’t been used in months?
No, you should discard all old ice and clean the bin thoroughly before using it again. Stagnant water and old ice can harbor mold or bacteria, especially if the freezer temperature has fluctuated while you were away.
What happens if I leave the ice maker on when the water is off?
The machine will continue to cycle the motor, which can cause damage to the internal components or cause the motor to burn out. Always ensure the water supply is active before you turn the unit on.
Final Thoughts
Keep an eye on the bin as it fills up, and don’t worry if the first few cubes taste a bit like the freezer itself. It’s normal for the system to need a little time to flush out. You’ll be enjoying cold drinks in no time, so just enjoy the convenience.
Related guides
