
To start, you must ensure the unit is connected to a water supply, the power switch is in the “on” position, and the wire signal arm is in the lowered state to properly how to work ice maker in freezer models. This guide explains how to activate your system and troubleshoot common delays.
How your freezer ice maker works
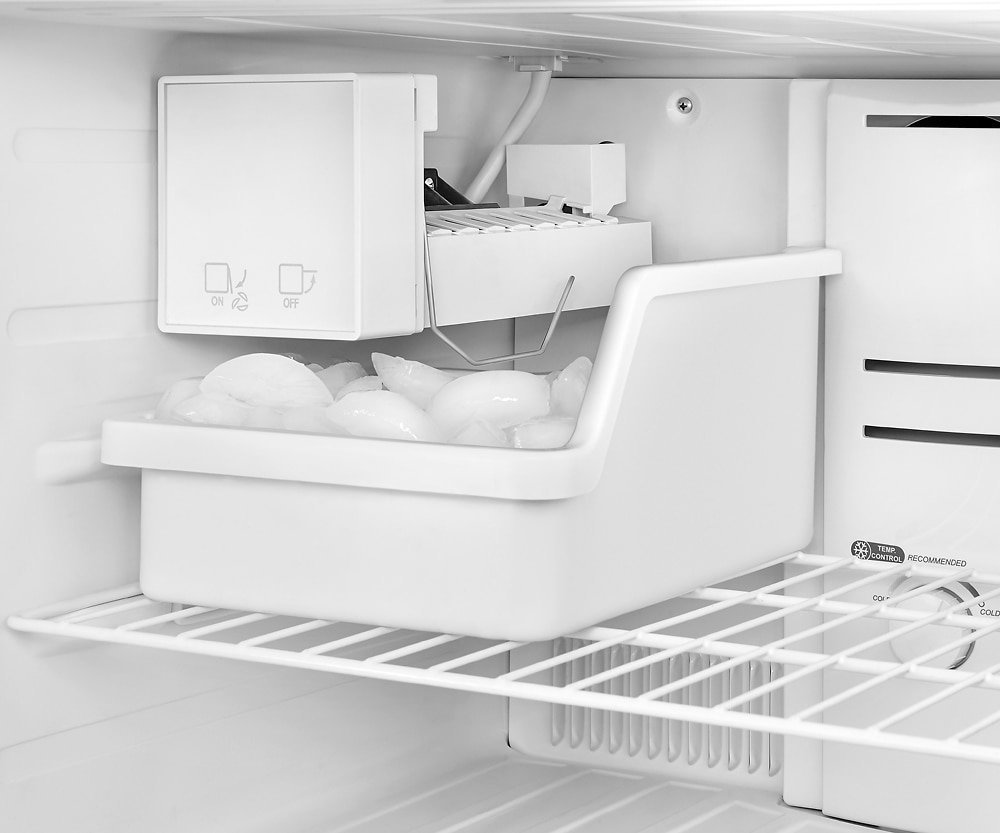
Automatic ice makers function by drawing water through a solenoid valve into a mold, freezing it, and then using a heating element or physical arm to eject the cubes. It’s for domestic convenience and requires a steady water line connection. A common mistake is assuming the machine works instantly; it often takes 24 hours to reach full production capacity. This isn’t for those without a dedicated water line connection or a freezer that isn’t already at or below 0°F.
How to work ice maker in freezer: The basic method
- Ensure the water supply valve behind the refrigerator is turned fully counter-clockwise to the open position.
- Locate the wire signal arm or the toggle switch on the front or side of the ice maker unit.
- Push the switch to the “on” position or pull the wire arm downward until it clicks into the bottom position.
- Close the freezer door and wait 6 to 12 hours for the first batch to drop into the storage bin.
- Discard the first two batches of ice, as these may contain debris or air from the initial water line installation.
- If the bin fills up, the wire arm will lift automatically to stop production; if you need more ice, keep the bin empty.
The main judgement call is ensuring the freezer temperature remains steady; if it rises above 10°F, the ice may melt and fuse together. If the unit requires internal wiring or plumbing repair, contact a licensed appliance technician, as capacitors can hold a lethal charge even when unplugged.
Key numbers and settings at a glance
These values assume a standard household freezer set to 0°F. If your freezer is warmer, expect longer cycle times.
| Situation | What to use | How long | What to watch for |
|---|---|---|---|
| First start | Fresh water line | 24 hours | Initial bin fill |
| Daily cycle | Automatic sensor | 1-2 hours | Full bin status |
| Fast cooling | Power freeze mode | 4-6 hours | Rapid ice growth |
| Cleaning | Mild soap/water | 15 minutes | Residue buildup |
What separates good results from bad ones
Proper preparation and loading
Experienced users keep the freezer organized so that air flows freely around the ice maker housing. If you pack the freezer too tightly, the sensor arm may be blocked by a bag of frozen vegetables, causing the machine to stop producing ice prematurely. Always check that the bin is pushed all the way back into its track so the ejector arm can drop cubes without hitting an obstruction.
Maintenance and monitoring
Partway through the week, check the ice bin for “clumping.” This happens if the door is left open too long or if the freezer temperature fluctuates. If you see frost building up on the ice, it means moist air is entering the freezer. Inspect the door seals for gaps and ensure they’re clean. Never leave the ice bin out of the freezer for more than a few minutes, as the ice will melt and refreeze into a solid, unusable block.
Common problems and quick fixes
| What you notice | What it usually means | What to do first |
|---|---|---|
| No ice produced | Water line is off | Check supply valve |
| Small, hollow cubes | Low water pressure | Clean inlet screen |
| Ice tastes bad | Old filter | Replace water filter |
| Jammed ejector | Overfilled bin | Remove excess ice |
Safety and operational standards
Manufacturer guidelines, such as those provided by Whirlpool or GE, dictate that the water pressure must fall between 30 and 120 psi for the valve to function correctly. If your pressure is outside this range, you must install a pressure regulator. Never attempt to force the ejector arm or heat the mold with an external heat source, as this can damage the internal plastic components or the heating element. Any electrical work must be performed by a professional, as improper handling of the wiring can void your warranty and pose a fire risk.
Keeping it working afterwards
To maintain performance, replace your refrigerator’s water filter regularly or when the indicator light turns on. If you’re going away for more than a week, lift the wire arm to the “off” position and empty the bin to prevent stale ice or potential overflow. If the ice begins to smell or change color, discard the entire batch and clean the bin thoroughly.
When to use a different approach
If your water line is frozen or the internal valve is broken, this automated method will fail; instead, use manual silicone ice trays until the supply is repaired. If you live in an area with extremely hard water, the scale buildup will clog the valve rapidly; in this case, use a dedicated reverse osmosis filtration system before the water reaches the refrigerator to prevent recurring mechanical failure.
Frequently asked questions
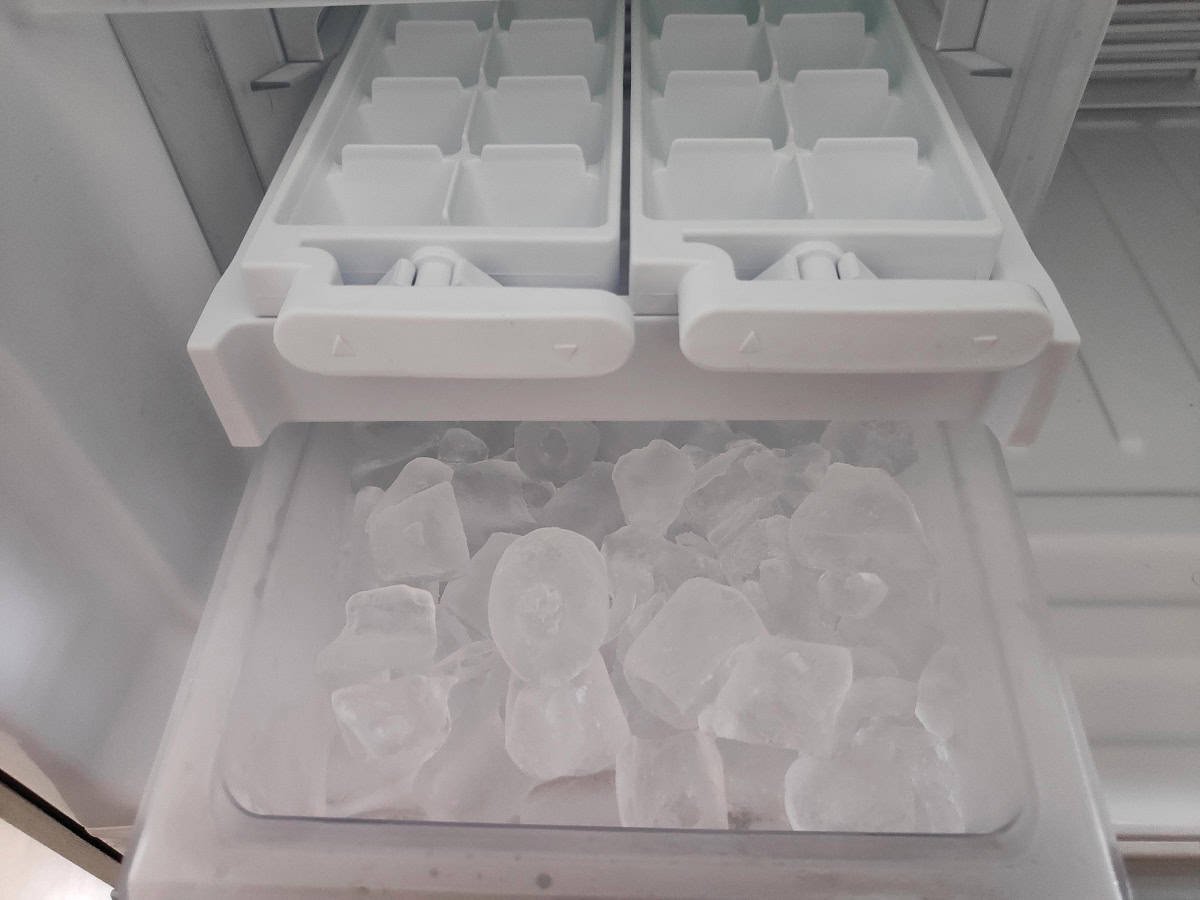
Can I turn off the ice maker?
Yes, simply lift the wire signal arm to the upright “off” position or toggle the power switch on the front of the unit to “off” to stop production immediately.
Why is my ice maker not dropping ice?
It’s likely that the wire arm is stuck in the “up” position or the water supply line is kinked behind the refrigerator, preventing the water from reaching the mold.
How long does it take for the ice maker to make a full bin?
It typically takes 24 hours for a standard ice maker to produce a full bin of ice after the initial startup or after the bin has been completely emptied.
Is it safe to eat the first batch of ice?
No, you should always discard the first two batches of ice produced by a new or serviced unit, as they may contain trapped air or plastic shavings from the line.
What happens if the freezer door is left open?
If the door is left open, the temperature will rise, causing the ice in the bin to melt and potentially refreeze into a single, large, unusable block of ice.
Final Thoughts
Once your tray begins filling, give it about twenty-four hours to produce a full batch of ice. If you don’t hear the mechanism cycling after a day, check your water line for any kinks. You’ll be enjoying cold drinks in no time, so keep an eye on the bin as it fills up.
