
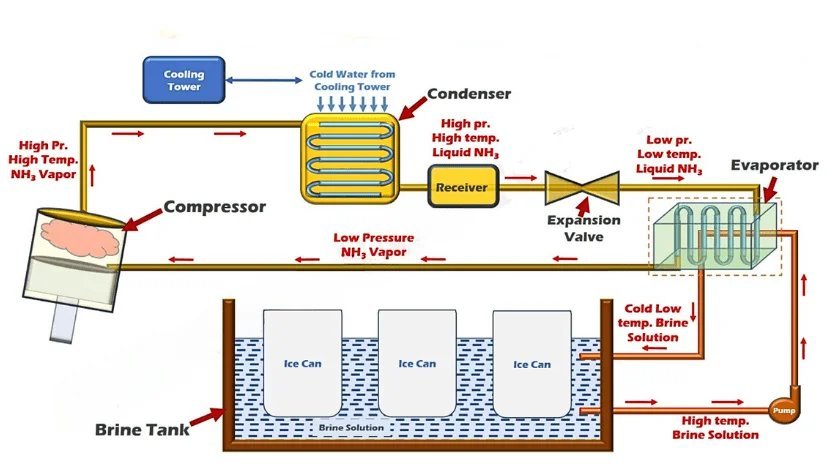
To understand how does a mini ice maker work, consider that it uses a refrigerant cycle to cool metal prongs that freeze water into cubes. This process pulls heat away from the water to create ice without a freezer connection, before dropping the finished cubes.
How the mini maker components work
| Part or input | What it does | What you notice when it goes wrong |
|---|---|---|
| Compressor | Pushes refrigerant through the coils | It makes a loud, continuous buzzing sound |
| Water pump | Moves water to the tray | The machine runs but no ice forms |
| Evaporator coils | Get cold to freeze water | Ice forms only on one side |
| Sensor | Detects when the ice bin is full | The machine keeps running until it overflows |
| Control board | Manages the freezing cycle timing | The cycle stops too soon or too late |
If your compressor hums but the coils stay warm, the refrigerant has likely leaked. Check for oily residue near the joints, which signals a breach.
When the water pump fails, listen for a dry, grinding noise. If you hear nothing, test the pump for voltage. If it receives power but doesn’t spin, replace it immediately.
Uneven ice on the evaporator coils often points to a refrigerant charge issue rather than a mechanical failure. If the ice looks thin or slushy, your system is likely losing pressure.
The sensor is the most common point of failure for overflow issues. If the bin is empty but the machine still stops, wipe the sensor eyes with a damp cloth. Dust buildup often mimics a full bin, costing you hours of lost production.
Finally, if the control board resets randomly, check the power supply for fluctuations. A stable 120V input is required for the internal timer to function correctly.
What happens, step by step
- You pour fresh water into the reservoir until it reaches the marked fill line, which is usually about two liters for standard countertop units.
- The water pump pulls water from the reservoir up to the freezing tray, where the metal prongs are suspended above the water surface.
- The compressor circulates refrigerant through the evaporator coils, dropping the temperature of the metal prongs to well below freezing in about five minutes.
- As the water contacts the freezing cold prongs, ice begins to form around them, growing thicker the longer the cycle runs, typically six to ten minutes.
- Once the ice reaches the desired thickness, the control board triggers a heating cycle that warms the prongs slightly to release the ice cubes.
- A mechanical arm pushes the newly formed ice cubes into the storage basket, and the pump refills the tray to start the process again.
Why this matters when something goes wrong
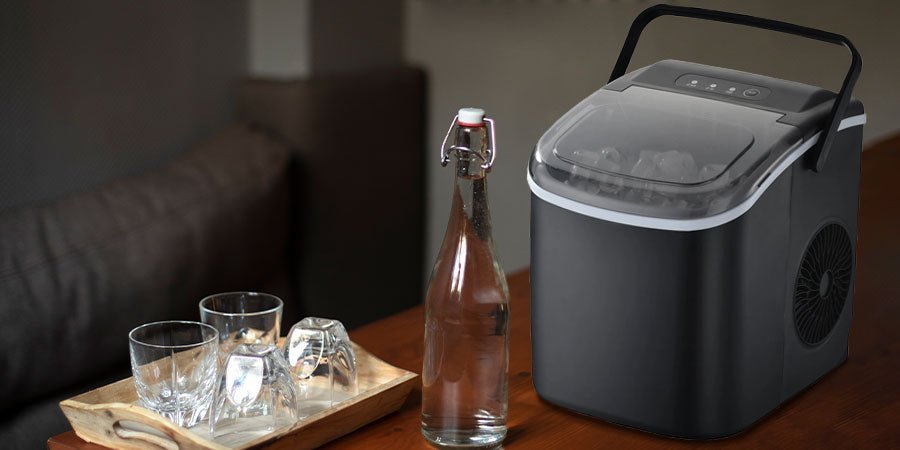
Knowing the cycle helps you find the fault when the machine fails. If the machine runs but produces no ice, the water pump is the likely culprit because it can’t move water to the cold prongs. If the ice is thin or slushy, the compressor may be struggling, or the ambient temperature is too high for the cooling system to keep up. Most manufacturers state that these machines function best in rooms between 50 and 90 degrees Fahrenheit; if your kitchen is hotter than that, the cooling efficiency drops significantly.
What you can change, and what you cannot
What you control
- The temperature of the water you pour into the reservoir at the start. Using chilled water instead of tap temperature can shave up to five minutes off your first batch of ice.
- How often you clean the interior to prevent scale buildup on the pump. If you live in a hard water area, descale regularly. Neglecting this causes the pump to labor, eventually burning out the motor.
- The amount of clearance you leave around the vents for proper airflow. Maintain at least six inches of space on all sides. Without this, the unit traps heat, forcing the compressor to cycle constantly.
- The location of the unit to ensure it stays out of direct sunlight.
What is fixed by design
- The maximum size of the ice cubes, which is set by the prongs.
- The speed of the compressor, which can’t be adjusted for faster output.
- The safety shut-off limit, which is hard-coded into the internal control board.
Getting more out of it

Use filtered water to prevent mineral scale from clogging the internal pump, which extends the life of the machine by avoiding hard water buildup. Hard water deposits act as an insulator, forcing the compressor to work harder to reach freezing temperatures.
If you need ice faster, keep the reservoir topped up with cold water rather than warm water to reduce the initial cooling load. Never fill the reservoir past the “max” line, as this can cause the ice to freeze into one large, unusable block.
Check the intake filter whenever you notice it; if it looks grey or blocked by debris, rinse it gently under a tap to ensure the pump maintains its flow rate. A clogged filter starves the system of water, which triggers a low-water error light even when the tank is full.
If the machine stops making ice, check the manual for the reset procedure before calling a technician. Most units require a simple power cycle or a sensor wipe to clear a false error.
Final Thoughts
Keeping your machine clean is the best way to ensure every batch stays fresh and clear. You shouldn’t forget to wipe down the interior and run a vinegar cycle once a month to prevent mineral buildup. It’s a simple habit that’ll keep your drinks perfectly chilled for years to come.
