
To learn how to use the ice maker, turn the power switch or wire arm to the “on” position and wait 24 hours for the first bin to fill. This applies to standard refrigerator-freezer units.
What you’ll need
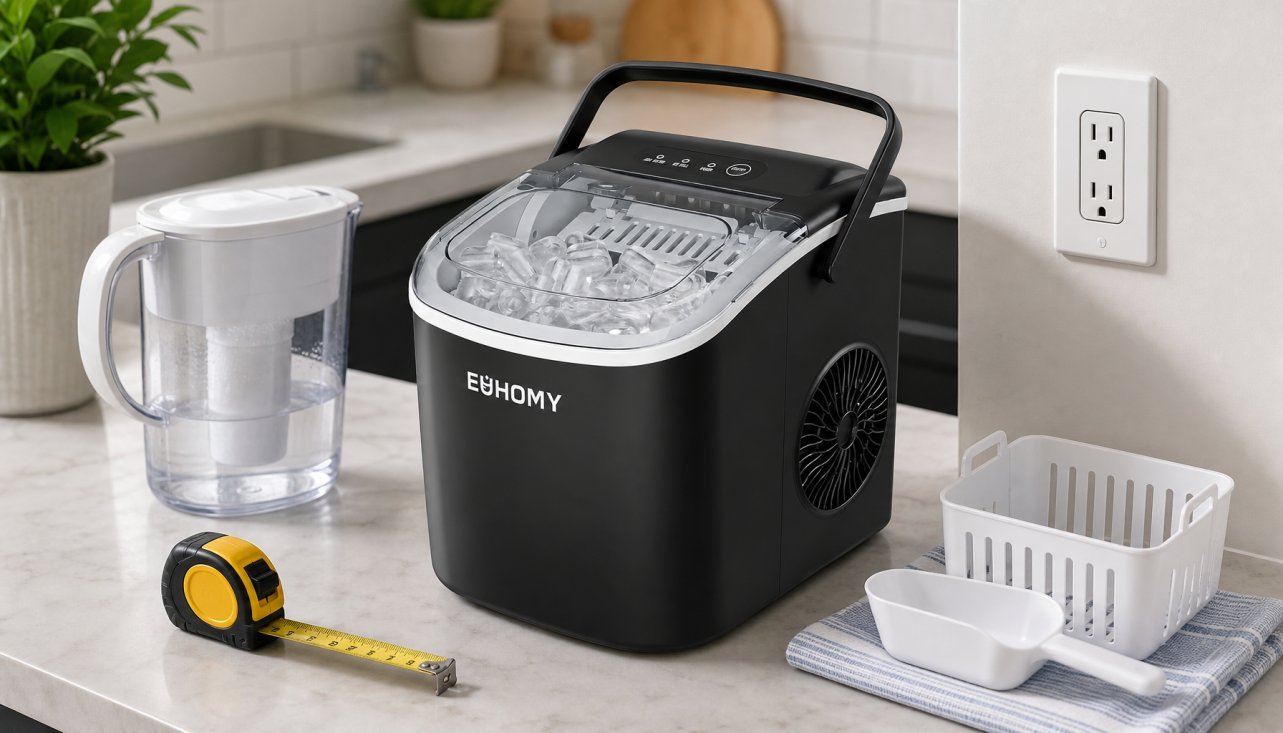
- Water supply line: A quarter-inch plastic or copper tube connected to your home plumbing.
- Water filter: A certified replacement cartridge, usually replaced regularly to ensure quality.
- Ice bin: The original plastic container that came with your specific unit.
- Owner’s manual: Your model’s guide for locating the specific power switch or reset button.
- Clean cloth: For wiping moisture from the ice dispenser chute.
You can find official guidance on water quality and maintenance via the NSF International water filter standards.
How to use the ice maker: Step-by-step
- Connect the water line to the back of your refrigerator and tighten the connection with a wrench until it’s snug but not over-tightened.
- Turn the shut-off valve on your wall pipe to the “open” position to allow water to flow into the appliance.
- Switch the ice maker power to “on” by lifting the wire arm or pressing the control panel button, depending on your model.
- Discard the first two batches of ice produced, as these may contain dust or debris from the new water lines.
- Check the ice bin daily to ensure the sensor arm isn’t blocked by clumped ice, which prevents the unit from making more.
- Clean the bin whenever you notice it with mild dish soap and warm water to prevent mineral buildup and odors.
Tip: If you’re leaving for a vacation longer than a week, turn the ice maker off and empty the bin to prevent stale or fused ice.
Careful: Don’t use sharp tools to break up ice inside the bin; you’ll likely puncture the plastic or damage the mechanical auger, which usually voids your warranty.
Situational adjustments for ice production
Ice production rates vary based on your specific refrigerator model and the ambient temperature of your kitchen.
| Situation | Time to Full Bin | Difference | Watch for |
|---|---|---|---|
| High usage | 12 hours | Higher demand | Empty bin alerts |
| Low usage | 24+ hours | Slower cycling | Fused ice cubes |
| Summer heat | 30 hours | Slower freezing | Water leaks |
| Winter cold | 18 hours | Faster freezing | Frost buildup |
How to tell you did it right
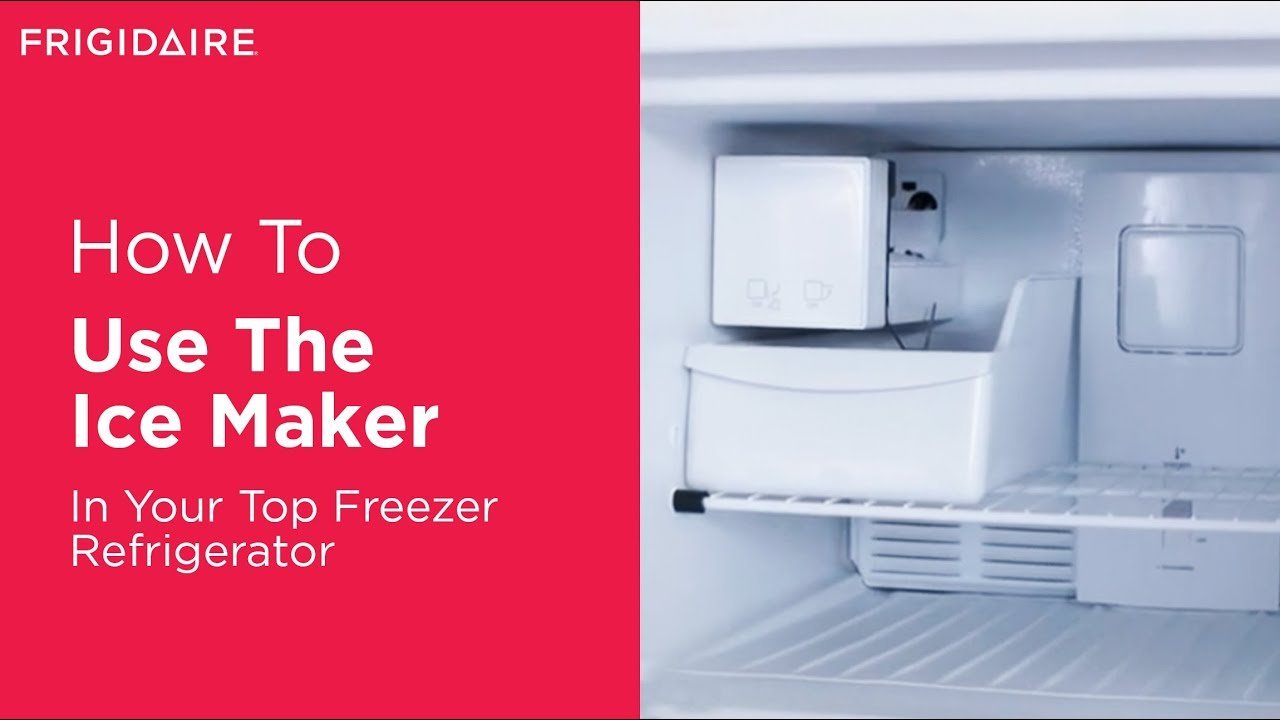
A good result looks like a bin filled with individual, clear, and hard cubes. If your ice comes out cloudy, soft, or stuck together in one large block, the system is likely suffering from a temperature fluctuation or a slow water leak. This happens when the freezer temperature rises above zero degrees Fahrenheit, causing surface melting. To prevent this, keep the freezer door closed as much as possible and ensure the door seal is airtight.
Maintenance and operational standards
The standard for residential ice storage is to maintain a freezer temperature at or below zero degrees Fahrenheit, as recommended by the FoodSafety.gov cold food storage chart. You should clear away any frost buildup around the icemaker regularly to keep the sensor functional. If the unit makes a loud grinding noise, shut off the water supply immediately and contact the manufacturer’s authorized service technician. Regular cleaning keeps the system running for years, but mechanical parts often require professional replacement if they stop cycling entirely.
Alternative production methods
Manual ice trays
Using plastic or silicone trays is the most reliable way to get ice if your machine breaks. It costs nothing beyond your time but requires manual refilling and occupies valuable shelf space in the freezer.
Countertop ice machines
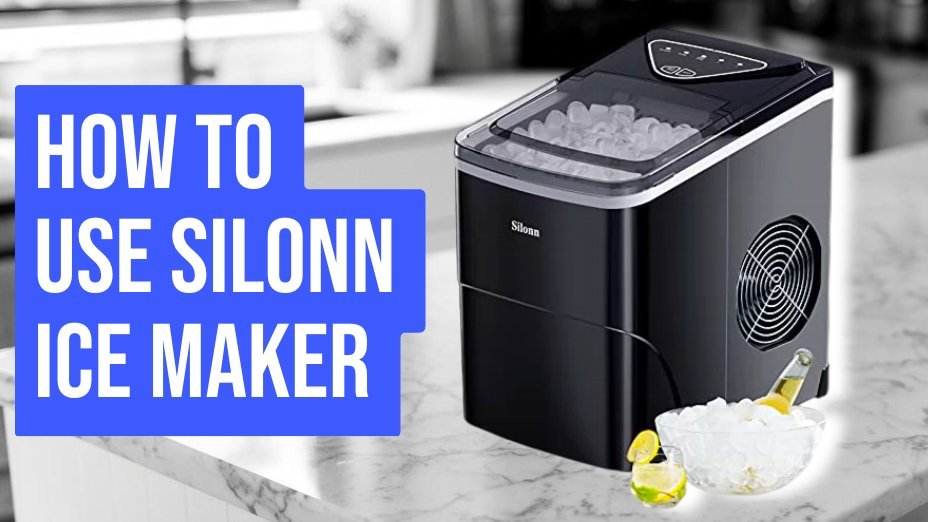
These portable units produce ice in ten minutes. They’re great for parties but require manual water refilling and take up significant counter space. They aren’t designed for long-term storage of large quantities.
Bagged ice
Buying ice from a store is the best route for large events. It ensures high quality and zero effort, though it adds a recurring cost and requires a trip to the store before your gathering begins.
Frequently asked questions
Can I use the ice maker immediately after installation?
No, wait for the freezer to reach the appropriate operating temperature before turning the ice maker on.
Why is my ice maker not making ice?
Check if the wire arm is in the “up” position, as this is the manual off-switch for most models. Also, ensure your water filter isn’t clogged, as this stops the flow into the mold.
How long does it take for the bin to fill?
It typically takes 24 hours for a standard bin to fill completely. This assumes your freezer is set to the manufacturer’s recommended temperature and the water pressure is within the specified range for your unit.
Is it safe to eat the first batch of ice?
Discarding the first few batches is recommended to flush out air and debris from new water lines, which may affect the taste of the ice.
What happens if I leave the ice maker on while away?
The ice will eventually fuse together into a solid block because of minor temperature fluctuations. This can jam the auger and motor, which may require a professional repair if the mechanism becomes stuck.
Final Thoughts
Once your bin is full, you’ll have plenty of cold cubes for your favorite drinks. If you notice the ice tastes a bit stale after a few weeks, don’t worry. Just empty the container and let it start fresh. You’ll be ready to enjoy a perfectly chilled glass whenever you’d like.
Related guides

Pingback: How to Use Ice Maker: Simple Steps for Manual and Auto
Pingback: How to Set Up GE Nugget Ice Maker: Step-by-Step Guide