
To learn how to manually fill ice maker with water, pour 4 to 6 ounces of cold, filtered water into the mold tray when the unit fails to cycle. This quick fix works for most standard residential models, though it is only a temporary solution for a machine not receiving a proper supply from your water line.
What this takes
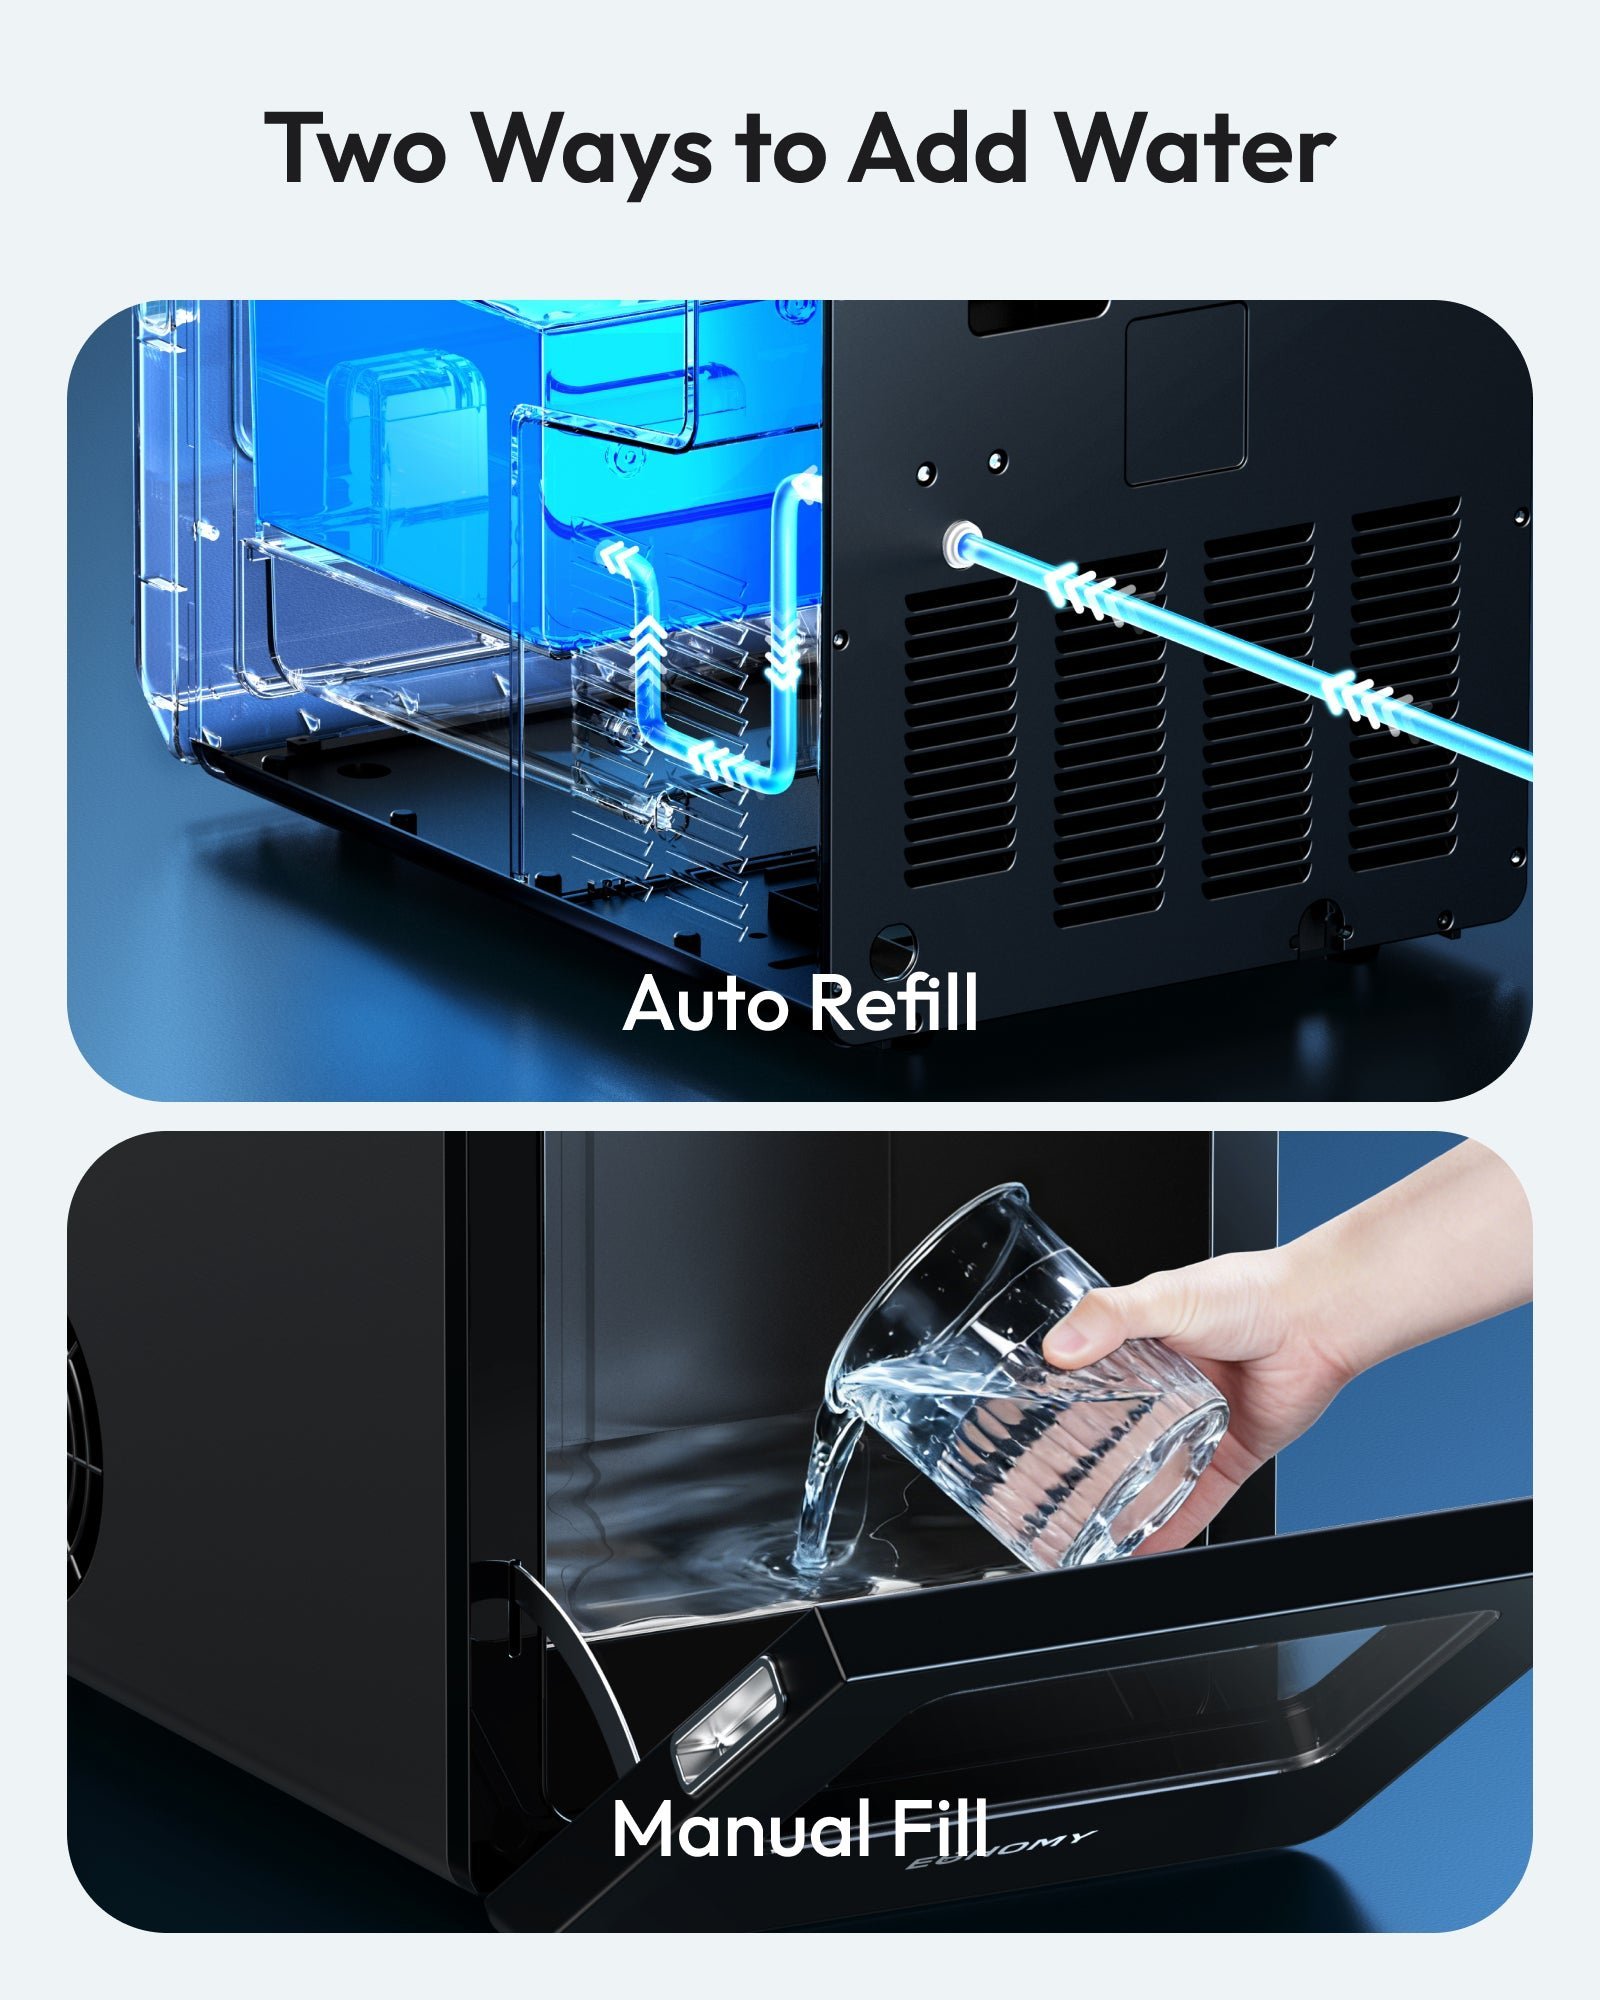
This task takes about 2 minutes to perform once you locate the tray. It costs nothing as it requires no new parts, and it’s very easy for any user to handle safely. You must have a small measuring cup or a clean pitcher to avoid spilling water inside the freezer cabinet.
What you need
| Item | How much | Why it’s needed | A substitute |
|---|---|---|---|
| Cold water | 4-6 ounces | Fills the mold | None — don’t swap this |
| Measuring cup | 1 cup size | Controls flow | Clean small pitcher |
| Flashlight | 1 device | Improves visibility | Bright phone light |
| Soft cloth | 1 piece | Wipes spills | None — don’t swap this |
| Freezer manual | 1 document | Identifies tray | Look for label |
Before you start
- Clear the area around the ice mold so you can see the tray clearly.
- Check if the ice maker arm is in the “on” or “down” position.
- Identify the fill level, which is usually just below the top edge of the mold.
- Stop if you see ice buildup, as adding water to a frozen block causes leaks.
How to manually fill ice maker with water
- Locate the ice maker inside your freezer compartment, usually found near the top or side wall.
- Move the metal wire shut-off arm to the “up” or “off” position to stop the machine from cycling while you pour.
- Fill your measuring cup with 4 to 6 ounces of cold, filtered water to avoid adding impurities to your ice.
- Pour the water slowly into the plastic tray or mold, ensuring you don’t overflow the individual cube slots.
- Wipe up any water that splashes onto the freezer floor or shelf with your cloth to prevent ice patches.
- Return the wire shut-off arm to the “down” or “on” position to resume standard operation.
- Close the freezer door firmly to allow the unit to begin the freezing cycle, which usually lasts 2 to 4 hours.
- Check the bin after 4 hours to see if the cubes have ejected into the storage container.
How to know it worked
You’ll know the process worked if the machine completes a harvest cycle and drops the new ice into the bin. You should hear the mechanical sound of the motor turning or the ice cubes dropping against the plastic bin. If the tray remains full of water after 4 hours, the freezer temperature may be too high or the cooling system isn’t functioning. If the water freezes but doesn’t eject, the motor or the ejector arm is likely jammed. In either case, this indicates a mechanical failure that requires a professional technician’s help.
If something goes wrong
| What happened | Why | What to do |
|---|---|---|
| Water overflows | Added too much | Use less next time |
| Ice stays slushy | Freezer is warm | Check thermostat setting |
| Machine clicks loud | Motor is stuck | Call repair service |
| No ice produced | Sensor is blocked | Clear ice buildup |
| Water leaks out | Cracks in mold | Replace ice unit |
How often to do this
You should only perform this action when the ice maker fails to fill automatically. If you have to do this more than once, it means your water inlet valve or the water supply line is blocked. This varies by model — check the label on your unit to see if it requires specific water pressure. If your home has low water pressure, the system may never fill, requiring a permanent plumbing repair.
Frequently asked questions
Can I use hot water to speed up the process?
No, you should never use hot water because it raises the freezer temperature and risks damaging the plastic mold. Always use cold, filtered water to ensure the ice freezes correctly and remains clear.
Why is my ice maker not filling automatically?
The most common cause is a clogged water inlet valve or a frozen water line. If your freezer temperature is too high, the water supply line can freeze, stopping the flow of water to the unit.
How long does it take for manually added water to freeze?
It usually takes about 2 to 4 hours for the water to turn into solid ice. This depends on your freezer’s temperature setting, which should ideally be set to 0 degrees Fahrenheit for optimal performance.
Is it safe to pour water directly into the bin?
No, you must pour the water into the mold tray, not the storage bin. Pouring water into the bin will simply create a large block of ice that renders the machine unusable until it melts.
Does it matter if I use tap water?
It doesn’t matter for the machine, but it may affect the taste of your ice. Using filtered water prevents mineral buildup in the mold and keeps your ice cubes tasting fresh and clean.
What happens if I overfill the ice mold?
Overfilling causes water to spill into the ice storage bin or onto the freezer floor. This creates large frozen chunks that jam the ejector arm and prevent the ice maker from functioning properly.
Final Thoughts
If the problem persists, it’s likely time to inspect your water inlet valve or the supply line for clogs. Don’t let a broken unit frustrate you for long. It’s a good idea to contact a professional technician if you aren’t comfortable troubleshooting the internal plumbing yourself. They’ll get things running smoothly again.

Pingback: How to Manually Cycle Ice Maker Components: Step by Step
Pingback: How to Operate Ice Maker Machine: Step-by-Step Setup Guide
Pingback: How Does an Icemaker Work: The Step-by-Step Process