
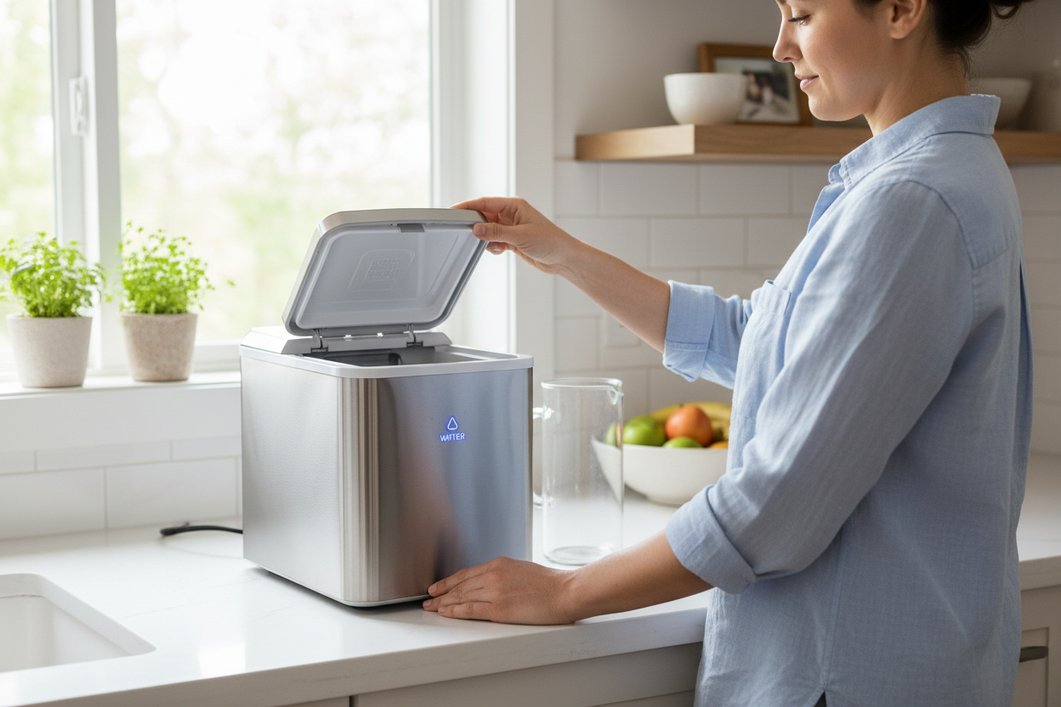
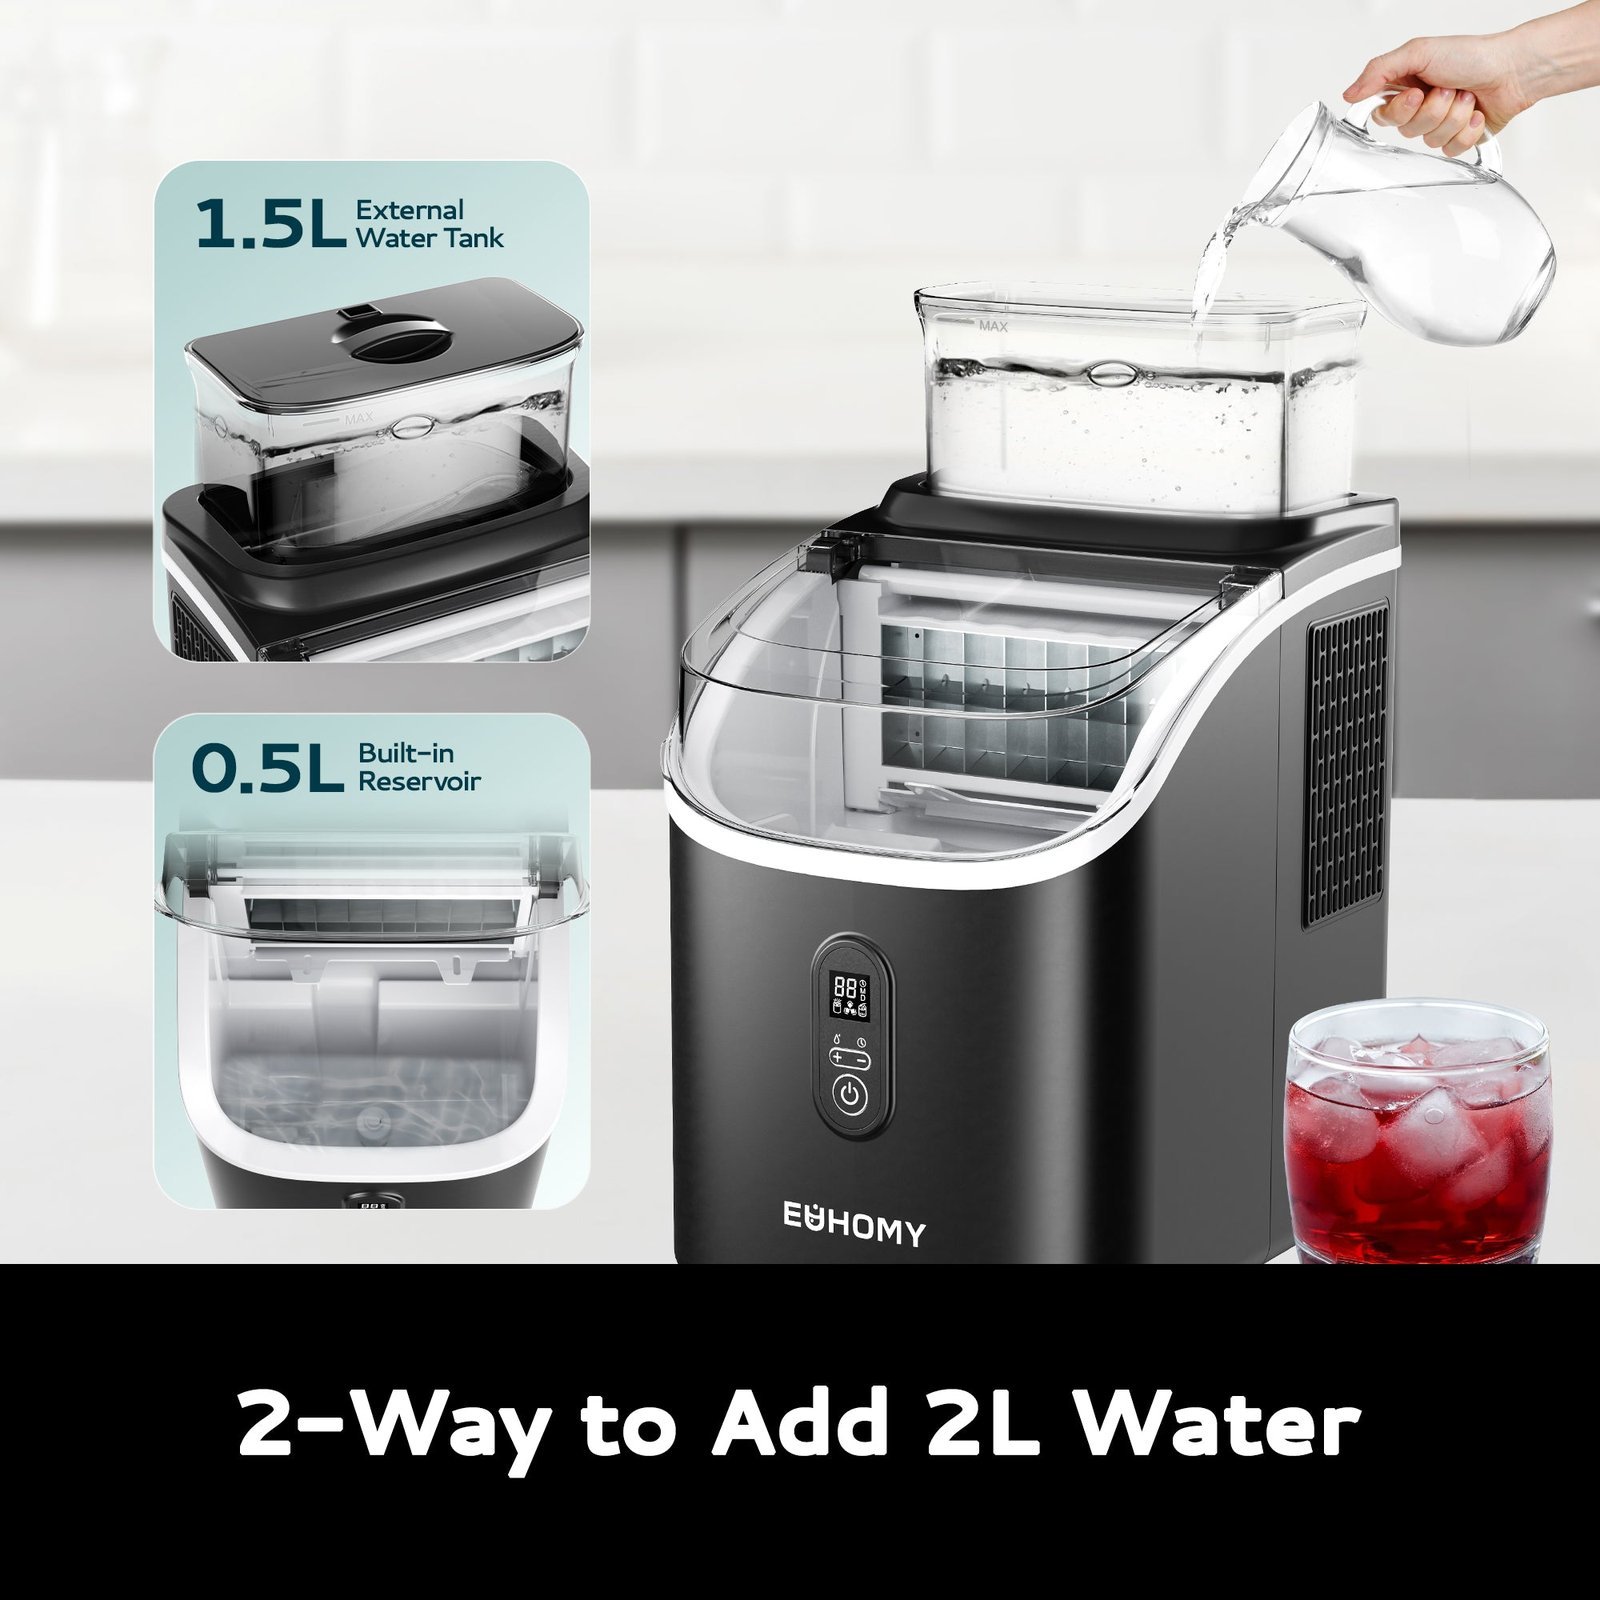
Learning how to add water to countertop ice maker units involves pouring fresh, drinkable water directly into the internal reservoir until it reaches the fill line. You can do this by locating the clear plastic tray under the ice basket. This process is ideal for anyone needing quick ice without a direct water line.
Supplies for your countertop ice maker
- Filtered cold water: Use only clean, potable water to avoid mineral buildup; tap water is acceptable if it meets local safety standards, but filtered water keeps the machine cleaner longer.
- A measuring cup: A two-cup container helps you add liquid slowly without splashing the electronic controls.
- Soft microfiber cloth: Keep this nearby to wipe up any spills near the power cord immediately.
- Vinegar solution: You should have this ready for the regular cleaning recommended by your manufacturer for household water equipment.
If you don’t have filtered water, you can use bottled water, but never use carbonated soda or juice as these will damage the internal pump.
Step-by-step
- Place your machine on a flat, level surface at least four inches away from walls to ensure proper airflow for the compressor.
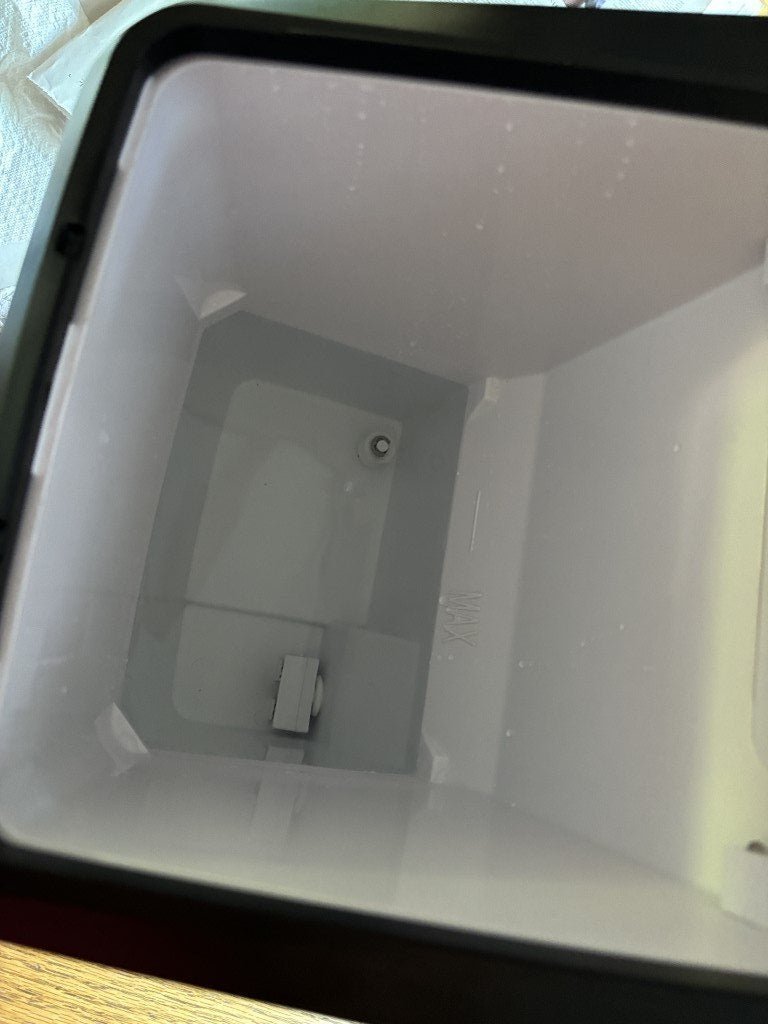
- Lift the top lid and remove the ice collection basket to reveal the water reservoir located at the bottom of the unit.
- Pour fresh, cold water into the reservoir until it reaches the “MAX” fill line marked on the side of the plastic basin.
- Replace the ice basket carefully, ensuring it sits flat, and close the lid firmly to start the cooling cycle.
- Check the “Add Water” light on the display panel; if it stays on, add an extra half-cup of water slowly until the sensor detects the level and the light turns off.
- Wipe any water droplets from the exterior of the machine with your cloth, as moisture on the buttons can cause short-term sensor errors.
Tip: If you overfill the reservoir, the ice cubes may freeze into a single large block; always stop at the line to ensure the machine works as intended.
Careful: If you hear a grinding noise after adding water, turn the unit off immediately and unplug it, as this indicates the pump is struggling with an airlock or debris.
Water input variations
Different models have varying capacities, but the process remains the same across most home units. If your machine is larger, you may need to add more water, but never exceed the marked line.
| Situation | Time to Fill | What is different | What to watch |
|---|---|---|---|
| First use | 2 minutes | Dry reservoir | Air bubbles |
| High heat | 1 minute | Faster melting | Water level |
| Daily use | 30 seconds | Maintenance | Mineral scale |
| Low volume | 15 seconds | Less water | Sensor lag |
It’s safer to start with half the recommended amount and add more than to overshoot, as draining an overfilled reservoir requires tipping the heavy unit.
How to tell you did it right
A successful fill shows a steady, quiet hum as the pump pulls water into the freezing tray. If you have done it correctly, the machine will begin producing ice within ten to fifteen minutes. A poor result often manifests as a blinking “Add Water” light even when the basin looks full, which happens when the water level is just below the sensor’s reach. To prevent this, always ensure the unit is perfectly level, as even a slight tilt prevents the water from covering the sensor accurately.
Proper care and maintenance
The primary rule for longevity is to empty the reservoir completely if you won’t use the machine for more than two days. Stagnant water encourages biofilm growth, which is a common cause of poor-tasting ice. According to the manufacturer’s guidance, you must flush the system with a mild vinegar and water mixture regularly to remove scale. If the internal pump stops working, contact a professional repair service rather than attempting to open the sealed housing, as this voids your warranty and poses a risk of electrical shock.
Other ways to do it
Using a gravity dispenser
Some units connect to an external five-gallon bottle. This removes the need for manual pouring but requires a specific adapter kit that fits your machine’s unique intake valve.
Using a direct line
For high-volume needs, you can connect a dedicated water line if your model supports it. This involves installing a small valve under your sink to provide a constant, automated water supply.
Using distilled water
You can use distilled water to prevent mineral buildup entirely. This reduces the frequency of deep cleaning sessions, though it can make the ice taste “flat” to some users compared to mineral-rich water.
Frequently asked questions
Can I use warm water to make ice faster?
No, you should only use cold water. Using warm water forces the compressor to work much harder to lower the temperature, which increases your electricity use and can shorten the lifespan of your machine’s cooling components.
How long does the water last in the machine?
The water stays fresh for about two days inside the unit. If you don’t plan to use the ice maker within that time, drain the reservoir to prevent mineral buildup and bacterial growth in the standing water.
Is it safe to leave the machine on all day?
Yes, the machine is designed to stay on as long as the water reservoir is full. Once the ice basket is full, the unit will automatically stop producing ice until you remove the cubes from the bin.
What happens if I use tap water?
Using tap water is safe, but it may leave white mineral deposits inside your machine over time. If you have “hard” water in your area, you’ll need to clean the reservoir with vinegar more frequently to keep it running.
Why is the “Add Water” light blinking?
The light blinks because the sensor doesn’t detect enough water in the reservoir. Ensure the machine is on a level surface and add a small amount of water until the sensor is fully submerged and the light turns off.
How much water does it hold?
Most countertop models hold between two and three liters of water. Always check the internal markings or your specific user manual, as the capacity varies by model — check the label on the back or bottom for the exact limit.
Final Thoughts
Once the reservoir is full, you’ll be ready to enjoy fresh ice in just a few minutes. Keep an eye on the water level throughout the day so your machine doesn’t run dry. It’s a great way to stay cool, and you’ll love having a steady supply for all your favorite drinks.

Pingback: How Much Is an Ice Maker Machine? Price Ranges Explained