Accessing the interior of your ice machine involves locating the primary service panel or the bin door release mechanism, which varies significantly between residential under-counter units and commercial-grade dispensers. Whether you’re performing routine maintenance, clearing a stubborn jam, or inspecting the evaporator plate, the process requires a systematic approach to ensure both your safety and the longevity of the appliance. Most modern units are designed with tool-free access for basic cleaning, while deeper repairs necessitate the removal of exterior housing screws.
Key Takeaways
- Always disconnect the power source before attempting to remove any internal panels or components.
- Consult your specific owner’s manual for the exact location of hidden release clips or screws.
- Use only food-grade cleaners when interacting with the internal ice-making components.
- Ensure the water supply line is turned off if you intend to remove internal plumbing.
- Document the position of all wires and brackets before detaching them for cleaning or repair.
How to Access the Internal Components
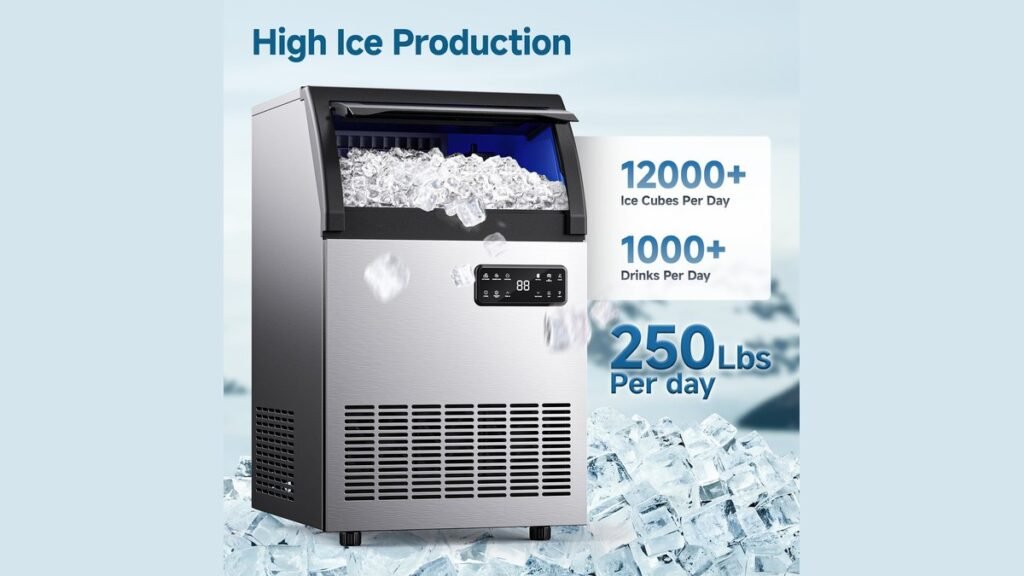
To open an ice machine safely, you must first determine if you’re dealing with a modular commercial head or a self-contained residential model. Residential units, such as those made by KitchenAid or Whirlpool, typically feature a front-access panel held in place by two bottom screws or a simple spring-loaded latch. Once these fasteners are removed, the panel slides downward or tilts outward to reveal the evaporator and water pump. For commercial units from brands like Hoshizaki or Manitowoc, the top cover usually lifts off after removing back-mounted thumbscrews to allow access to the control board and harvest sensors.
Identifying Your Unit Type
| Unit Type | Access Method | Primary Tool Required |
|---|---|---|
| Residential Under-counter | Front panel removal | Phillips head screwdriver |
| Commercial Modular | Top/Side panel removal | Nut driver or fingers |
| Countertop Nugget Maker | Lid latch release | None |
Is It Safe to Open?
Warning: Never attempt to open the electrical control box while the unit is plugged into a wall outlet, as high-voltage capacitors can hold a charge even when the machine is switched off. Always verify the status of your warranty before removing any panels, as unauthorized disassembly may void your service agreement. The Food and Drug Administration guidance on food equipment maintenance emphasizes that all surfaces coming into contact with ice must be sanitized using approved methods to prevent the growth of harmful bacteria or bio-film.
Preparing the Machine for Access
Before you begin, gather the necessary tools: a set of screwdrivers, a soft microfiber cloth, and a bucket for any loose ice. Clear the area around the base of the machine to ensure you have enough room to maneuver. If your machine is built into cabinetry, you may need to pull the unit forward several inches to reach the side-mounted access screws. Pro Tip: Place a towel over the ice bin opening to prevent any loose screws or debris from falling into the storage area while you’re working on the upper mechanisms.
Steps to Open the Housing
- Power down the unit and unplug the cord.
- Locate the primary fasteners, usually found along the bottom or back edges.
- Loosen screws gently, keeping them in a magnetic tray.
- Grasp the panel firmly and pull outward to disengage the friction tabs.
- Set the panel aside on a clean, flat surface to avoid scratching the finish.
Managing the Internal Water System
Once the housing is open, you’ll see the water distribution tubes and the evaporator plate. If you need to access these for descaling, be careful not to bend the delicate copper tubing. Use a food-safe descaler to remove mineral buildup, ensuring you rinse the parts thoroughly before replacing the cover. If the machine is leaking, check the water inlet valve connections for signs of corrosion or loose fittings before you attempt to tighten them with a wrench.
Troubleshooting Common Access Issues
| Problem | Likely Cause | Fix |
|---|---|---|
| Panel won’t budge | Hidden locking tab | Check manual for secret release |
| Screws are stripped | Over-tightening | Use a screw extractor kit |
| Panel feels stuck | Mineral buildup | Gently wiggle to break the seal |
Cleaning the Evaporator Plate
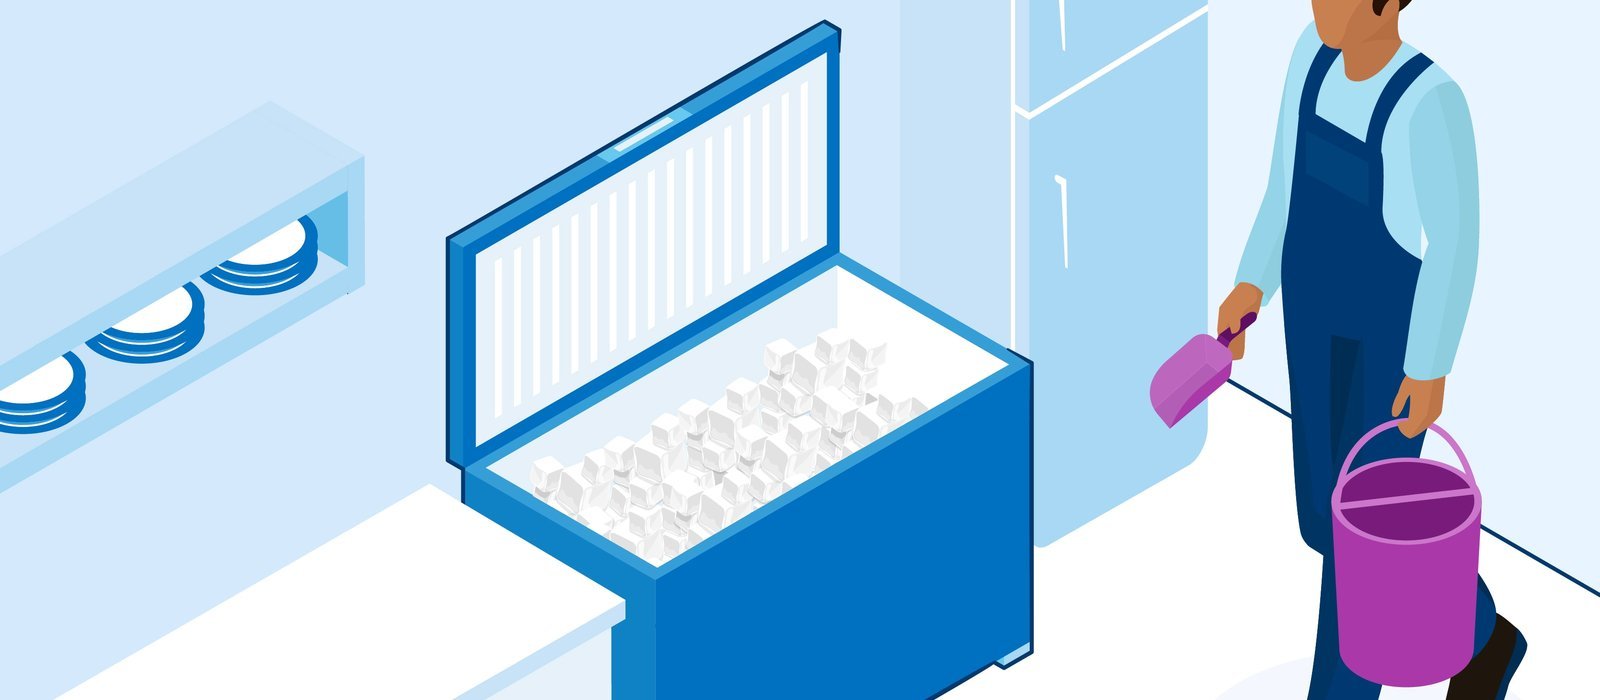
The evaporator is the heart of the ice machine, where water freezes into cubes. To access this area, you often need to remove the plastic splash guard or the curtain assembly. Most of these components are held in place by plastic tension clips that snap into the side walls of the freezing chamber. Press these clips gently to release the curtain, which allows you to inspect the ice thickness probe and the water distribution manifold for blockages or mold accumulation.
Related guides
- Where Can I Buy Ice Maker Machines: Retailer Guide
- How Much Are Commercial Ice Machines: Pricing Guide
- How Much for a Commercial Ice Machine: Cost Breakdown
Frequently Asked Questions
Can I open the machine while it’s running?
It’s strongly discouraged to open the mechanical housing while the machine is active. Moving parts like the harvest motor, auger, or fan blades can cause injury. Furthermore, opening the cabinet during a cycle disrupts the temperature equilibrium, which can lead to slushy ice or machine errors. Always power down the unit completely before performing any visual inspection or physical maintenance to ensure your personal safety.
How do I remove stubborn mineral deposits?
If you find white, chalky buildup on the components, use a mixture of white vinegar and water or a specialized commercial nickel-safe descaling solution. Apply the solution to the affected areas using a soft-bristled brush, allowing it to sit for ten minutes before wiping it away. Never use steel wool or abrasive scouring pads, as these will scratch the metal surfaces and provide a breeding ground for bacteria.
What if I lose a screw inside the machine?
If a screw falls into the base or the storage bin, you must retrieve it immediately before restarting the machine. A loose screw can fall into the pump impeller or the auger mechanism, causing catastrophic damage to the motor. Use a magnetic retriever tool to pull it from tight crevices. If you can’t find it, don’t operate the machine until the item is safely recovered.
How often should I open the machine for cleaning?
For residential units, a thorough cleaning and inspection of the internal components should occur every six months. If your home has hard water, you may need to perform this task every three to four months to prevent scale buildup. Commercial units require more frequent attention, often monthly, depending on usage volume and local water quality conditions. Regular maintenance prevents expensive long-term repair costs.
Can I damage the sensors by touching them?
Yes, the ice thickness and bin level sensors are highly sensitive. Avoid touching the face of these sensors with your bare fingers, as the oils from your skin can interfere with their ability to detect ice levels. If you must clean them, use a clean, dry cloth or a cotton swab lightly dampened with isopropyl alcohol. Ensure they’re completely dry before you replace the panels and restore power.
Properly opening your ice machine is a manageable task if you follow the manufacturer’s specific sequence for your model. Start by verifying that the power is fully disconnected and that you have a clean workspace prepared for the removed panels. Regularly inspecting the internal components will ensure your machine continues to produce clear, sanitary ice for your home or business.