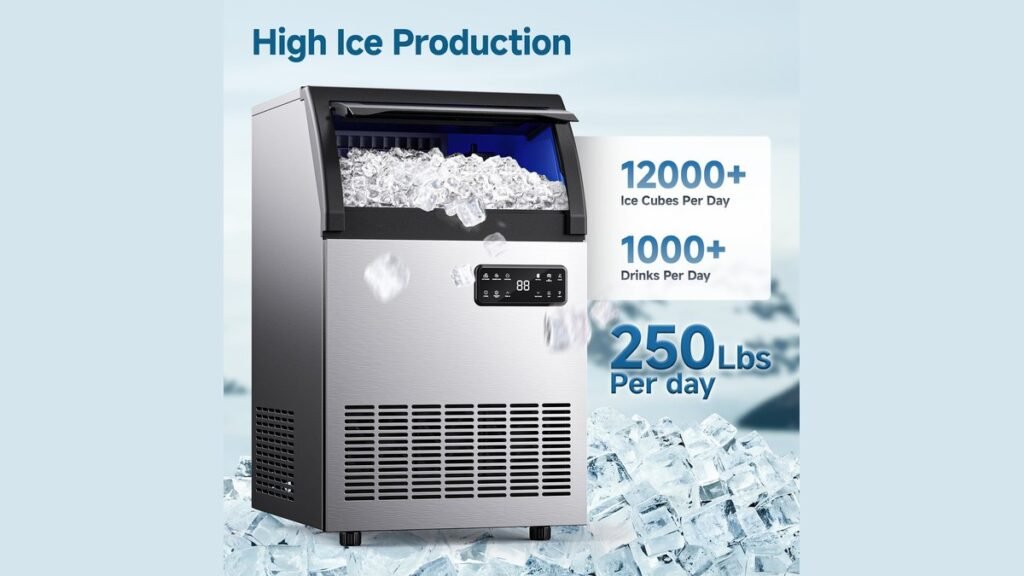
Using an ice maker involves connecting a reliable water supply, ensuring the unit is level, and allowing the machine to cycle through its initial production phase before the first cubes are ready for use. Whether you have a built-in refrigerator unit or a portable countertop appliance, the core principles of operation remain consistent. By following the correct installation and maintenance procedures, you can ensure a steady supply of clean, fresh ice while extending the lifespan of your mechanical hardware.
Key Takeaways
- Always verify your water supply line is leak-free and properly secured before turning on the power.
- Wait at least 24 hours after moving a refrigerator before activating the ice maker to allow the refrigerant to settle.
- Regularly clean the ice bin and internal components every six months to prevent mineral buildup and mold.
- Use a high-quality water filter to improve taste and protect internal valves from sediment damage.
- Discard the first few batches of ice produced after installation or a long period of inactivity.
How to use an ice maker
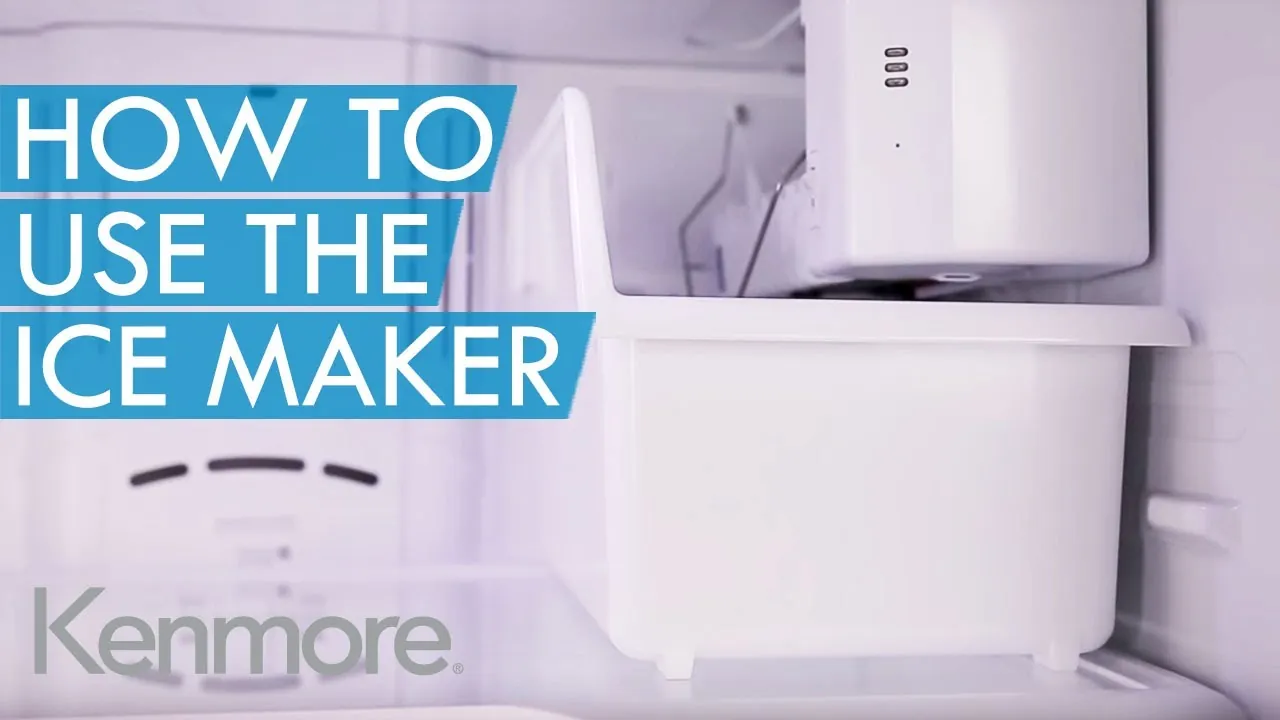
Operating an ice maker requires a methodical approach to ensure safety and hygiene. For built-in models, the process begins with the water line connection. Ensure the shut-off valve is fully open and the tubing is free of kinks.
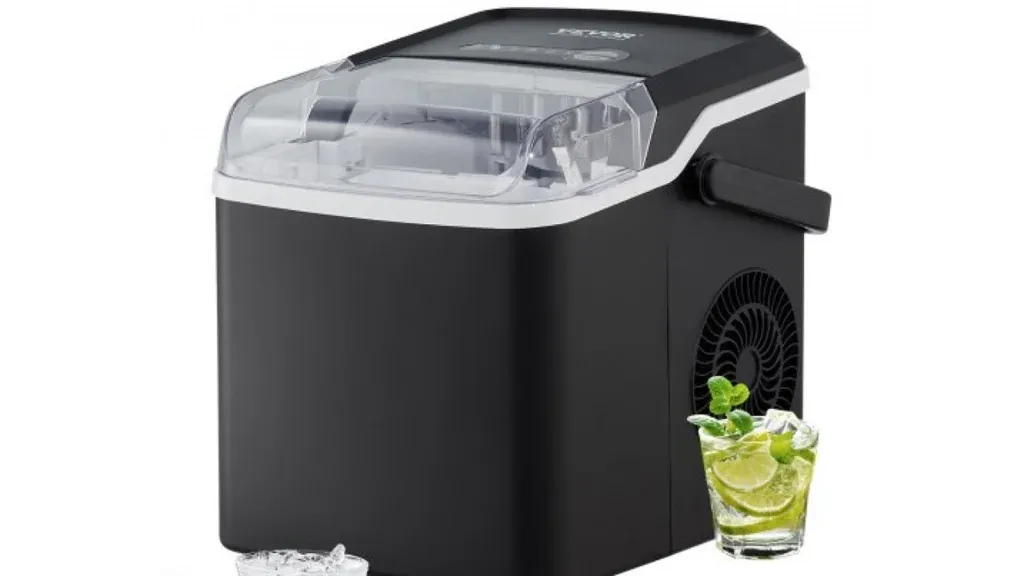
Once the water flows, turn the wire shut-off arm to the “on” position or engage the digital control panel. For countertop units, simply fill the reservoir to the indicated fill line with filtered water, select your preferred cube size, and press the start button.
Essential Installation Steps
| Step | Action Required | Importance |
|---|---|---|
| 1 | Level the unit | Prevents water overflow |
| 2 | Connect water | Enables ice production |
| 3 | Flush system | Removes manufacturing dust |
| 4 | Power on | Activates cooling cycle |
Understanding the cooling cycle
Most automatic ice makers rely on a thermostat sensor to detect the temperature of the mold. When the mold reaches a freezing point, the machine triggers a heating element to slightly warm the tray, allowing the ice to release. The ejector blades then push the cubes into the bin. Once the bin is full, a metal arm or infrared sensor detects the ice level and pauses production, preventing an overflow.
Pro Tip: If your ice tastes like the contents of your freezer, ensure all food items are sealed in airtight containers to prevent odor absorption.
How to clean your machine
Maintaining a sanitary environment is critical for food safety. Manufacturers recommend cleaning the unit at least twice a year. Use a mild solution of warm water and white vinegar to wipe down the interior surfaces, including the mold and the bin. Avoid using harsh chemicals or abrasive scrubbers that can scratch the finish or damage the internal plastic components. Rinse the area thoroughly with clean water before restarting the cycle.
Troubleshooting common issues
If your machine stops producing ice, start by checking the power supply and water pressure. A low flow rate can cause small, hollow, or “malformed” cubes. Ensure the water filter has been replaced according to the NSF International water filter certification guidelines for your specific model. If the machine is running but no ice enters the bin, check for a jammed ejector arm or a frozen fill tube.
Which water source is best?
Using filtered water is highly recommended to reduce the frequency of maintenance. Hard water contains minerals like calcium and magnesium that lead to scale buildup inside the ice mold and water lines. Over time, this buildup restricts flow and causes the solenoid valve to fail. If your home has hard water, consider installing a dedicated inline water softener to protect your appliances and improve the clarity of your ice.
What is the ideal temperature?
Your freezer should maintain a constant temperature of 0 degrees Fahrenheit or lower. If the temperature fluctuates, the ice will begin to melt and refreeze, causing the cubes to clump together into a single, unusable block. Use a reliable freezer thermometer to monitor the internal environment. Avoid opening the door frequently, as this introduces warm, humid air that contributes to frost accumulation on the walls and the ice maker assembly.
Comparing ice maker types
| Type | Best For | Maintenance Needs |
|---|---|---|
| Built-in | Large families | High (filter changes) |
| Countertop | Occasional use | Moderate (daily cleaning) |
| Portable | Camping/events | Low (manual fill) |
Warning: Never use sharp metal objects to break apart clumps of ice in the bin, as this can puncture the plastic liner or damage the cooling coils hidden behind the walls.
Managing ice production speed
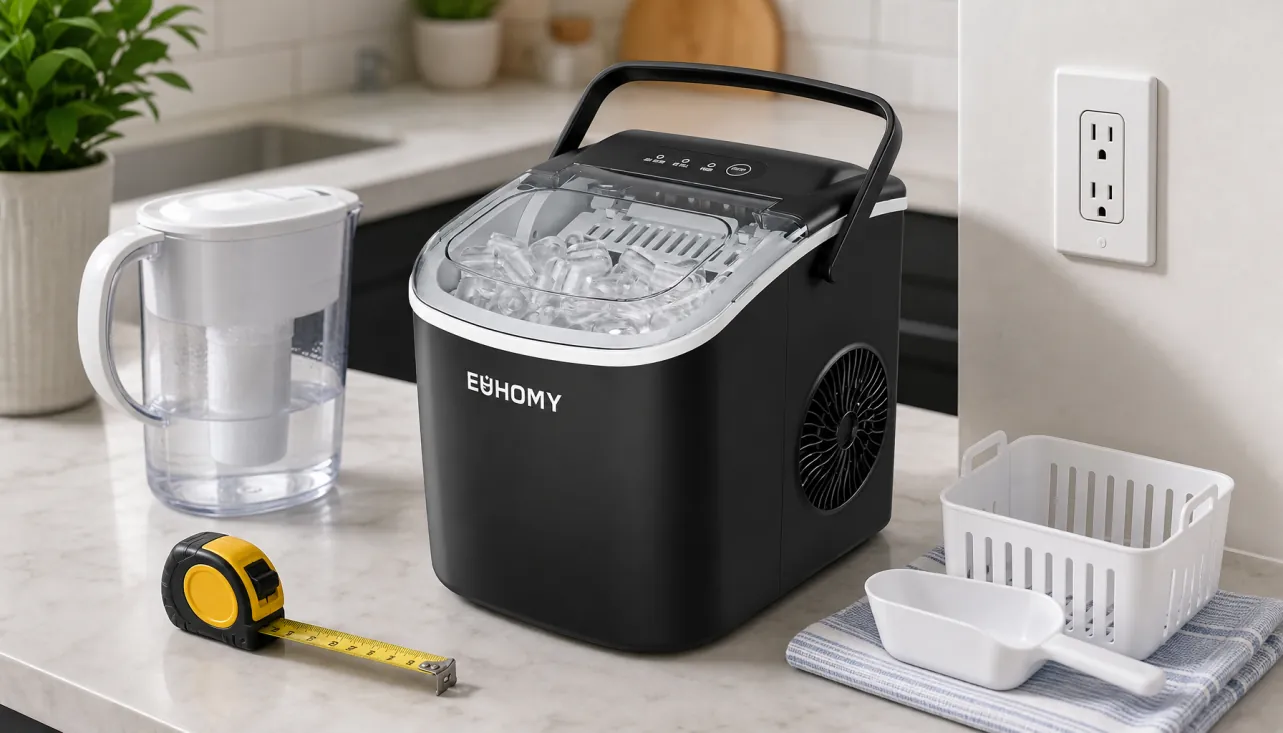
The speed at which your machine produces ice depends on the ambient temperature and the temperature of the incoming water. During hot summer months, the compressor must work harder to reach the required freezing point. To maximize output, keep the area around the appliance well-ventilated. Ensure there’s at least two inches of clearance behind a portable unit to allow heat to dissipate from the condenser coils efficiently.
Frequently Asked Questions
Why is my ice maker making noise?
Occasional clicking or humming is normal as the machine cycles through the freezing, harvesting, and water-filling stages. However, a loud grinding or rattling sound may indicate a failing motor or an obstruction in the ejector mechanism. Check the ice bin for stuck cubes or debris. If the noise persists, consult your manual to see if the internal gear assembly requires professional inspection or replacement.
Can I turn off the ice maker?
Yes, you can turn off the ice maker at any time. Most models feature a wire shut-off arm that you can lift to the “up” or “off” position. If your unit uses a digital control panel, look for an “Ice Off” setting. Turning off the machine is useful if you’re going on vacation or if the ice bin is full and you want to save energy.
How do I reset the machine?
To reset most modern ice makers, simply turn the unit off for 30 seconds and then turn it back on. Some refrigerators have a dedicated reset button located on the ice maker itself, often found behind the ice bucket. If your model has a digital display, check the settings menu for a “Reset” or “Factory Settings” option to clear any minor electronic errors.
Why are my ice cubes small?
Small or hollow cubes usually indicate low water pressure or a clogged water filter. Check that the water supply valve is fully open and that the line isn’t kinked. If the filter is older than six months, replace it immediately to restore proper flow. In some cases, a failing water inlet valve may also restrict the amount of water entering the mold during each cycle.
Is it safe to eat old ice?
Ice can absorb odors and bacteria over time, especially if the freezer isn’t kept clean or if food is stored improperly. While ice doesn’t technically “spoil,” it can lose quality and freshness after several weeks. For the best flavor and safety, empty the ice bin periodically and allow the machine to produce a fresh batch every few weeks to maintain optimal hygiene.
Conclusion
To keep your ice maker running at peak performance, make it a habit to check the water lines and clear any frost buildup every time you replace your refrigerator’s water filter. If you notice any persistent leaks or strange sounds, refer to your owner’s manual immediately to prevent potential water damage to your kitchen flooring or cabinetry.