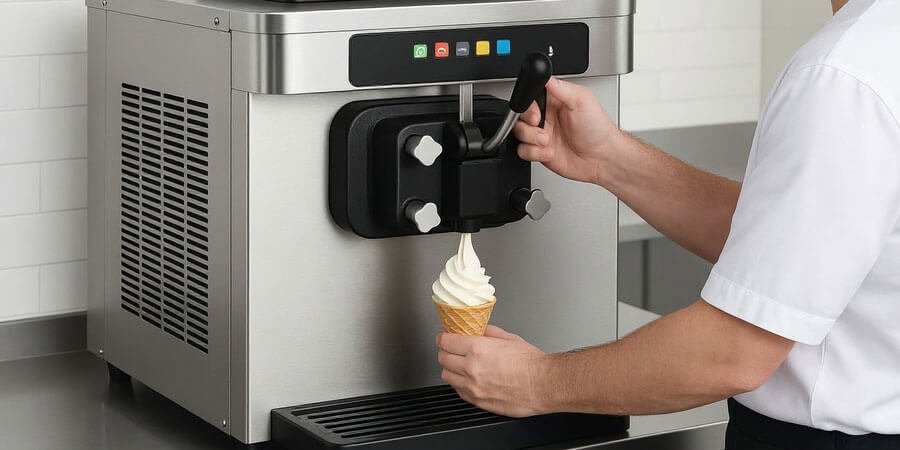
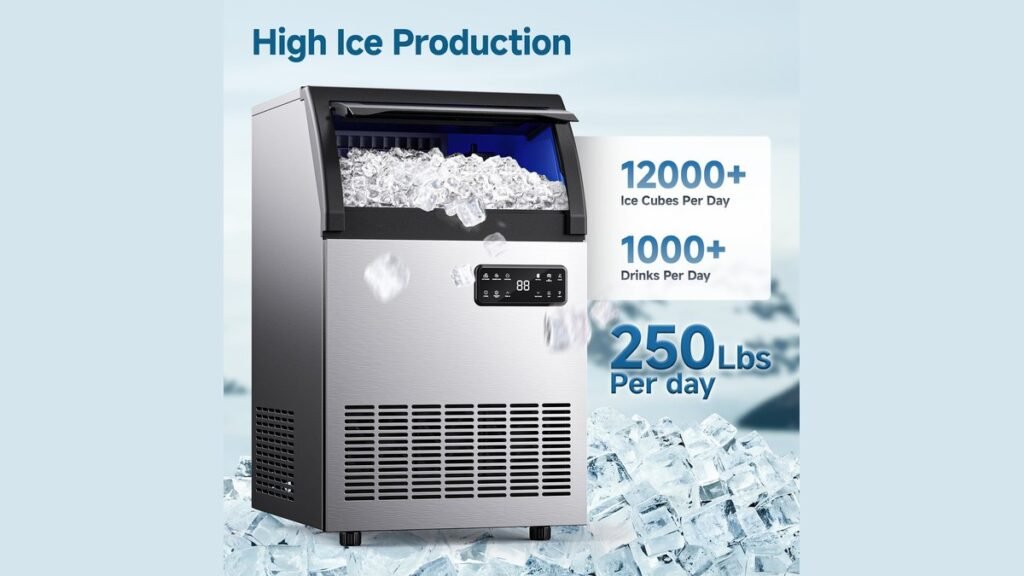
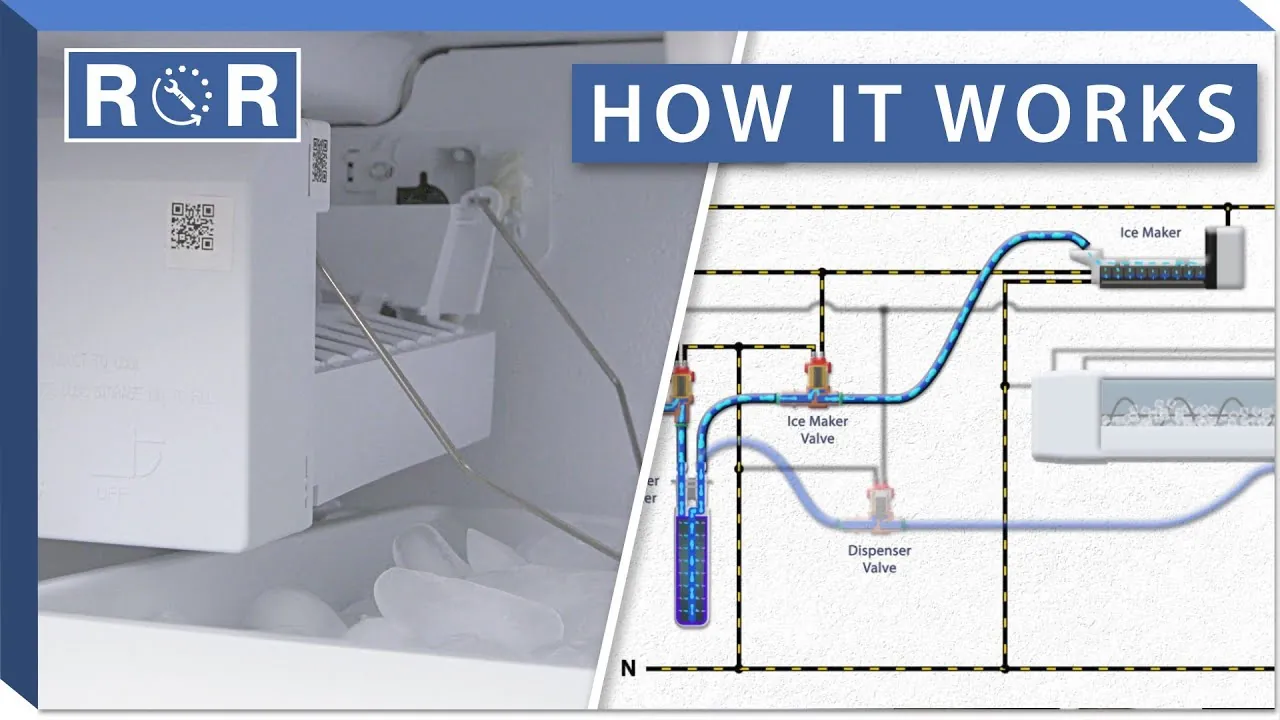
A small pump moves water into a tray, where a cooling unit freezes the liquid into cubes before an electric heater releases them into your storage bin.
How the ice maker cooling system works
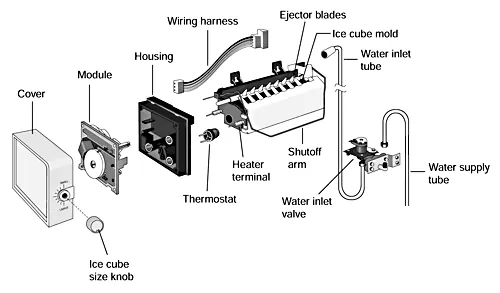
| Part or input | What it does | What you notice when it goes wrong |
|---|---|---|
| Water valve | Controls flow from home line | Leaking or no ice formation |
| Cooling evaporator | Freezes the water into cubes | Very thin or hollow ice cubes |
| Electric heater | Warms mold to release ice | Ice stuck inside the tray |
| Plastic mold | Gives ice its final shape | Cracked ice or misshapen cubes |
| Storage bin | Holds finished ice supply | Ice melts and sticks together |
Steps in the freezing cycle
- The water valve opens for roughly 5 to 10 seconds to fill the mold, depending on your house water pressure.
- The evaporator coils drop in temperature to below freezing, turning the water into solid ice over 30 to 60 minutes.
- A thermostat detects the low temperature of the ice, signaling the control board that the batch is ready to harvest.
- The electric heater warms the bottom of the mold for a short duration to loosen the bond between the ice and plastic.
- An ejector arm rotates to push the cubes out of the mold and into the storage bin below the unit.
- The system resets and the cycle repeats until the sensor detects that the bin is full of ice, stopping production.
Why cycle timing affects performance
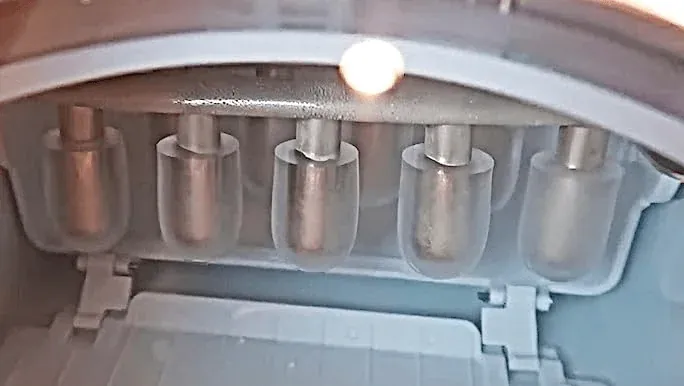
The cooling mechanism requires a balance between temperature and harvest time. Conversely, if the heater stays on for too long, the ice will melt slightly before it reaches the bin, causing the cubes to clump together.
According to the U.S. Food and Drug Administration, maintaining clean equipment is essential because contaminated water or dirty bins directly affect the safety of the ice you consume.
Controls and design limits
User controls
- Adjust the temperature setting on your refrigerator panel.
- Clean the storage bin with mild soap every 3 months.
- Change the water filter according to the manual’s schedule.
- Ensure the water supply line isn’t kinked or blocked.
Fixed design limits
- The mold size is fixed by the manufacturer’s specific model.
- The cycle speed is set by the internal thermostat logic.
- Repairing the sealed cooling system requires a licensed refrigeration technician.
Habits for better output
Check the water filter periodically, as a clogged filter reduces flow and creates small, incomplete cubes; consult your owner’s manual for specific guidance based on your usage.
Frequently asked questions
How long does one cycle take?
A full cycle takes 30 to 60 minutes, though this varies based on your freezer temperature setting and the initial temperature of the incoming water supply.
Why is my ice maker noisy?
Noise is normal during the harvest phase when the ejector arm rotates or when the water valve clicks open, but loud grinding suggests a mechanical obstruction.
Is it safe to eat ice that tastes bad?
It’s generally safe if the ice is clear, but a bad taste usually indicates that you need to change your water filter or clean the bin.
What happens if the bin is full?
The system uses an infrared or mechanical sensor to detect the ice level, which signals the control board to stop the water valve and freezing cycle.
Can I speed up ice production?
You can’t safely speed up the process, but lowering your freezer temperature to the manufacturer’s recommended range helps the water freeze faster during each standard cycle.
Does the water supply pressure matter?
Water pressure must be between 20 and 120 psi to ensure the valve fills the mold.
How often should I clean the bin?
You should clean the bin every 3 months using warm water and mild dish soap to remove mineral deposits that can affect the flavor of your ice.
Conclusion
If your machine stops producing ice, don’t worry. Usually, a simple cleaning of the water lines or a quick check of the filter solves the problem. You’ll find that keeping these parts clear helps your appliance run smoothly for years. It’s worth taking a look at your manual if you’re ever unsure.