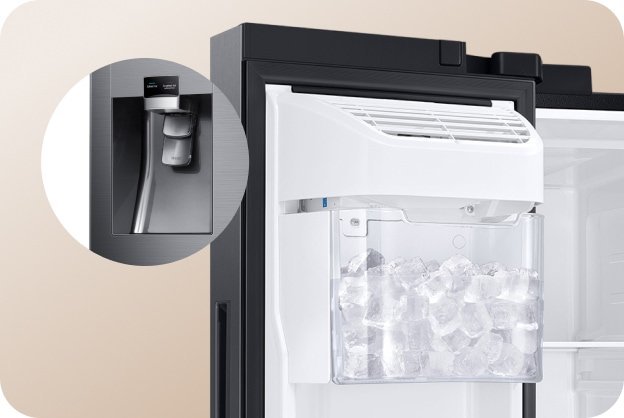
You’ll find the ice machine mounted inside the upper left corner of the freezer compartment, or built directly inside the left refrigerator door on French-door models. A clear bucket or slide-out tray sits directly underneath it to catch the frozen cubes.
Ice maker locations in common refrigerators
You can locate the assembly quickly by checking the main storage zones of your appliance layout. Most brands put the components in one of several standard spots:
- In standard top-freezer models, the unit mounts to the upper-left interior wall of the top freezer compartment.
- In bottom-freezer refrigerators, the machine sits in the top-left section of the pull-out bottom freezer drawer.
- In side-by-side units, look at the top interior shelf of the left-side freezer door or wall.
- In French-door units with through-the-door dispensers, the assembly hides behind an insulated slim compartment door inside the main fresh-food cabin on the upper left.
- If your model has dual dispensers, a secondary unit sits in the lower slide-out freezer drawer to fill bulk containers.
Why refrigerator manufacturers pick these spots
The primary reason comes down to basic physics and cold air routing. Ice creation demands a steady temperature below 32°F (0°C), but residential freezers operate best at 0°F (-18°C) according to FDA refrigerator temperature guidelines. Placing the maker near the cold evaporator coils at the back or top of the freezer allows rapid heat transfer.
Putting the machine inside the fresh food door creates an engineering challenge. The main cabin stays around 37°F (3°C), which melts ice. To solve this, manufacturers run dedicated insulated air ducts from the freezer chassis directly into the door housing. This design gives you more usable shelf space in the main box, but it adds mechanical complexity. If you need maximum ice production every 24 hours, an in-freezer bin outperforms a door module because it stays surrounded by sub-zero air without relying on secondary blowers.
Refrigerator types with different ice maker positions
Every appliance layout places hardware differently to balance food storage and plumbing lines. If your unit lacks an external front dispenser, look deep inside the cold compartments instead of the exterior framing.
| Situation | What changes | What to do instead |
|---|---|---|
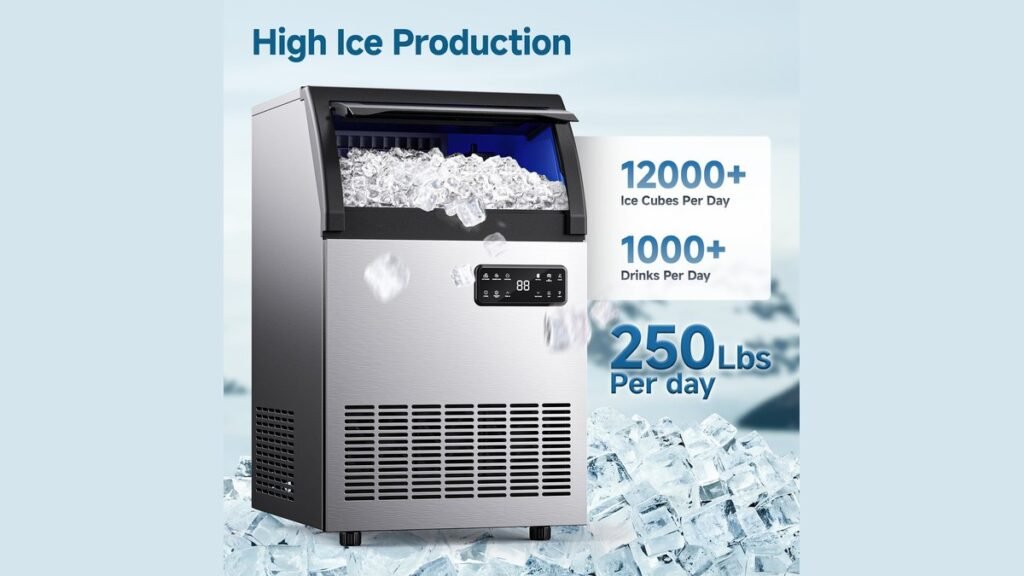
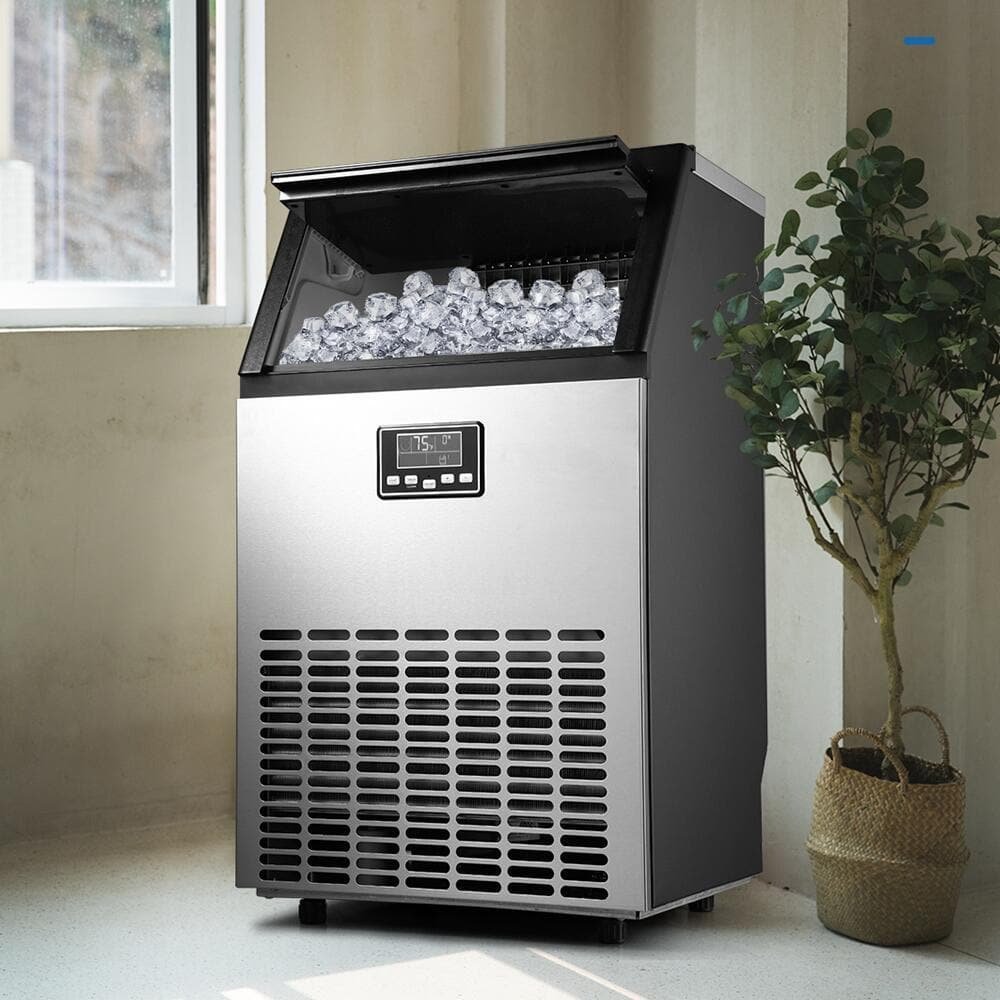
| Commercial undercounter unit | Machine fills the whole cabinet | Open front door to reveal spray bar |
| French door without door dispenser | Unit isn’t in fresh cabin | Pull open the bottom freezer drawer |
| Manual-fill portable ice unit | No internal water line connection | Look under the top lift-up lid |
| High-end integrated column | Hidden behind flat paneling | Check behind the center freezer panel |
| Refrigerator with dual ice makers | Second unit adds extra storage | Check the lower freezer basket bin |
How to locate and access your ice maker
Finding the mechanical parts takes just a few steps once you open the doors. Follow this sequence to locate the unit and confirm it can run:
- Open your primary freezer door or slide open the lower pull-out freezer basket completely.
- Look at the upper left ceiling or side wall to spot the white plastic housing and tray.
- If the freezer is bare, open the left fresh-food door and locate the slim interior compartment latch.
- Squeeze the latch release handle firmly to swing open the insulated door cover.
- Check that the plastic shutoff arm is pushed down or the rocker switch shows the “I” position.
- Pull the clear plastic bucket straight forward along its bottom tracks until it unhooks completely.
- Inspect the rear fill tube to make sure no clear frost bridges block water entry.
Common access mistakes to avoid
- Forcing the door compartment latch sideways instead of squeezing it snaps the plastic tabs, requiring an inexpensive replacement housing door compared to the cost of a new unit.
- Pulling the storage bin upward before sliding it fully forward cracks the front retaining lip and stops the drawer from seating.
- Leaving the insulated access door unlatched lets warm fresh-food air enter, causing frost build-up that can eventually jam the motor gears.
- Piling frozen food bags directly under the drop mold pushes the shutoff arm up and shuts off production completely.
Frequently asked questions
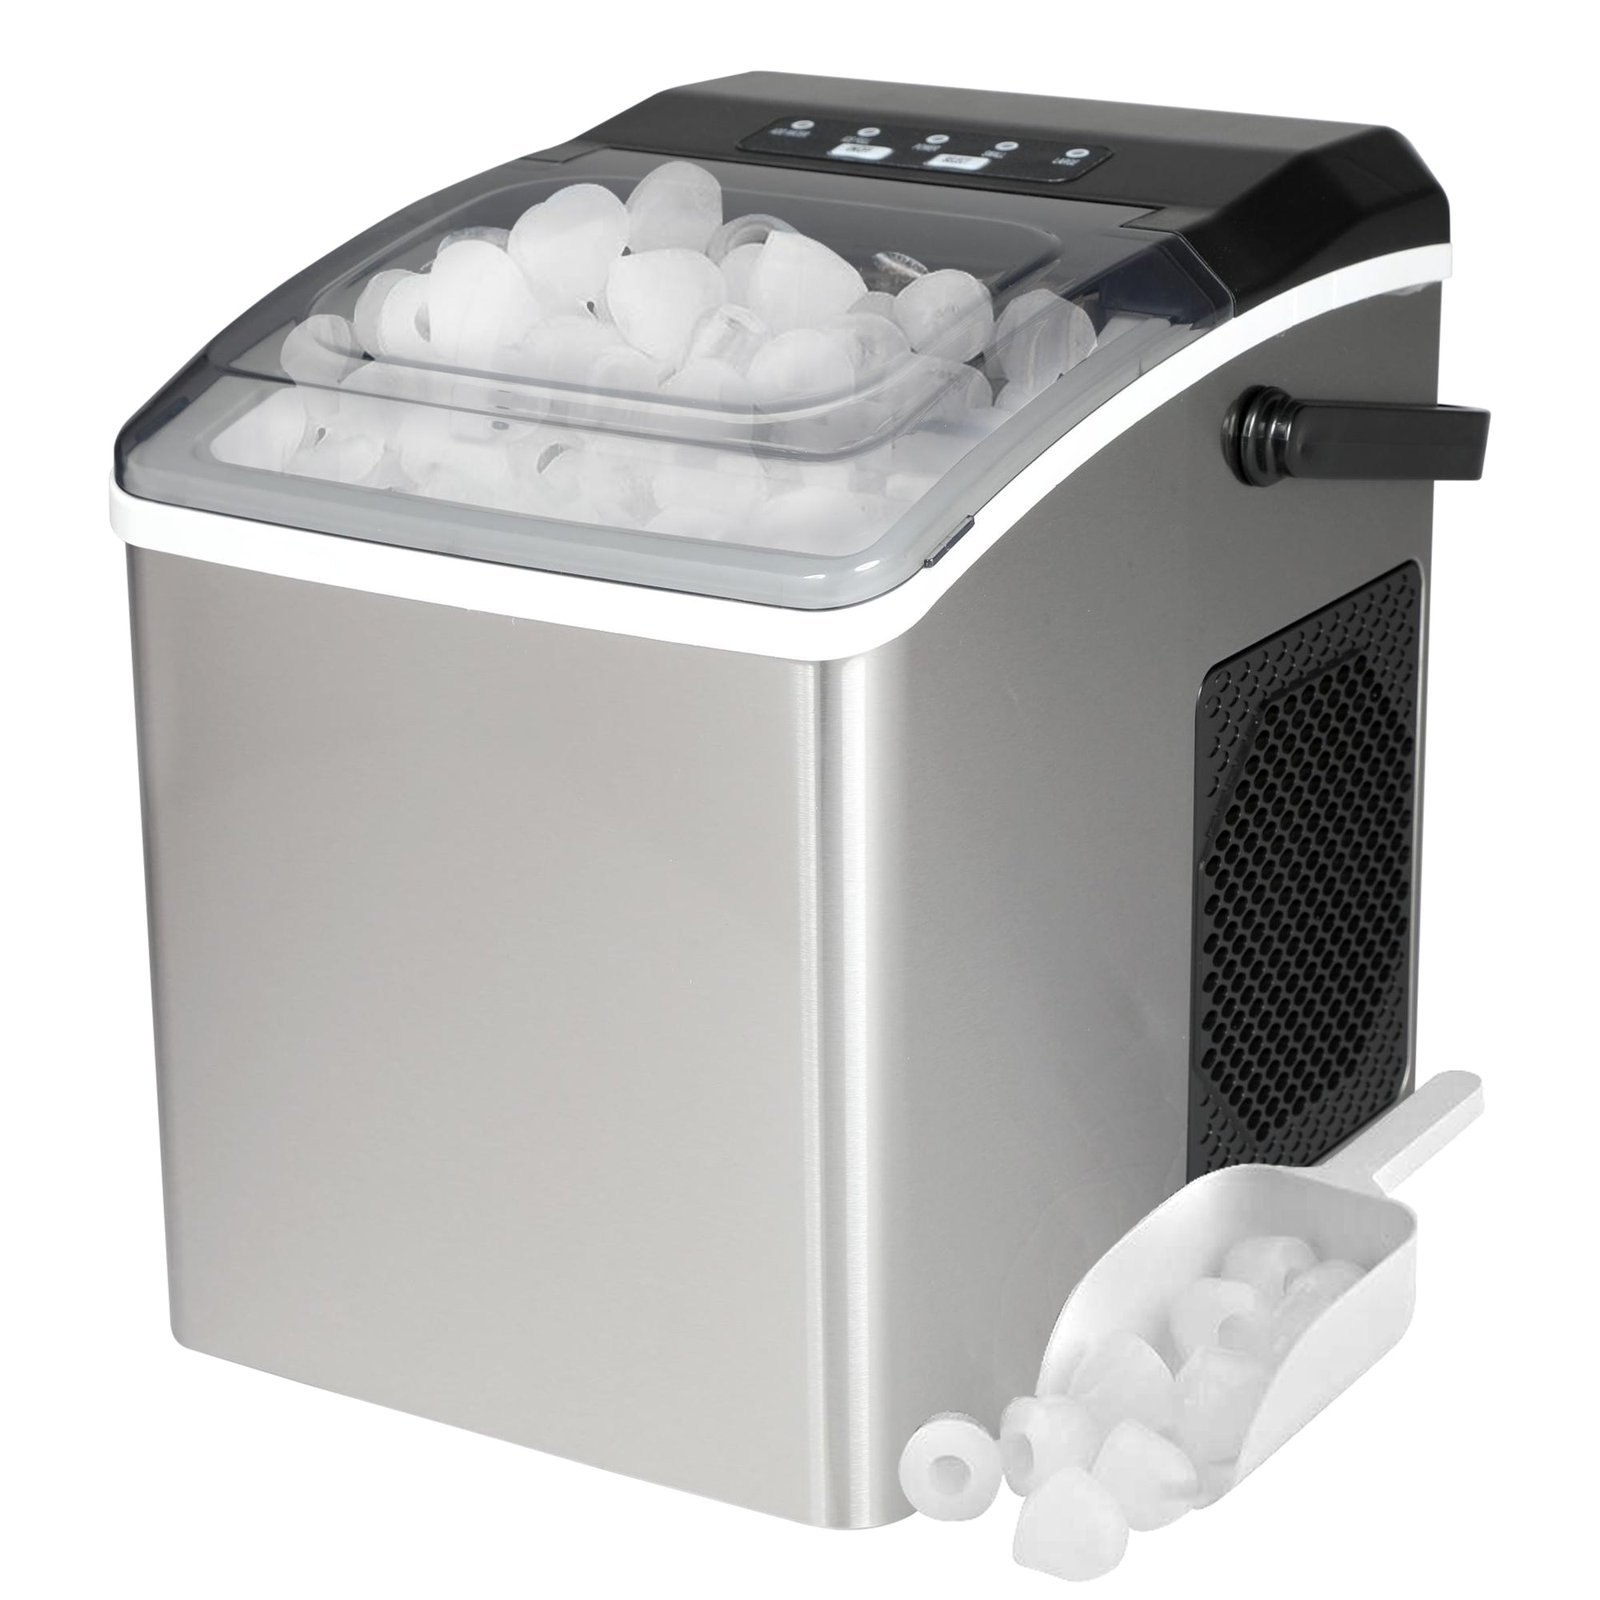
Can I add an ice maker if my fridge doesn’t have one?
Yes, if your refrigerator is pre-wired for an add-on kit. Check your owner’s manual or the back of the cabinet for a water valve inlet; universal kits bolt into the upper-left freezer corner in roughly 45 minutes.
Why is my ice maker not dropping ice?
The control arm is raised, or the mold thermostat has failed. If the arm sits down, check whether the water line filter is clogged, which prevents the tray from filling after a harvest cycle.
How long does a new ice maker take to make ice?
Between 6 and 24 hours under normal home use. The freezer compartment must reach 0°F (-18°C) before the internal thermostat triggers the first water fill and freeze sequence.
Is it safe to leave an ice maker on without water?
Flip the wire arm up or turn the power switch off until you connect plumbing.
What happens if the ice bin is jammed?
Ice cubes melt together into a solid block and stall the drive motor. You must slide the bucket out and break up the frost chunk by hand using warm water over the sink.
Does the ice maker location affect ice taste?
Door-mounted units absorb fewer food odors than open freezer trays. Uncovered bins are prone to picking up volatile aromas if you store unwrapped food in the freezer for more than two weeks.
Conclusion
If you don’t see any ice building up after a few hours, check that the wire shut-off arm isn’t stuck in the “off” position. It’s a simple fix that’ll get your supply flowing again in no time. You won’t have to worry about warm drinks once everything’s running smoothly.
Related guides