
You activate an ice maker by ensuring the water supply is connected, switching the control arm or button to the “on” position, and waiting 12 to 24 hours for the first batch. Learning to operate an ice maker allows you to manage your home appliance efficiently, even if you’re a first-time user.
Tools to work your ice maker
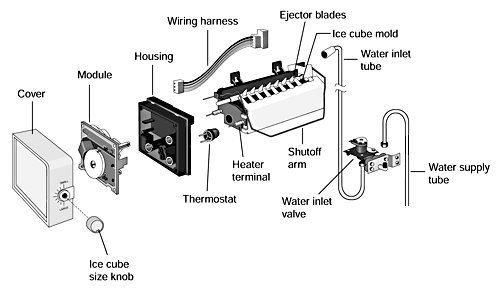
- Water filter: A fresh, manufacturer-approved filter helps prevent mineral buildup that ruins ice quality.
- Water line: A quarter-inch plastic or copper tubing kit, which you must check for leaks before activation.
- Ice bucket: Ensure it’s seated properly in the cradle; if it’s crooked, the switch won’t trigger.
- Control switch: Check your manual to see if your model uses a wire arm or a digital button.
- Safety glasses: Use these if you’re installing the line yourself under the sink.
If you’re unsure about plumbing connections, call a licensed plumber to avoid water damage; don’t attempt to force fittings that don’t align, as this voids your warranty.
Step-by-step
- Connect the water line to the cold water supply valve under your sink or behind the fridge.
- Turn the water supply valve slowly until it’s fully open to allow water to flow into the unit.
- Push the refrigerator back into place, being careful not to kink or crush the water line against the wall.
- Lower the wire shut-off arm or press the digital ice button to start the system.
- Discard the first two batches of ice produced, as these often contain debris or air from the initial water line flushing.
- Check the bin after 24 hours to ensure the ice is clear and the machine has stopped when the bin is full.
Tip: If you hear a loud buzzing but no water enters, check that the water supply valve is fully open.
Careful: Never use a sharp tool to chip at ice stuck in the tray, as you can easily puncture the plastic mold or damage the ejector fingers.
Variables in production
Your ice production rate changes based on the ambient temperature of your kitchen and the water pressure in your pipes.
| Situation | Time Required | Difference | Watch For |
|---|---|---|---|
| First run | 24 hours | Initial filling | Leaks at connections |
| High usage | 12 hours | Faster cycling | Full bin sensor |
| Deep cleaning | 4 hours | Drying time | Mineral buildup |
| Water filter change | 2 hours | System flush | Air in lines |
Always start with the factory-recommended settings before adjusting the temperature; over-adjusting the freezer thermostat can cause the water valve to freeze shut.
How to tell you did it right
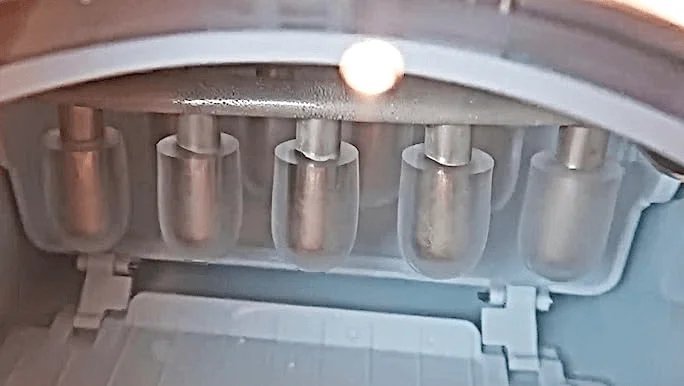
A successful cycle produces uniform, crescent-shaped or cube-shaped pieces that don’t clump together. If your ice is cloudy or tastes like the freezer, the water filter is likely saturated or the bin needs a thorough wash. Cloudy ice usually happens when trapped air or minerals freeze during the fast-cooling process. You prevent this by replacing the filter regularly, as recommended by your refrigerator manufacturer. Keep the bin clean by washing it with mild soap and warm water whenever you change the filter.
Maintenance and operational standards
The primary rule for any ice maker is to keep the bin level and the sensor arm unobstructed. When the sensor arm can’t move down because the bin is too full or tilted, the unit will stop producing ice prematurely. If you go on vacation, shut off the water supply valve and empty the bin to prevent stale ice or mold growth. If you aren’t using the ice maker for over a week, it’s best to turn the power switch off, as frozen water lines can crack if the temperature fluctuates.
Alternative methods
Manual ice trays
You fill plastic or silicone trays with water and place them in the freezer. This takes 4 to 6 hours and costs nothing, but requires constant manual labor compared to the automated system.
Countertop portable units
These units sit on your counter and produce ice in 10 to 15 minutes. They’re faster than fridge units but require you to manually pour water into a reservoir each time you need more ice.
Commercial ice machines
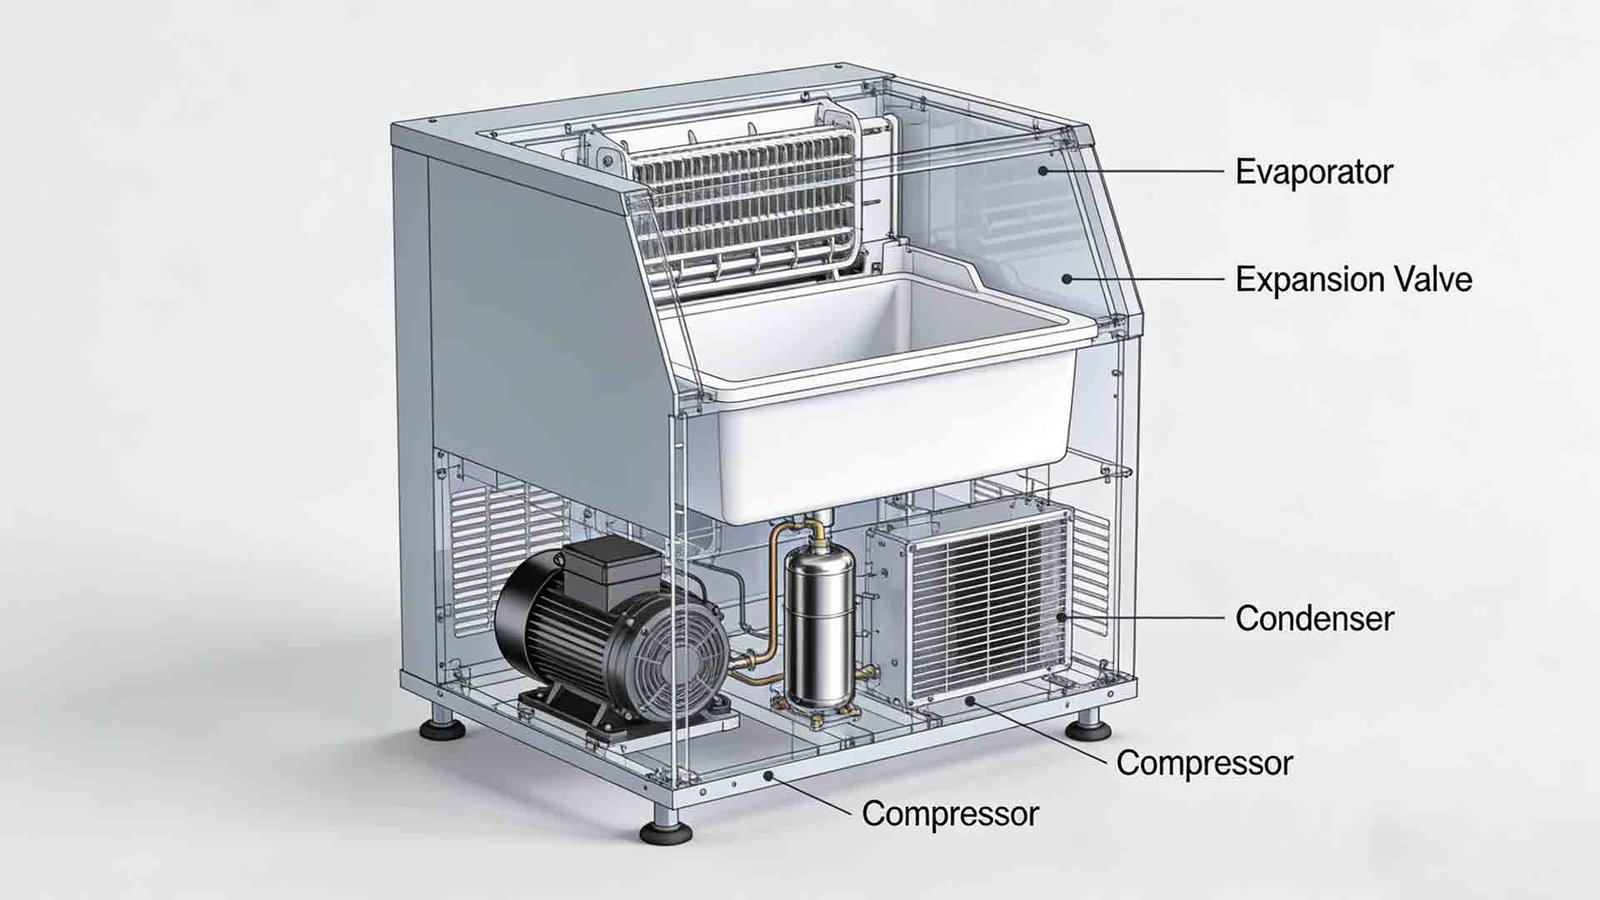
These large units connect to a dedicated water line and produce hundreds of pounds of ice per day. They’re overkill for homes but ideal for large events, though they consume significantly more electricity than standard fridge models.
Frequently asked questions
Can I use a garden hose for the water line?
No, you must use food-grade tubing designed for appliances. Garden hoses aren’t made for indoor water pressure and can leach chemicals into your ice, making it unsafe for consumption.
Why is my ice maker making a clicking sound?
The clicking often means the water valve is trying to open but no water is reaching the unit. Check that your water line isn’t kinked or frozen behind the refrigerator.
How long does it take to make a full bin?
It typically takes 24 hours to fill a standard bin from empty. This assumes your freezer is at the recommended temperature of zero degrees Fahrenheit or lower for optimal freezing.
Is it safe to eat the first batch of ice?
No, you should always discard the first two batches. These batches often contain air, dust, or plastic shavings from the new water lines that weren’t fully flushed out during the initial installation.
What happens if I forget to turn the ice maker off?
Nothing bad will happen if the bin is positioned correctly, as the sensor arm will stop the machine. However, if the arm is jammed, the machine may overfill and spill ice onto your floor.
How do I reset my ice maker?
You reset it by turning the power switch off, waiting 30 seconds, and turning it back on. Some digital models require you to hold the “ice” button for five seconds to trigger a manual harvest cycle.
Final Thoughts
Keeping your freezer stocked is simple once you’ve got the hang of it. If you notice the bin filling up too slowly, don’t worry—just check the filter to see if it’s time for a quick replacement. You’ll enjoy having plenty of ice for your drinks whenever you need them.
Related guides

Pingback: How to Use the Ice Maker: Simple Steps for First Time Setup
Pingback: How to Work Ice Maker in Freezer: Activation and Fixes