
An ice maker how does it work by using a timed cycle that chills water in a metal mold until it freezes into solid cubes. It then warms the mold slightly to release the ice, which drops into a bin, and the system refills with fresh water to start again.
How the ice maker works
| Part or input | What it does | What you notice when it goes wrong |
|---|---|---|
| Water valve | Controls flow into mold | No ice or constant leaking |
| Metal mold | Shapes and freezes water | Cracked ice or slow production |
| Heating element | Releases ice from mold | Ice stuck inside the tray |
| Ejector blades | Pushes ice into bin | Ice jams or loud grinding |
| Thermostat | Detects temperature for cycle | No ice or overflow of water |
| Sensor arm | Monitors bin capacity | Machine stops before bin full |
The water valve is a solenoid-actuated switch. If you hear a persistent hum but no water enters, the intake screen is likely clogged with mineral deposits.
A cracked metal mold is a terminal failure. Replace the unit immediately to avoid metal shavings in your drink.
The thermostat acts as your primary decision rule. Use a multimeter to check for continuity; if it reads infinite resistance, the switch is dead.
Finally, the sensor arm relies on physical tension. A simple adjustment restores the cycle, saving you from a costly service call.
What happens, step by step
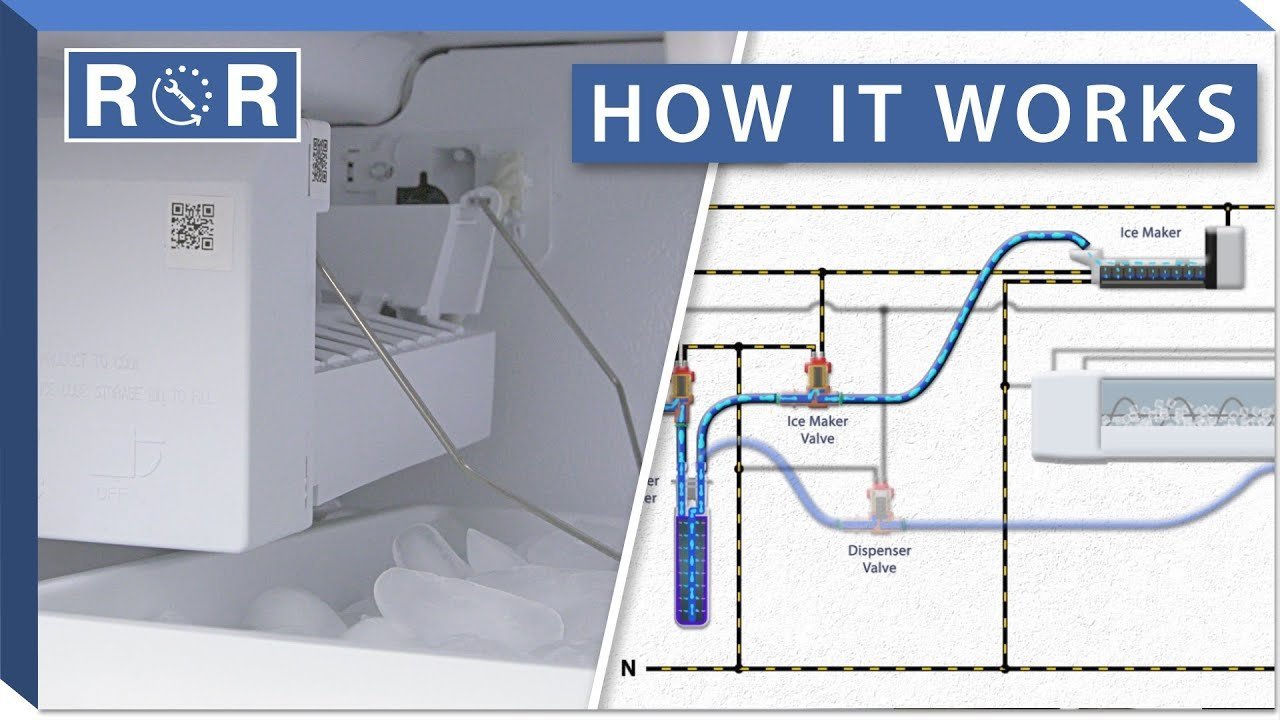
- The water valve opens for roughly 5 to 10 seconds, filling the mold tray with a set amount of water from your home supply.
- The cooling system pulls heat from the mold, lowering the water temperature until it turns into solid ice over 30 to 60 minutes.
- A thermostat detects when the mold reaches the target temperature, usually around 15 degrees Fahrenheit, and sends a signal to start the harvest.
- Ejector blades rotate slowly to push the cubes out of the tray and into the storage bin below the unit.
- The sensor arm checks the bin level; if there’s room, the valve opens to begin the next cycle automatically.
Why this matters when something goes wrong
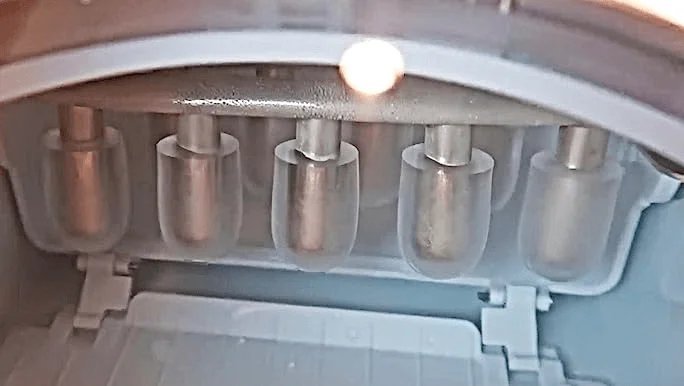
The mechanism relies on a precise balance between cold temperatures and timing, so a failure in one part often triggers a cascading error. If the water valve stays open, the mold overflows, causing ice chunks to fuse into a solid block that jams the ejector blades.
Conversely, if the thermostat fails to sense the cold, the machine might never trigger the harvest cycle, leaving you with stagnant, liquid water. If you notice the ice is cloudy, it’s often due to trapped air or minerals in your supply.
You must distinguish between a mechanical failure and a simple blockage to save time. If the blades move but hit resistance, you have a physical jam; try melting the obstruction with a warm cloth before calling for help. If the motor is silent, you likely face a failed sensor or a blown thermal fuse.
A common mistake is forcing the ejector blades manually. This often snaps the plastic gear teeth, turning a simple sensor repair into a total motor replacement. If the machine makes a grinding noise, stop immediately. This indicates the gear is stripping, and further operation will cost you the entire assembly.
What you can change, and what you cannot
Things you control
- Clean the interior bin with mild soap to stop mold growth.
- Check the water line for kinks that block flow to the valve.
- Level the appliance so the tray fills evenly every single time.
- Adjust the sensor arm to change when the machine stops making ice.
Things fixed by design
- The cycle duration is set by the factory and can’t be altered.
- The mold size and shape are permanent features of your specific unit.
- Electrical components require a licensed technician; never touch internal wiring.
Getting more out of it
Consistent ice production depends on proper airflow and clean components. First, keep the freezer temperature set to 0 degrees Fahrenheit, as this allows the unit to reach its freezing cycle faster.
Second, replace your water filter every 6 months to prevent mineral buildup in the valve. If your water tastes metallic or the ice cubes appear cloudy, replace the filter immediately regardless of the calendar. Ignoring this leads to sediment clogging the solenoid valve, which is an expensive part to replace.
Third, don’t force the ice bin out if it feels stuck; wait for the current cycle to finish. Forcing the bin can misalign the ejector arm, breaking the delicate plastic housing.
Finally, if you go on vacation, turn the unit off to prevent stale ice from accumulating. If your unit lacks an off switch, simply empty the bin before leaving.
Final Thoughts
If your machine stops producing cubes, check the water line for any kinks or clogs first. Most issues are simple to fix without calling a professional. You’ll find that keeping the intake filter clean helps your appliance run smoothly for years, so don’t forget to inspect it every few months.
