
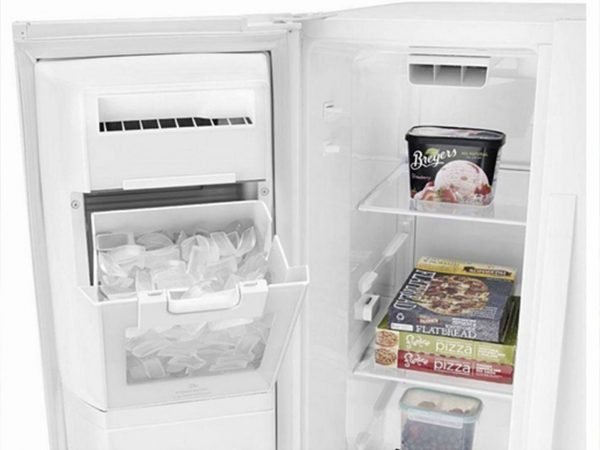
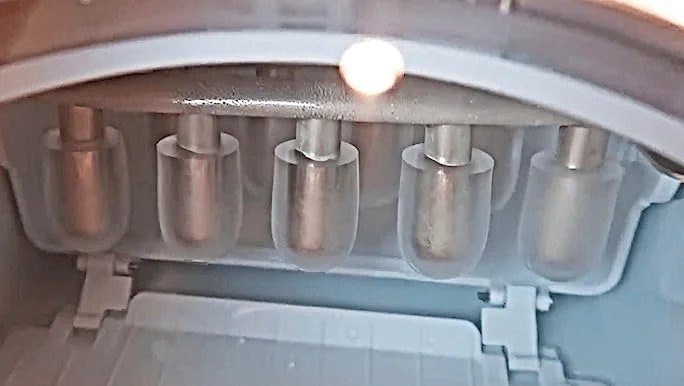
To understand how does ice maker work, consider that it turns water into solid cubes by chilling a metal mold with refrigerant until frozen. The machine then briefly heats the mold to loosen the ice, which falls into a bin, and the cycle repeats until the bin’s sensor detects it is full.
Most units rely on a mechanical feeler arm or an infrared beam to measure capacity. If your ice is clumping together, the sensor may be blocked, causing the machine to stop prematurely. You can tell if your bin is truly full by checking for a consistent, level surface across the cubes. If the pile is uneven, your sensor is likely misaligned or dirty.
The parts that do the work
| Part or input | What it does | What you notice when it goes wrong |
|---|---|---|
| Water valve | Controls flow into mold | No water enters the tray |
| Metal mold | Holds water for freezing | Ice cubes stay small or slushy |
| Refrigerant lines | Absorb heat from mold | Ice takes hours to form |
| Electric heater | Warms mold to release ice | Ice cubes get stuck inside |
| Ejector arm | Pushes ice into the bin | Ice overflows or jams tray |
| Bin sensor | Stops cycle when full | Ice piles up and spills |
The water valve is the most common point of failure. If you hear a buzzing sound but see no water, the solenoid coil is likely burnt out. If the tray remains bone-dry, check the inlet screen for mineral deposits first.
When ice cubes are slushy, the freezer temperature may be too high or the cooling cycle is being interrupted. This happens if the non-stick coating wears away, causing ice to cling to the metal instead of releasing.
If the bin sensor fails, the machine will continue to dump ice until the motor stalls. You can test this by manually blocking the infrared beam. If the cycle doesn’t stop after a short delay, the sensor board may need replacement.
Always verify your specific model number on the cabinet label before ordering parts. Using a generic valve on a high-pressure line often causes leaks that ruin the internal electronics. If the unit is relatively new, check for a clogged filter before assuming a mechanical breakdown.
What happens, step by step
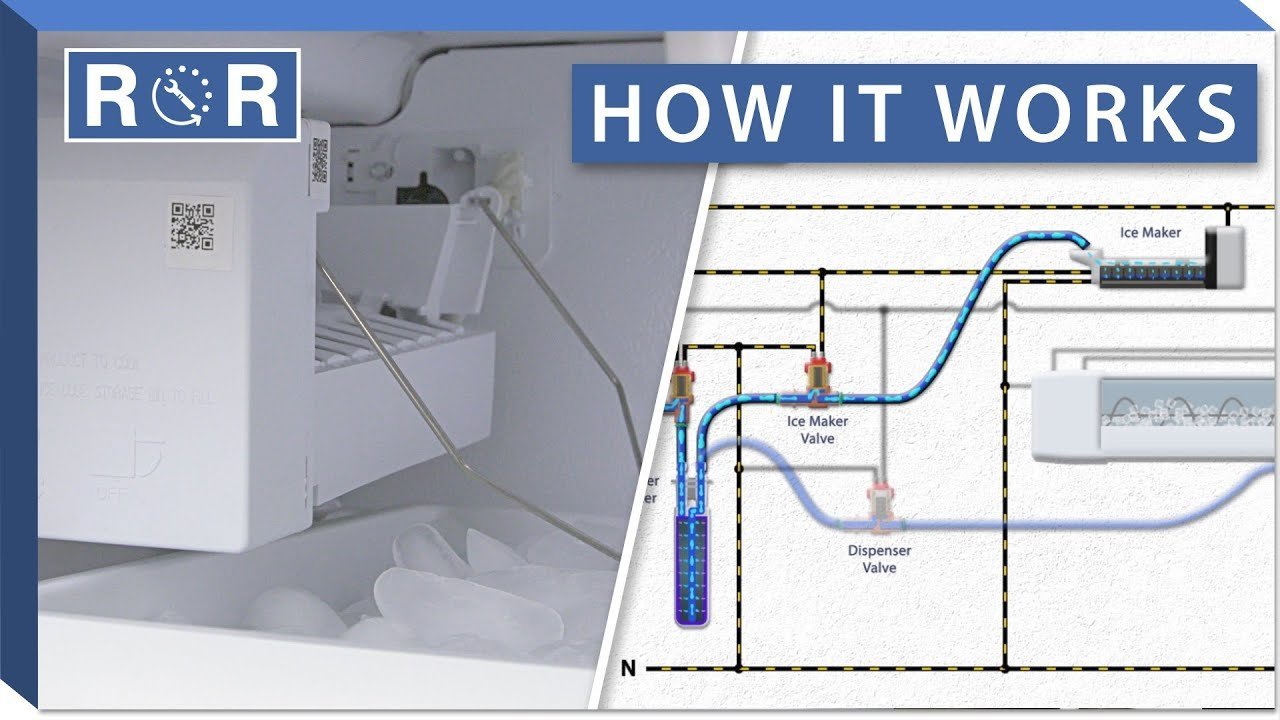
- The water valve opens for roughly 5 to 10 seconds, depending on the pressure of your home plumbing, to fill the mold.
- The cooling system pulls heat away from the mold, lowering the water temperature until it turns into solid ice, taking 30–60 minutes.
- A thermostat detects when the temperature reaches the freezing threshold, signaling that the ice is fully formed and ready for removal.
- The control board activates a small electric heater beneath the mold for about 60 seconds to slightly melt the edges of the ice.
- The ejector arm rotates to sweep the cubes out of the mold and into the storage bin, which takes about 15 seconds total.
- The sensor arm checks the level of the ice in the bin; if the ice touches the sensor, the cycle pauses.
Why this matters when something goes wrong
The mechanism relies on a precise sequence of temperature changes and mechanical movements, so one failed part usually stops the entire process. If the water valve stays closed, the tray remains dry, resulting in no ice production despite the cooling system running perfectly. Conversely, if the heater fails to warm the mold, the ice stays stuck in the tray and can’t be ejected, causing a buildup that eventually stops the unit. If the bin sensor is blocked by debris or broken, the machine may overfill or stop working entirely. You can confirm the safety standards for your specific appliance by checking the NSF International food equipment certification to understand if your unit meets the requirements for safe, sanitary ice production. A failure in the sensor or the timer is often mistaken for a cooling issue, but the cooling system is usually fine if the walls of the freezer are still cold.
What you can change, and what you cannot
Things you control
- The water line pressure and the cleanliness of the filter.
- The temperature setting of your freezer, typically kept at 0°F.
- The presence of debris or frost near the ejector arm.
- The alignment of the bin sensor arm inside the freezer.
Things fixed by design
- The cycle duration, which is set by the internal thermostat.
- The volume of the mold, which determines the cube size.
- The refrigerant type, which is sealed for life by the manufacturer.
If you suspect a leak in the refrigerant lines, don’t attempt to fix it yourself; this requires a certified technician who handles specialized cooling gases and high-pressure systems to avoid health risks or legal violations.
Getting more out of it
To keep the machine running well, replace your water filter regularly to prevent mineral buildup in the valve. Scale accumulation can restrict flow, leading to premature valve failure. If you notice ice cubes shrinking over time, check your home water pressure. Low pressure prevents the mold from filling completely, resulting in hollow, brittle half-moons.
For machines that produce cloudy ice, it’s often due to trapped air or minerals. This is normal and not a failure. However, if the ice tastes metallic, your filter is likely saturated and failing to trap impurities.
If you’re going away, turn the ice maker off to save energy and prevent old ice from absorbing freezer odors. This varies by model. If your unit features a mechanical bail arm, lift it until it clicks. If it’s digital, hold the power button for three seconds. Ignoring this step risks a frozen, jammed bin upon your return.

Pingback: Is Nugget Ice the Same as Sonic Ice? The Simple Answer