
Standalone countertop ice makers range from $100 to $300, while built-in under-counter units typically cost between $1,000 and $3,000. The total price depends entirely on the installation type and the daily production capacity required for your home or business needs.
Choosing the right machine starts with matching your daily ice usage to the unit’s output. If you buy a unit that produces too little, you’ll constantly run out; if you buy one that’s too large, you waste money and electricity.
The most common mistake people make is ignoring the water drainage requirements. Many high-end units require a dedicated drain line, which costs extra to install if your kitchen isn’t already set up for it.
Installing and Operating Your Machine
- Place the unit on a flat, level surface with at least 6 inches of clearance on all sides to allow for proper airflow.
- Connect the water supply line to a cold water source using a standard food-grade hose, ensuring all connections are tightened to prevent leaks.
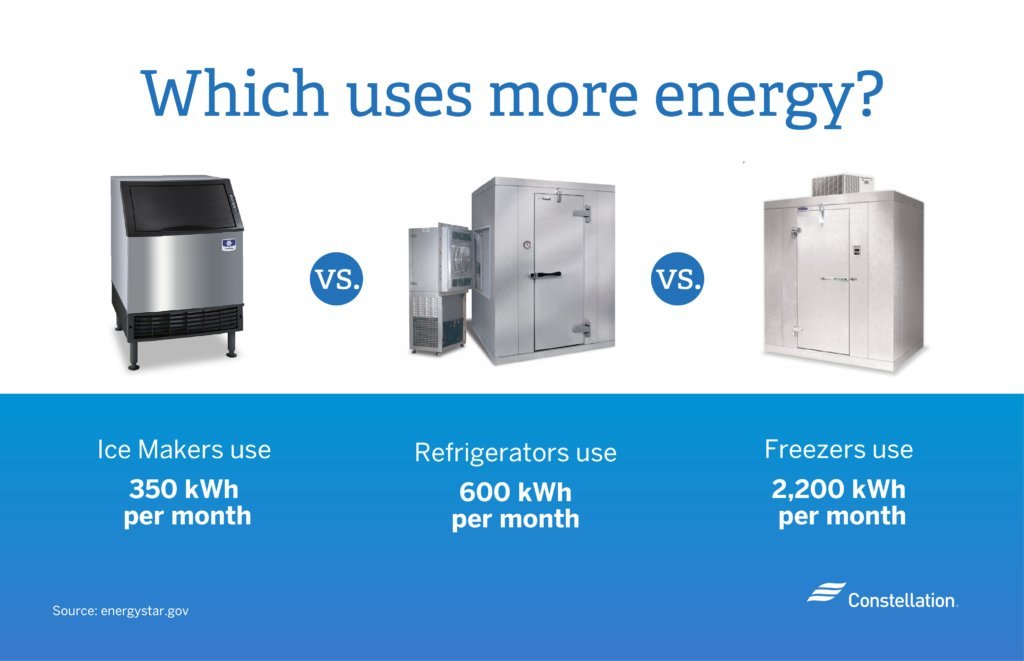
- Plug the power cord into a grounded outlet, checking the Energy Star product specifications to ensure your unit meets efficiency standards for your home.
- Run a cleaning cycle with a vinegar and water solution to remove any manufacturing residue before making your first batch of ice for consumption.
- Turn the machine on and wait for the bin to fill, which usually takes between 2 to 6 hours depending on the ambient room temperature.
- Verify the ice thickness settings if your model includes an adjustment dial, as thinner ice freezes faster but melts more quickly in drinks.
Tip: Always use filtered water to prevent mineral buildup inside the pump and sensors.
Tip: If you’re installing a built-in model, hire a licensed plumber to ensure the drainage slope meets local building codes.
Time Needed for Ice Production
The time required to fill a bin varies based on the machine’s cooling power and the starting water temperature.
| Situation | How long | What changes it | What to watch for |
|---|---|---|---|
| Countertop model | 10–20 minutes | Ambient temperature | Full bin sensor |
| Portable ice maker | 6–12 minutes | Water temperature | Low water light |
| Built-in machine | 24 hours | Ambient heat | Drain flow rate |
If your machine takes longer than these windows, check for blocked vents or a dirty condenser coil that prevents heat from escaping.
Signs Your Ice is Ready
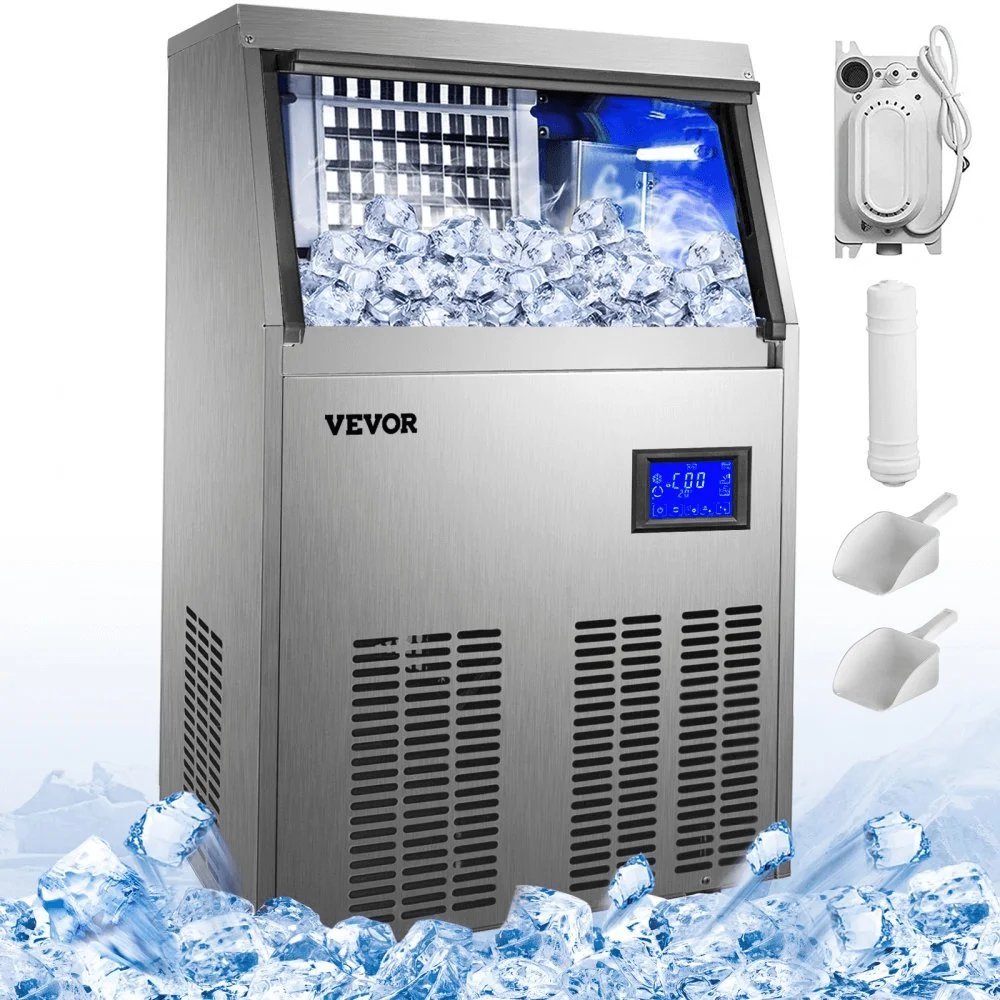
You can tell the machine is finished when the cycle stops and the bin is full, triggering the automatic shut-off sensor. Most modern units feature an indicator light that turns from red to green or simply flashes when the harvest cycle is complete. Listen for the sound of ice dropping into the tray; if you hear the water pump running but no ice falls, the water line may be clogged. When the bin is full, the internal temperature should be low enough to keep the ice solid for several hours.
Common Operational Errors
- Blocking the vents: Placing the unit against a wall prevents heat from escaping, which causes the compressor to overheat and fail prematurely. Always maintain the manufacturer’s recommended clearance distance to ensure the cooling system operates efficiently.
- Using hard water: High mineral content leads to scale buildup on the evaporator plates, which ruins the ice quality and clogs internal valves. Install a water softener or change your filter every six months to keep the internal components clean.
- Overloading the bin: Pushing ice into the sensor area prevents the machine from knowing the bin is full, causing it to overflow or damage the paddle. Remove excess ice manually if you notice the bin is piled higher than the sensor level.
Frequently asked questions
Can I leave my ice maker on all the time?
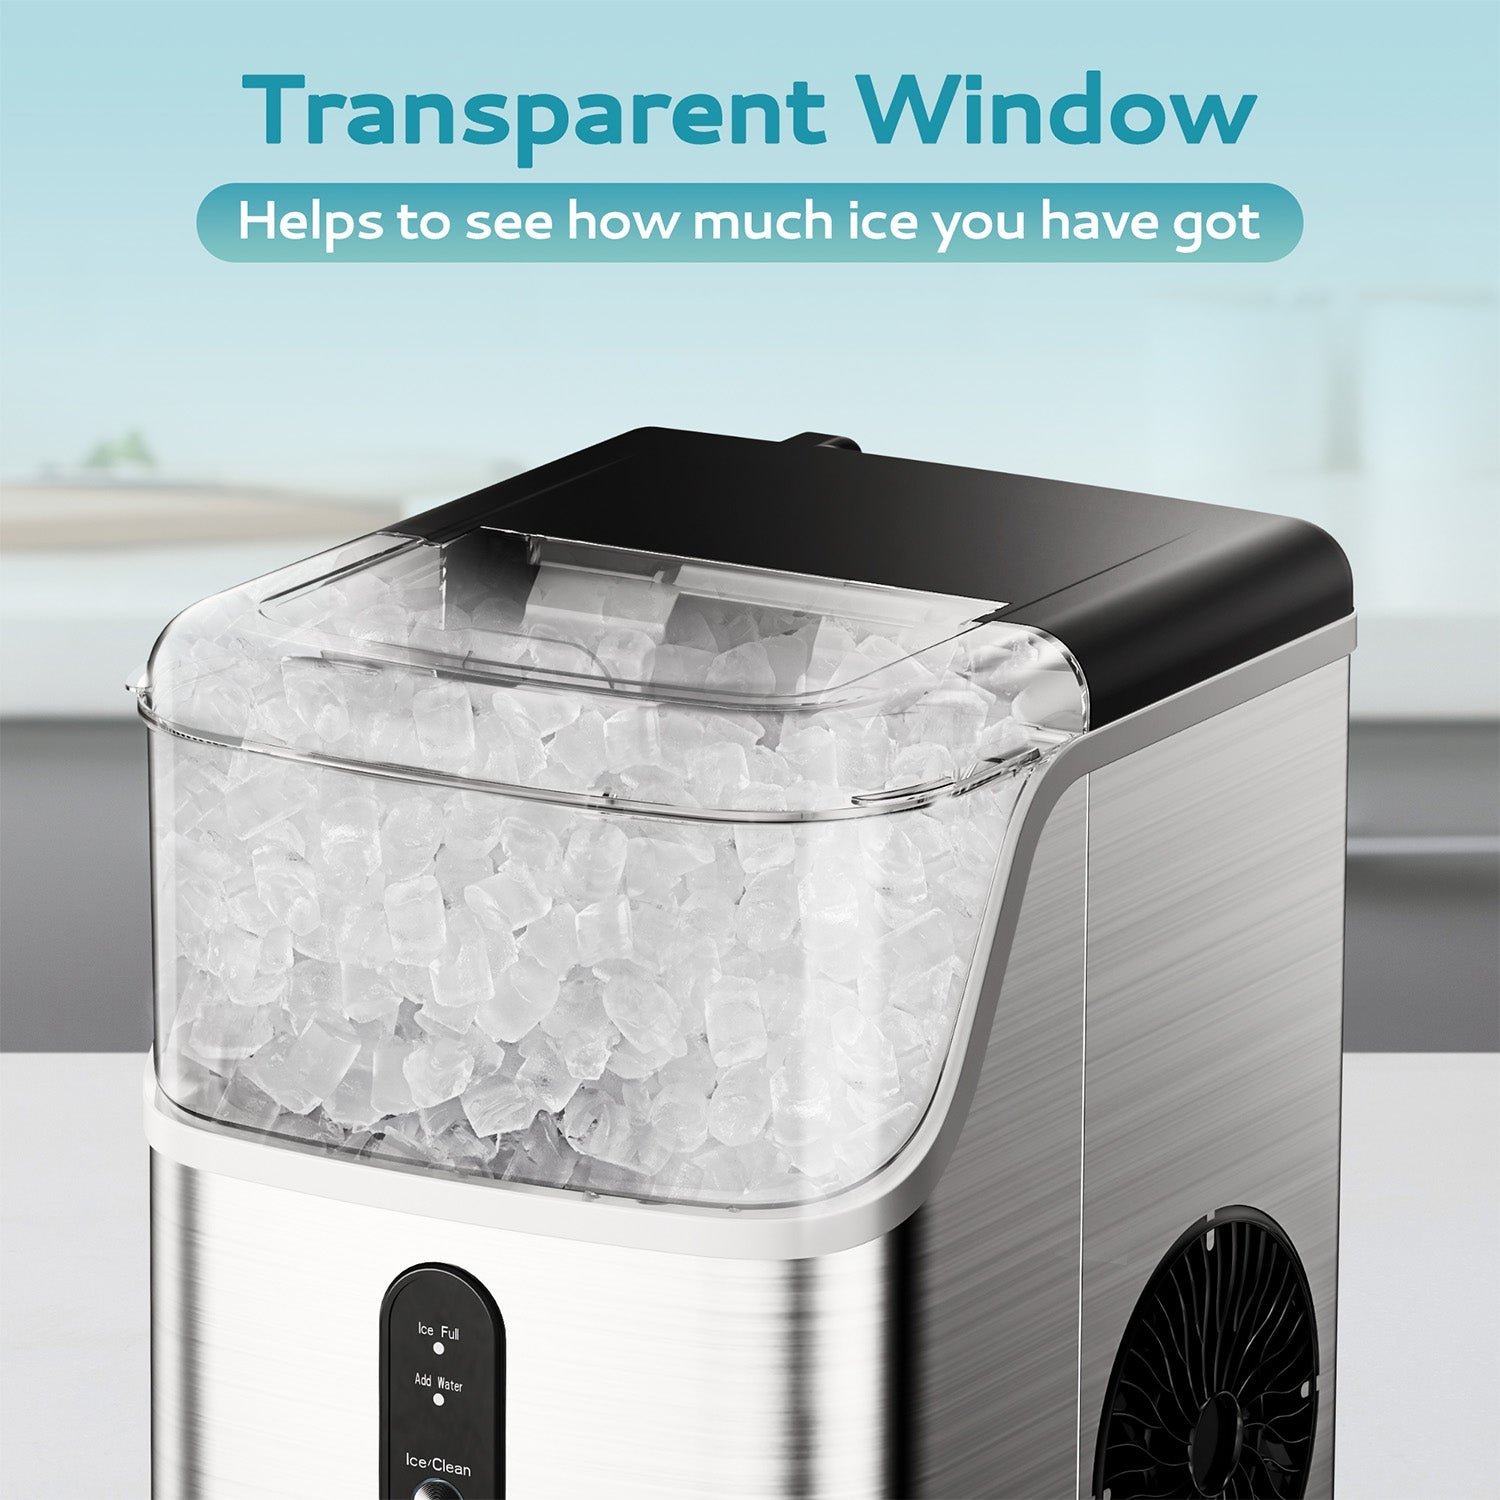
Yes, you can leave it on, as most units include an automatic sensor that stops production once the bin is full. It will restart the cycle only when the ice level drops, which helps manage energy consumption while ensuring you have a steady supply ready whenever you need it.
How much water do portable ice makers use?
They typically use about 1 to 2 liters of water per cycle to produce a batch of ice. You must manually refill the reservoir once the low-water light turns on, as these models don’t connect to a permanent water line like larger, built-in units do.
Is it safe to drink ice from a new machine?
Yes, it’s safe, provided you run a full cleaning cycle with a vinegar-water mix before the first use. This removes dust and factory oils from the internal tubes, ensuring the first batch of ice is clean and free from any unpleasant tastes or chemical residue.
Why is my ice maker making loud noises?
It’s likely making noise because the unit isn’t sitting on a level surface, causing the internal motor to vibrate against the frame. Adjust the leveling feet on the bottom of the machine until it’s perfectly stable, which usually stops the rattling sound during the harvest cycle.
How often should I clean my ice maker?
Clean your ice maker every three to six months to prevent mold and mineral buildup. Regular maintenance ensures the sensors remain accurate and the ice stays clear. If you live in an area with very hard water, you may need to clean the unit more frequently to maintain optimal performance.
Ice makers, in short
Before you head to the store, take a moment to measure your available counter space or cabinet gaps. You’ll also want to check if you have a nearby water line, as that’ll influence your final choice. Once you’ve cleared those details, you’re ready to enjoy fresh, cold drinks all year long.
Pingback: What Is an Ice Machine: Types, Uses, and How They Work
Pingback: Where Can I Buy an Ice Maker Near Me: Local Store Guide