
Learning how to make ice in chest freezer units is simple if you place containers of filtered water on the bottom floor and set the thermostat to its coldest setting for 24 hours. This method works well for large volumes of ice.
How to make ice in chest freezer: Essential items
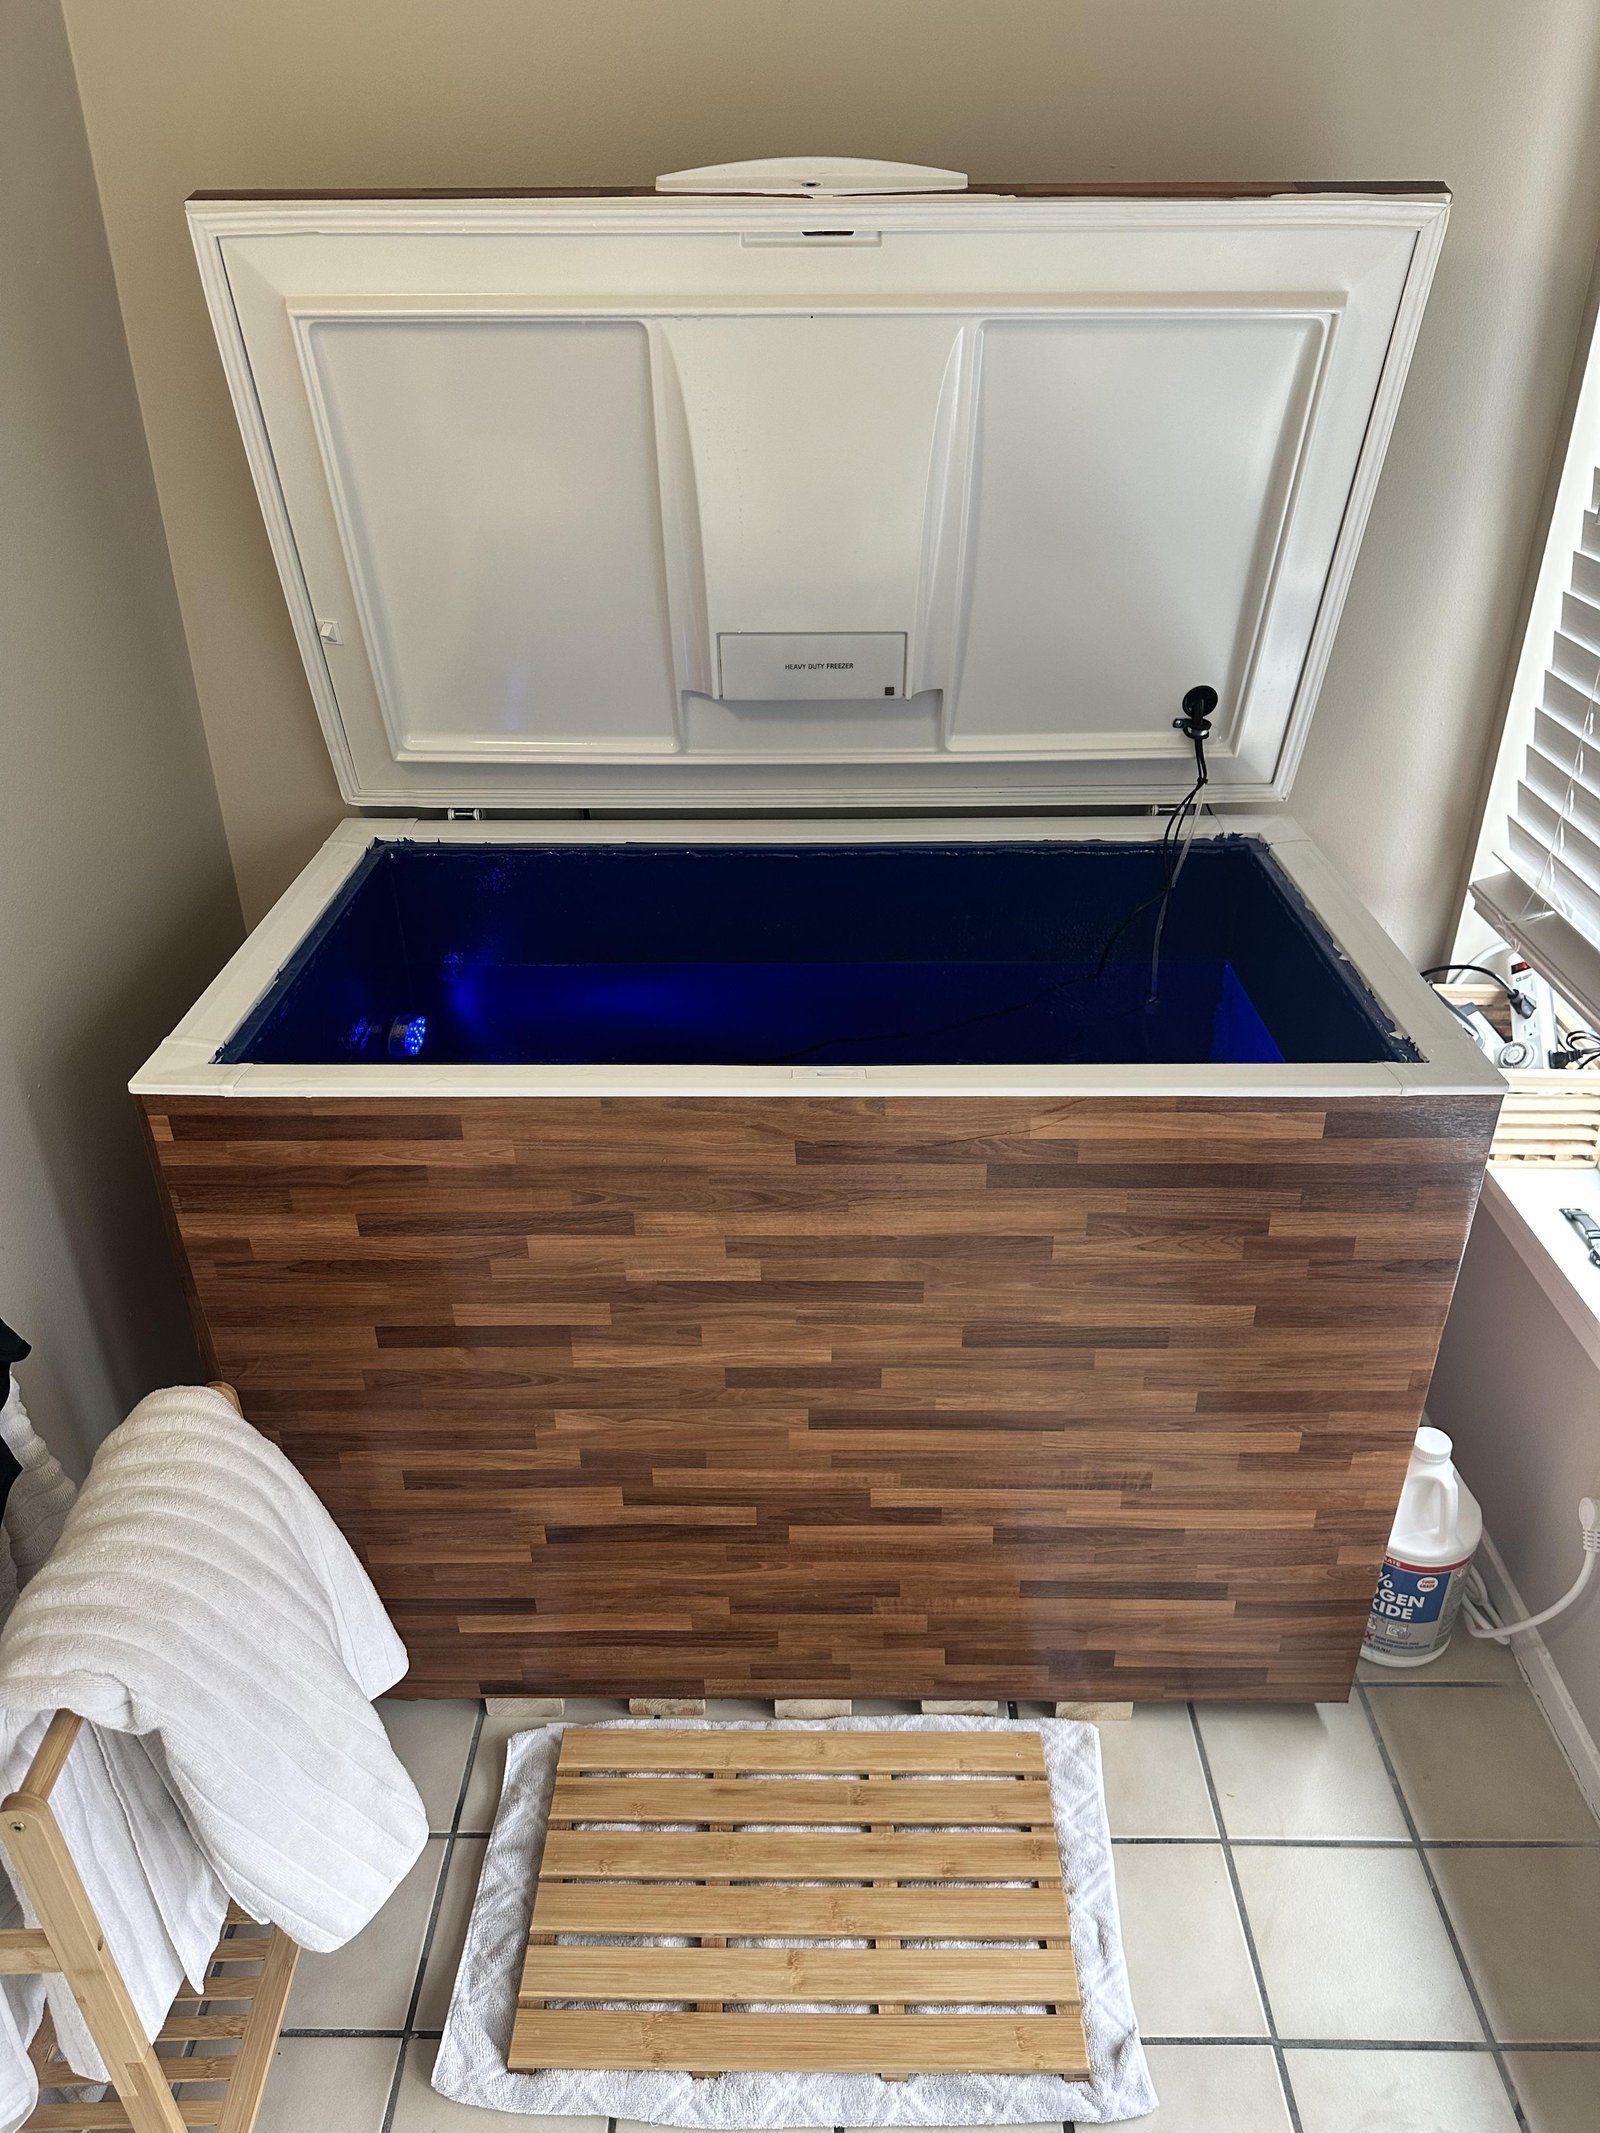
- Food-grade plastic or silicone containers: Choose containers with flat bottoms to ensure even freezing.
- Filtered water: Using filtered or distilled water prevents cloudiness and mineral buildup.
- Thermometer: An appliance thermometer helps verify the internal temperature is below 0°F.
- Tray or mat: Use a rubber or plastic mat to protect the freezer floor from condensation.
- Lids: These prevent odor absorption from other stored items.
Only use containers labeled as freezer-safe; glass jars often crack due to the expansion of ice. If you need professional calibration for your thermostat, contact the manufacturer directly.
Step-by-step
- Set your chest freezer to the lowest temperature setting at least 24 hours before you begin.
- Clear a flat space on the bottom of the freezer to ensure the containers sit level.
- Fill your containers with water, leaving at least one inch of space at the top because water expands as it turns into ice.
- Place the containers on the flat surface, keeping them away from the interior walls to allow for proper airflow.
- Check the water after 24 hours; if the centers are still liquid, wait another 12 hours before removing them.
- Remove the containers and let them sit at room temperature for five minutes to loosen the ice.
- Turn the freezer setting back to your normal storage temperature once the batch is finished.
Tip: Always place a mat under your containers to prevent them from sticking to the freezer floor. Careful: Never use metal tools to pry ice containers loose, as this can puncture the evaporator coils and ruin the unit. If you suspect a puncture, stop immediately and contact a licensed refrigeration technician to avoid losing your warranty.
Temperature and time variations
The speed of ice production depends on your starting water temperature and the volume of the containers.
| Situation | Time Required | Effort Level | Key Watchpoint |
|---|---|---|---|
| Room temp water | 24–36 hours | Low | Expansion space |
| Pre-chilled water | 18–24 hours | Medium | Condensation |
| Large block ice | 48+ hours | High | Center density |
It’s always safer to start with smaller containers to test how your specific model handles the heat load, rather than overshooting with a massive block that may not freeze solid in the center.
How to tell you did it right
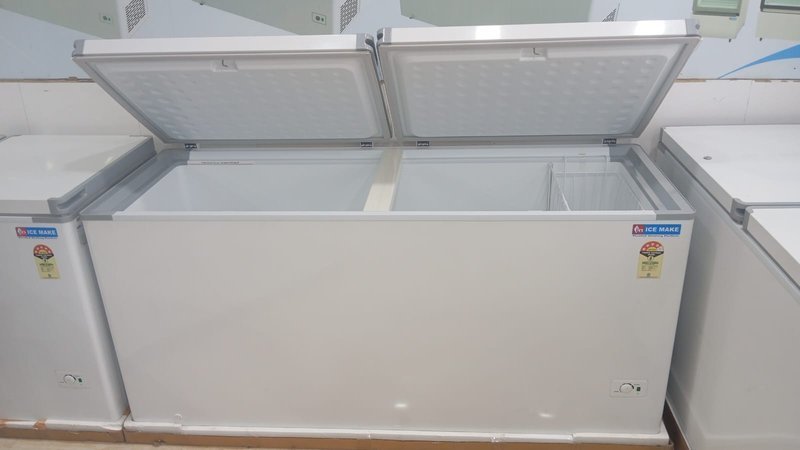
A successful result is a solid, clear block of ice that releases easily from your container. If the ice looks opaque or white in the middle, it’s usually because of trapped air bubbles or minerals in the water. To prevent this, use distilled water and freeze the containers slowly by not overloading the freezer. If you see frost buildup on the walls of your chest freezer, follow the FoodSafety.gov cold food storage guidelines to ensure your other food items remain at a safe temperature while you manage your ice production.
Maintenance and safety standards
Always keep your freezer lid closed as much as possible, as frequent opening causes the compressor to run longer and increases energy costs. If you notice the motor running constantly, check the door seal for gaps. Clean the interior regularly to remove any spilled water or debris.
Alternative freezing methods
Silicone ice molds
Use these for smaller, usable cubes rather than large blocks. The flexible material makes removal easy, and they fit into smaller gaps in a crowded freezer.
Insulated cooler bags
Place your water containers inside an insulated bag before putting them in the freezer. This slows the freezing process, which often results in clearer, more uniform ice blocks.
Food-grade plastic bags
Fill heavy-duty freezer bags with water and lay them flat. This creates thin sheets of ice that you can easily break into pieces, which is ideal for packing coolers.
Frequently asked questions
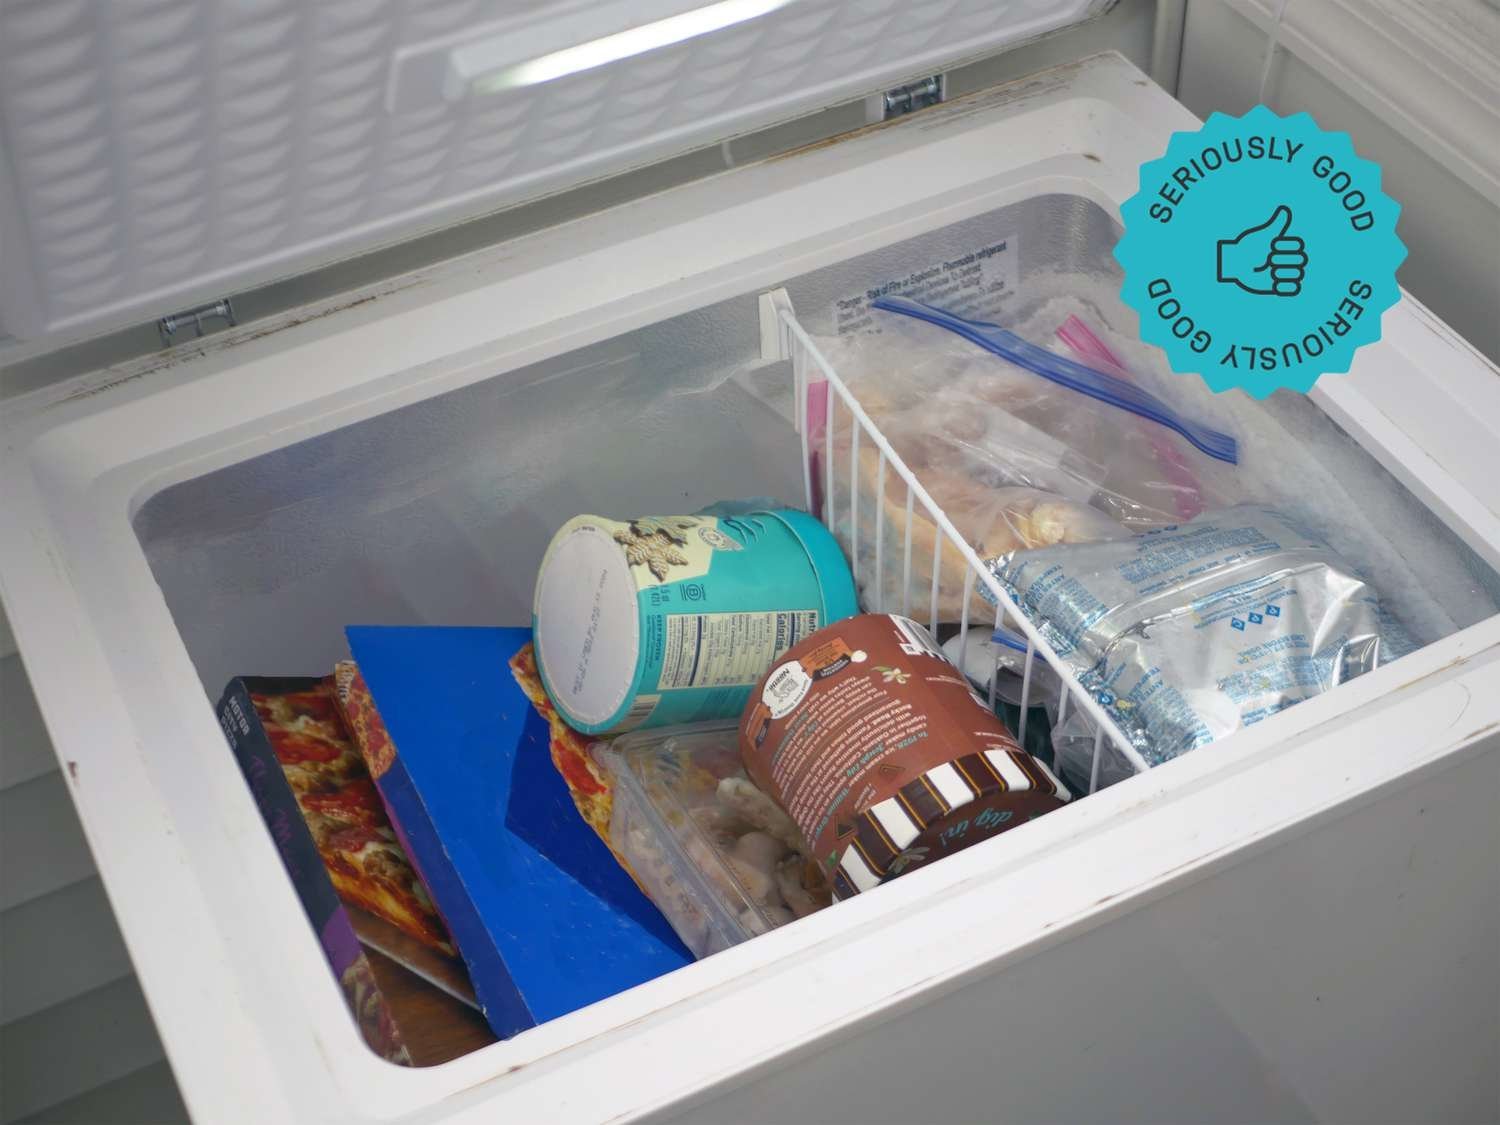
Can I make ice in a chest freezer without a mold?
Yes, you can use any clean, food-safe plastic container. Just ensure the sides are tapered so the ice can slide out easily once it begins to thaw at room temperature.
Is it safe to freeze water in glass?
No, glass isn’t safe in a chest freezer. The expansion of water as it freezes will likely shatter the glass, leaving dangerous shards in your food supply.
How long does ice last in a chest freezer?
Ice lasts indefinitely as long as the freezer maintains a constant temperature of 0°F or lower. However, it may absorb odors from other food after three months.
Why is my ice cloudy?
Your ice is cloudy due to trapped air or minerals in the water. Using distilled water and freezing the ice slowly will help keep the blocks clear.
What happens if I turn the freezer too cold?
Turning the freezer to the maximum setting for too long can strain the compressor. Only use this setting while actively making ice, then reset it to normal.
Final Thoughts
Once your ice is solid, you’ll find it’s much easier to remove if you let the containers sit at room temperature for a few minutes first. Don’t forget to keep a dedicated scoop nearby so you’re ready to fill your cooler or glass whenever you need a cold drink on a hot day.
Related guides

Pingback: How to Use an Ice Maker in a Freezer: Step-by-Step Guide