
Operating ice maker systems simply requires ensuring the water line is connected, turning the power switch to the “on” position, and waiting for the bin to fill. It works like a small freezer factory, turning liquid water into solid cubes using a cooling element and a timer.
How the ice maker operates
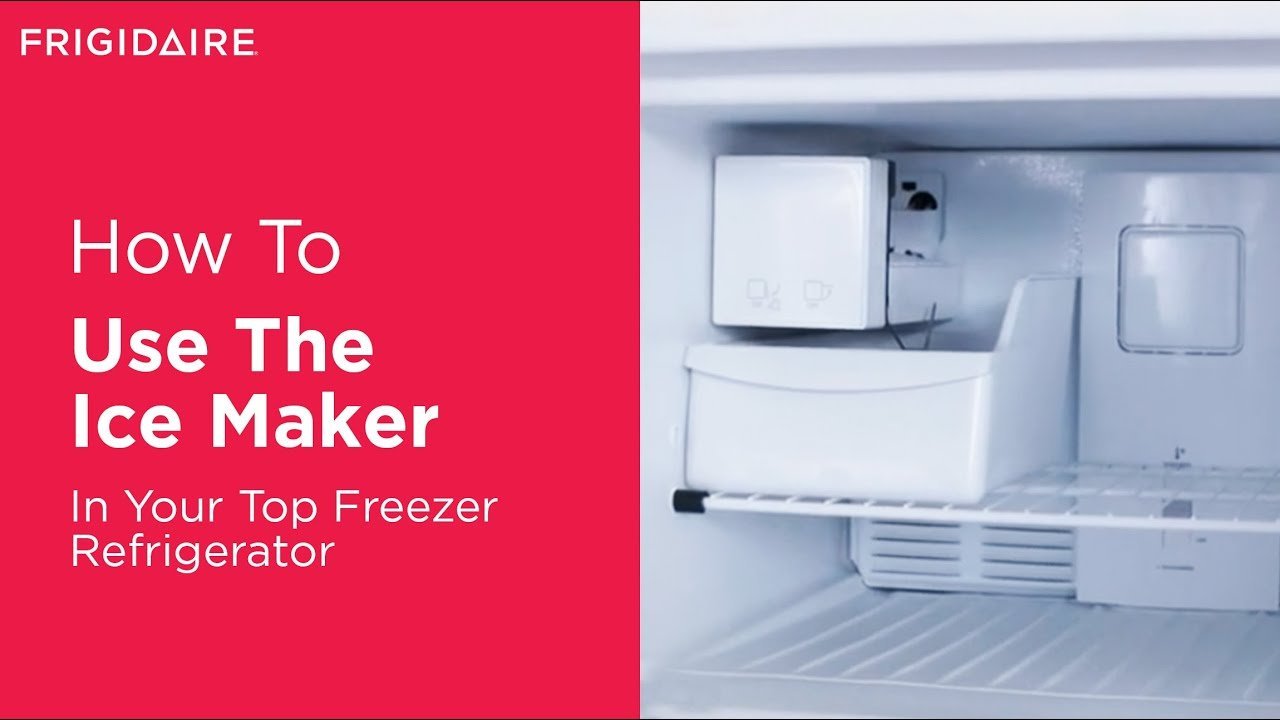
| Part or input | What it does | What you notice when it goes wrong |
|---|---|---|
| Water valve | Lets water enter the unit | No water flow or constant leaking |
| Mold tray | Shapes and freezes the ice | Ice cubes come out thin or stuck |
| Ejector arms | Pushes ice into the bin | Ice stays in the tray or jams |
| Feel arm/sensor | Checks ice bin level | Unit overflows or stops too early |
| Control switch | Turns the system on/off | Ice maker remains off or silent |
What happens, step by step
- Confirm the water supply line is fully open and connected to the back of your refrigerator or stand-alone unit.
- Flip the small wire feel arm or the electronic toggle switch to the “on” or “down” position inside the bin.
- Wait for the water valve to open, which fills the mold tray with a specific amount of cold water, usually 2–4 ounces.
- Allow the system to freeze the water for about 90 to 120 minutes, depending on your freezer’s temperature setting and air circulation.
- Watch for the heating element to briefly warm the tray, which loosens the ice cubes so they can slide out easily.
- Observe the ejector arms as they rotate to push the finished cubes out of the mold and into the storage bin.
- Repeat the cycle automatically until the bin is full, at which point the feel arm detects the ice and pauses production.
Why this matters when something goes wrong
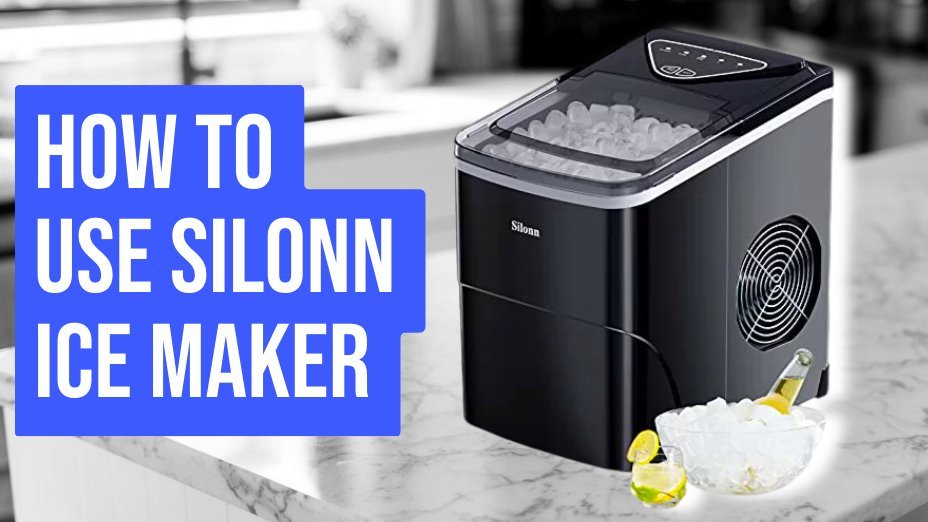
Troubleshooting depends on identifying which stage of the cycle failed. If your machine is completely silent, the issue is likely the power switch or the control board, not the water supply. If you hear the motor running but no ice appears, the problem usually stems from a frozen water line or a faulty inlet valve. People often mistake a full bin for a broken machine; if the feel arm is pushed up by ice, the system stays off until you remove the cubes. This is a common mistake that costs users unnecessary repair calls. Always check the refrigerator and freezer storage guidelines to ensure your freezer temperature remains at or below zero degrees Fahrenheit, as warmer settings prevent the mold from freezing properly.
What you can change, and what you cannot
Things you can change
- The position of the wire feel arm to stop production.
- The temperature setting of your freezer to speed up freezing.
- The water filter, which you should replace regularly.
- The alignment of the bin to ensure the sensor arm moves freely.
Things that are fixed
- The size and shape of the ice cubes, which are molded by the tray.
- The amount of water per cycle, set by the factory timer.
- The internal wiring and motor speed, which require professional service.
Getting more out of it
Consistent ice production relies on simple maintenance habits that keep the system running efficiently. First, discard the first batch of ice after a long period of disuse to clear out old water lines. Third, check the water line for kinks every time you pull the unit out for cleaning. Finally, if you notice the ice tastes like other food, keep the freezer door sealed tightly and store open items in airtight containers to stop odors from entering the ice.
Frequently asked questions
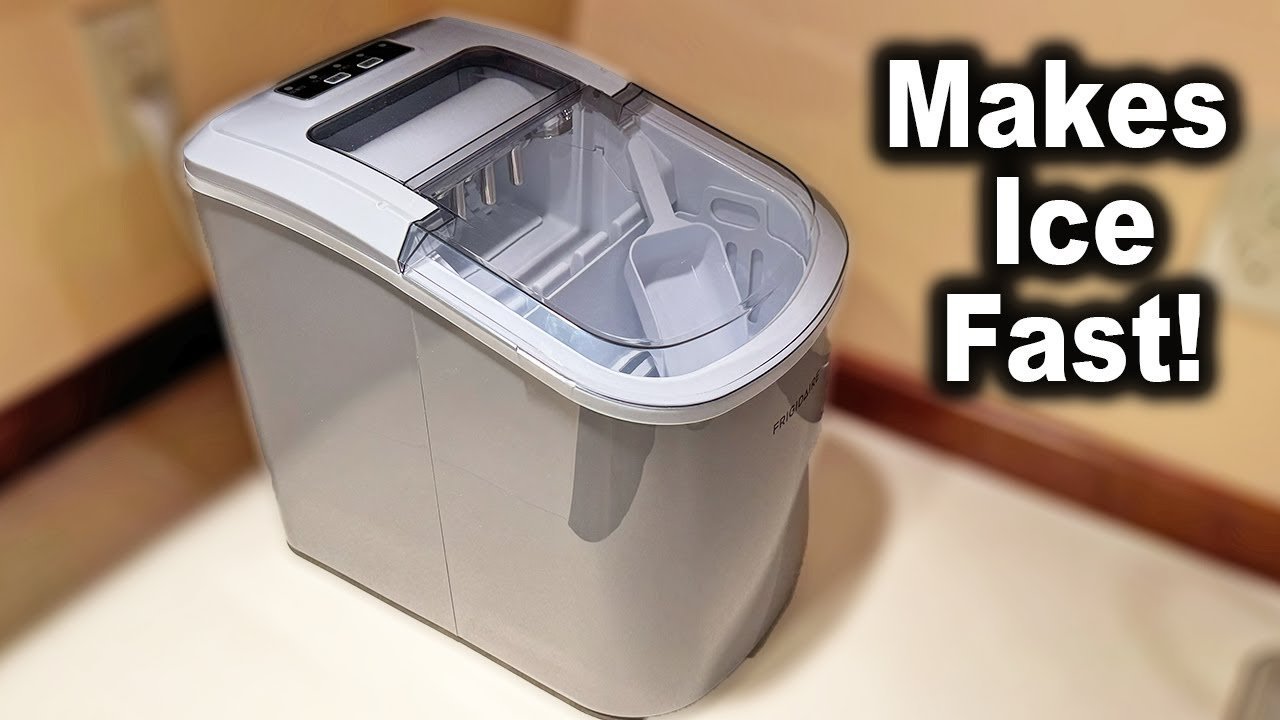
How long does it take to get the first batch?
It usually takes 24 hours for a new unit to produce its first full bin of ice. The initial cycle is slower because the entire appliance needs to reach the required freezing temperature first.
Is it safe to leave the ice maker on all the time?
Yes, it’s perfectly safe to leave the system on indefinitely. The sensor arm automatically stops production when the bin is full, preventing any overflow or wasted energy during normal daily operation.
Why is the ice maker making loud noises?
Small clicking or grinding sounds are normal as the ejector arms move or the water valve opens. If you hear a loud banging, check that the unit is level and the ice bin is seated correctly.
What happens if the water pressure is too low?
Low pressure causes the mold to fill only partially, resulting in small or hollow ice cubes. Check your manual for the minimum pressure requirement, which varies by model—check the label on the unit.
Can I turn off the ice maker while I am away?
Yes, simply lift the wire feel arm to the “up” position to stop the cycle. If you’re leaving for more than a week, it’s also best to empty the bin completely.
Does it matter if my freezer is too warm?
Yes, if the temperature rises above zero degrees Fahrenheit, the ice will melt together into a solid block. This varies by model—check the digital display or thermometer to confirm your current settings.
Final Thoughts
Once your bin is full, you’ll have a steady supply of ice for all your favorite drinks. If the cubes ever start to taste stale or look cloudy, it’s a good idea to empty the container and give the interior a quick wipe-down. You’ll really enjoy having cold refreshments on hand.
Related guides

Pingback: What Is the Best Under Counter Ice Maker: Expert Verdict