
To learn how to operate ice maker systems, turn on the power switch and connect the water line; the unit then automatically freezes water into cubes and drops them into a bin. It works like a constant-motion freezer that cycles water through cold metal trays until it fills the container.
How the ice maker operates
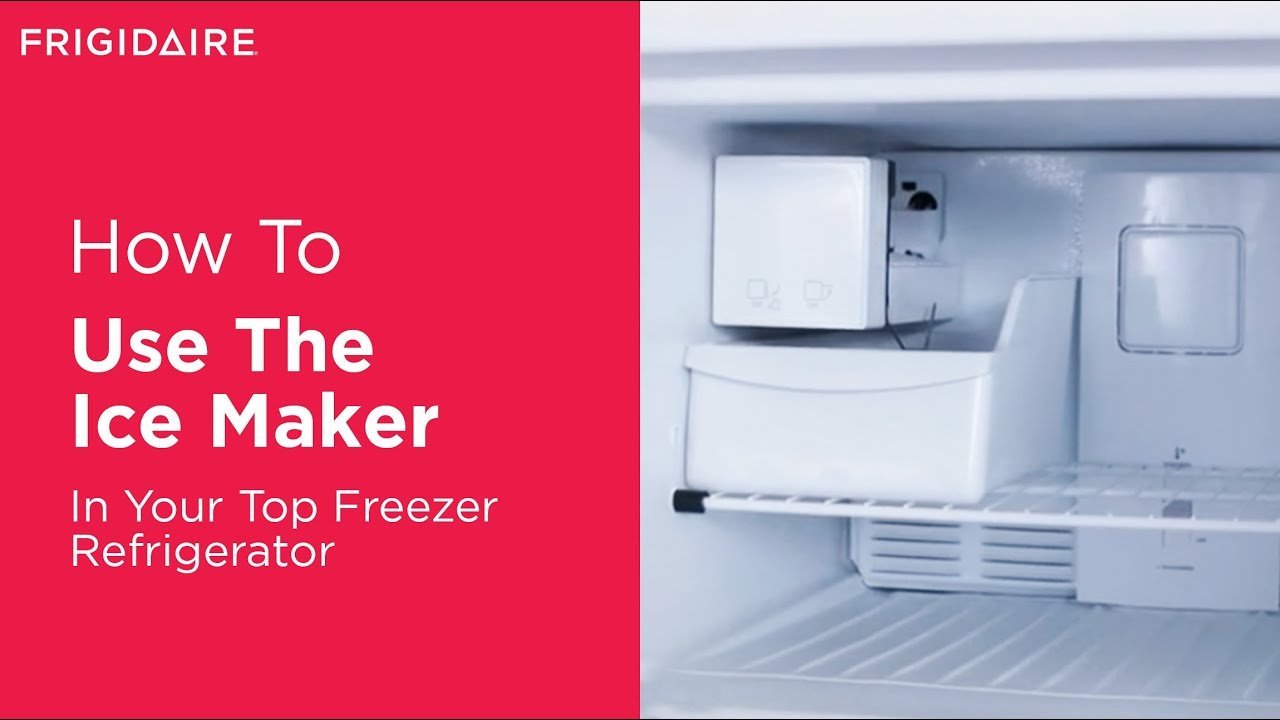
| Part or input | What it does | What you notice when it goes wrong |
|---|---|---|
| Water supply line | Delivers fresh water | No ice or leaking water |
| Water inlet valve | Controls water flow | Slow ice production |
| Evaporator plate | Freezes water into ice | Thin or cloudy ice |
| Ejector blades | Pushes ice into bin | Ice stuck in tray |
| Bin sensor | Stops when full | Bin overflows or stops |
| Power switch | Enables the system | No power to unit |
Most users mistake a failing inlet valve for a broken filter. If your ice is small or misshapen, check the water pressure first. Most valves require at least 30 PSI to function correctly. If your home pressure is lower, the valve won’t open fully.
The evaporator plate is the most sensitive component. If you see white, cloudy ice, your water likely has high mineral content. This buildup acts as an insulator, preventing the plate from reaching freezing temperatures quickly.
Watch the ejector blades closely during a cycle. If they stall, don’t force them by hand. This usually indicates a stripped gear in the motor assembly. Replacing the motor is a complex task; failing to act quickly can damage the gear assembly. Always unplug the unit before touching these moving parts to avoid injury.
Note: Check your specific manual for the exact location of these parts, as placement varies by model.
What happens, step by step
-
The evaporator plate drops below freezing. This phase takes 30 to 45 minutes. If your freezer is set above 0°F, the system may struggle to reach the necessary temperature, leading to soft or slushy cubes.
-
A heating element warms the tray for 2 minutes. This creates a thin layer of melt, acting as a lubricant to release the ice. If the heater stays on too long, the cubes will arrive in the bin partially melted and clumped together.
-
The ejector arm rotates to push cubes into the bin.
-
The bin sensor uses a mechanical feeler arm or infrared beam to detect ice. If the arm is blocked by a stray cube, the system halts prematurely.
-
The system resets. If the cycle repeats but the bin remains empty, check the water inlet screen for sediment buildup. This simple blockage is the most common cause of “no ice” complaints.
Why this matters when something goes wrong
Knowing the cycle helps you find why your machine stops working. If the bin is empty but the machine is silent, the power switch or the bin sensor is usually the culprit. If the tray stays dry, the water supply line is likely blocked or the valve is faulty. You must ensure the water pressure is within the NSF International standard for plumbing components to prevent valve failure. If your ice is small or misshapen, the water flow is too low or the temperature is too high. A common mistake is forcing the ejector arm by hand when ice is stuck; this often snaps the plastic gears and leads to an expensive repair. If the machine makes ice but it tastes bad, the issue is your water filter, not the mechanical freezing process.
What you can change, and what you cannot
Things you control
- The temperature setting of your freezer compartment.
- The frequency of changing the water filter.
- Whether the power switch is set to on.
- The amount of ice stored in the bin.
Things fixed by design
- The cycle time for freezing the water.
- The physical shape and size of the cubes.
- The electrical voltage required for the motor.
If you suspect an electrical fault or a leaking water line, stop immediately and contact a licensed plumber or technician; attempting these repairs yourself can void your warranty or cause water damage.
Getting more out of it
Keep the bin at least half full to ensure the sensor triggers correctly.
If you go away for more than a week, turn off the water supply and empty the bin to prevent stale ice. Stagnant water in the lines can harbor bacteria or develop a metallic tang.
Regularly wipe the bin with a damp cloth to remove frost buildup. If the ice tastes like other food in your freezer, ensure all items are sealed in airtight bags. This prevents odors from moving into the ice cubes while they sit in the bin.
Adjusting your freezer to a lower setting will speed up ice production. However, if your ice cubes are clumping together, your freezer temperature is likely too high, causing partial melting and refreezing.
Final Thoughts
Keep an eye on the bin as the weeks pass, and don’t forget to clean the interior tray every few months to keep your cubes tasting fresh. If you notice the production slowing down, it’s usually just a sign that it’s time to swap out your water filter for a new one.
Related guides

Pingback: How to Work an Ice Machine: Step-by-Step Operation Guide