
You can start the process of how to use a fridge ice maker by ensuring the water line is connected and the wire shut-off arm or digital control is set to “on.” Once activated, the machine typically produces its first batch of ice within 24 hours.
Fridge ice maker supplies
- Water supply line: A flexible copper or braided stainless steel hose connected to a cold water pipe.
- Water filter: A manufacturer-approved cartridge, usually replaced regularly to prevent sediment buildup.
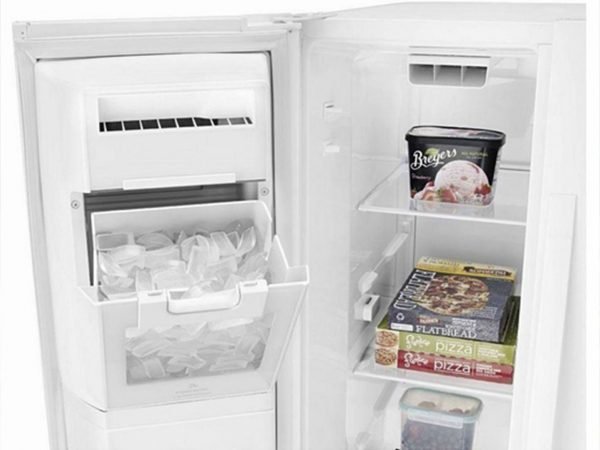
- Ice bin: The storage container provided with your appliance.
- User manual: Essential for identifying specific button combinations or switch locations.
- Cleaning cloth: Soft, non-abrasive material for wiping the interior.
If you’re missing the manual, search the model number on the official manufacturer support website to download a digital copy.
How to use a fridge ice maker: Step-by-step
- Verify the water connection: Check that the shut-off valve behind the fridge is fully open. If the valve is closed, you’ll hear the motor cycle, but no ice will form.
- Engage the power: Locate the wire shut-off arm and pull it down to the “on” position, or press the “Ice On” button on your digital control panel.
- Discard initial batches: Wait 24 hours for the first full bin, then empty it. The first few cycles may contain dust or debris from the new supply lines.
- Monitor the bin level: Ensure the bin is pushed all the way back. The ice maker stops automatically when the bin is full, sensing the height of the ice.
- Adjust the temperature: Set your freezer to 0°F or colder to ensure the ice stays solid and doesn’t clump together.
- Clean the bin:
Tip: If the ice smells strange, check if you have stored strong-smelling foods like onions nearby. Careful: Never use tools like screwdrivers to chip ice out of the bin; you can easily puncture the plastic liner or damage the internal mechanism.
Operational variations by model
The time and effort required to maintain your machine depend on the specific design of your appliance.
| Situation | Time Required | Difference | Watch For |
|---|---|---|---|
| Standard internal unit | 24 hours | Automatic cycle | Bin alignment |
| Through-the-door dispenser | 24 hours | External access | Chute clogs |
| Counter-depth model | 12 hours | Smaller bin | Frequent refills |
| Manual reset required | 5 minutes | Button sequence | Error codes |
It’s always safer to start with the manufacturer’s default settings and adjust them slowly rather than forcing the system to work harder on the first day.
How to tell you did it right
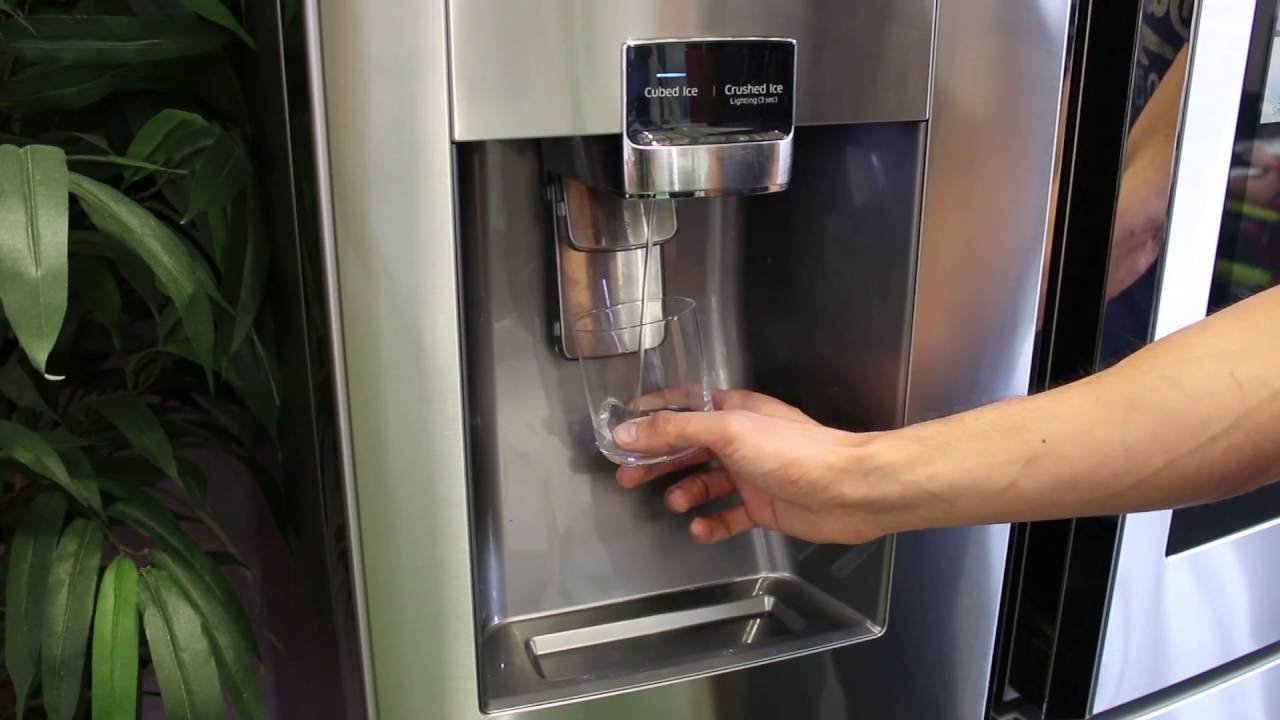
A successful result is a bin filled with clear, uniform cubes that break apart easily when you handle them. If you see large, fused blocks of ice, your freezer temperature is likely too warm or the bin is being exposed to too much humidity. This happens when warm air enters the freezer, causing the surface of the ice to melt and refreeze into a solid mass. Prevent this by ensuring the freezer door seals are tight and the ice bin is always pushed fully into its designated slot.
Maintenance and safety standards
The FoodSafety.gov cold food storage chart notes that maintaining a consistent freezer temperature is vital for the quality of all stored items. You must clear away any frost buildup around the ice maker chute as part of your usual clean to keep the mechanism moving freely. If the ice maker stops working, check the breaker and water pressure before calling a pro. Any work on the electrical components or internal wiring should be handled by a qualified technician, as a capacitor can hold a lethal charge even when the unit is unplugged.
Alternative ice production methods
Manual ice trays
These require zero installation and cost only the price of the plastic or silicone trays. They’re ideal for users who want to save space or avoid the plumbing repairs of an automatic unit.
Countertop ice makers
These portable machines plug into a standard outlet and produce ice in about 10 minutes. They’re perfect for parties but require you to manually fill the reservoir with water.
Bagged ice
Buying ice from a local store is the most convenient route for large gatherings. It eliminates the need for machine maintenance or plumbing but increases your ongoing grocery expenses.
Frequently asked questions
Can I turn off the ice maker while I am on vacation?
Yes, you can turn off the unit by lifting the wire shut-off arm or using the digital control panel. This prevents the machine from cycling unnecessarily when you aren’t there to use the ice.
Why is my ice maker making a loud clicking sound?
The clicking often indicates that the water supply is restricted or the valve isn’t opening properly. Check that the water line isn’t kinked behind the fridge and that the house water valve is open.
How long does it take for a new fridge to make ice?
It takes between 12 and 24 hours for a new fridge to produce its first batch. The cooling system must reach the target freezer temperature before the ice maker will initiate the cycle.
Is it safe to eat the first batch of ice?
No, you should discard the first two or three batches of ice. These cycles clear out any residual plastic dust or debris that may have settled in the water lines during shipping.
What happens if the ice maker isn’t used for a long time?
The ice can fuse together into a solid block, and the water left in the lines may lose its freshness. Empty the bin and run a fresh cycle if the ice has sat for weeks.
Final Thoughts
Keep an eye on the bin as it fills up, and don’t forget to toss the first few batches of ice to ensure the water lines are clean. Once you’ve done that, you’re all set to enjoy cold drinks whenever you’d like. It’ll make your daily routine a lot easier.

Pingback: Ice Maker in Freezer How to Use: A Simple Setup Guide
Pingback: How to Work Ice Maker Units: Simple Setup