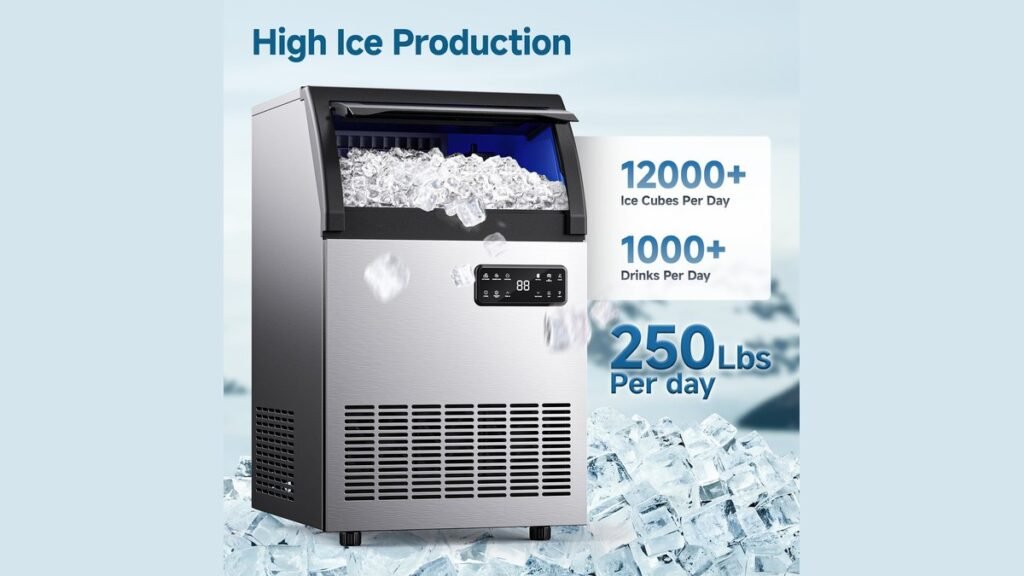
Whether you’re setting up a countertop unit in a home kitchen or managing a commercial bin, understanding ice machine how to use procedures ensures your appliance runs efficiently and produces safe, clean ice. New portable ice makers typically cost between $100 and $300, while high-capacity commercial units range from $1,500 to $6,000 depending on output requirements. Regardless of the size, proper operation involves consistent maintenance, water quality management, and correct power connectivity to avoid mechanical failure.
Key Takeaways
- Always place your unit on a level, stable surface to ensure proper water circulation.
- Use only potable, filtered water to prevent mineral buildup and ensure ice quality.
- Allow the machine to sit upright for at least six hours before the first power-up.
- Regularly sanitize the water reservoir and ice bin to prevent bacteria and mold growth.
- Keep the machine away from heat sources like ovens or direct sunlight.
Initial Setup and Installation
Before you begin, verify that the area has proper ventilation. Most machines require at least six inches of clearance on all sides to allow the condenser to dissipate heat. If you place a portable unit too close to a wall, the cooling system will struggle, leading to slow production or melted ice. Ensure the power supply matches the voltage requirements listed on the manufacturer’s data plate.
Pro Tip: If you move a compressor-based ice maker, let it stand upright for the recommended time to allow the refrigerant to settle back into the compressor, preventing internal damage.
How to Operate Your Machine
Operating a standard ice maker is straightforward once you understand the internal cycle. For countertop models, fill the reservoir to the indicated “Max” line with fresh, cold water. Select your desired cube size—usually small, medium, or large—and press the power button. The machine will pump water into the evaporator tray, freeze it, and then harvest the cubes into the basket.
| Component | Function | Maintenance Task |
|---|---|---|
| Water Reservoir | Holds supply water | Drain and wipe weekly |
| Evaporator Fingers | Freezes water into ice | Descale every 3-6 months |
| Ice Basket | Collects finished cubes | Wash with mild soap |
| Air Filter | Protects the condenser | Vacuum dust monthly |
Managing Water Quality
The longevity of your ice machine depends heavily on the mineral content of your water. Hard water leads to calcium scale deposits that clog internal pumps and coat the evaporator, causing the machine to lose efficiency. If your area has hard water, use a dedicated water softener or an inline filtration system. According to the FDA Food Code, ice must be handled as a food product and stored in a way that prevents contamination from environmental sources.
Routine Cleaning Schedules
Cleaning isn’t optional; it’s a fundamental part of the operation. If you skip cleaning, the machine will likely develop a biofilm, which results in cloudy or bad-tasting ice. Most manufacturers recommend a deep clean every three to six months. Use a food-grade nickel-safe cleaner for machines with nickel-plated evaporators, as harsh chemicals will strip the protective coating and cause premature corrosion.
Troubleshooting Common Issues
If your machine isn’t producing ice, check the following common causes before calling a technician.
| Symptom | Potential Cause | Fix |
|---|---|---|
| No ice produced | Empty reservoir | Check water levels |
| Soft, mushy ice | Poor ventilation | Increase clearance space |
| Loud grinding noise | Faulty pump | Inspect for debris |
| Low ice output | Ambient heat | Move out of sunlight |
Why is the ice cloudy?
Cloudy ice is usually caused by trapped air bubbles or minerals freezing in the center of the cube. If your water has a high mineral content, the freezing process pushes impurities to the center, creating an opaque appearance. Using distilled water or a reverse osmosis filter will help produce clearer, harder ice cubes.
Understanding Ice Maker Cycles

The harvest cycle is the phase where the machine warms the evaporator slightly to drop the ice into the bin. If the harvest cycle is interrupted or if the bin sensor is blocked, the machine will stop production. Always ensure that the bin isn’t overfilled, as the weight can trigger the shut-off sensor prematurely.
Warning: Never use sharp metal objects to break up stuck ice inside the bin, as this can puncture the plastic liner or damage the evaporator plates.
Frequently Asked Questions
How often should I drain the water?
You should drain the water reservoir of a portable ice maker after every use or at least once every 24 hours. Stagnant water is a breeding ground for bacteria and mold. If you aren’t using the machine for an extended period, ensure the reservoir is completely dry to prevent microbial growth inside the internal plumbing.
Can I use bottled water?
Yes, using bottled or filtered water is highly recommended. It reduces the frequency of descaling required and improves the taste of the ice. Avoid using distilled water if your machine relies on conductivity sensors to detect water levels, as pure distilled water may not conduct enough electricity to signal the machine that the reservoir is full.
Why is my machine making noise?
Occasional clicking or humming is normal during the harvest cycle. However, a loud buzzing or grinding sound often indicates a failing water pump or a fan obstructed by dust. If the noise is constant, unplug the unit and check the air intake vents for debris. If the noise persists after cleaning, the pump may require replacement.
Is it safe to leave it on 24/7?
Most residential ice makers are designed for intermittent use rather than continuous heavy production. If you leave it on constantly, the compressor may overheat, especially in warm environments. For daily use, it’s better to turn the machine on when you need a batch and power it down once the bin is full to extend the motor’s lifespan.
How do I descale the unit?
Mix a solution of water and white vinegar or a commercial ice machine cleaner. Pour the solution into the reservoir and run the “clean” cycle if your machine has one. If not, run a standard cycle, discard the resulting ice, and then run 2-3 cycles with plain water to rinse out any lingering acidic residue before making ice for consumption.
Following these steps ensures your appliance remains reliable and sanitary. Start by inspecting your water source and clearing the ventilation area today to ensure your machine functions at peak efficiency for all your cooling needs.