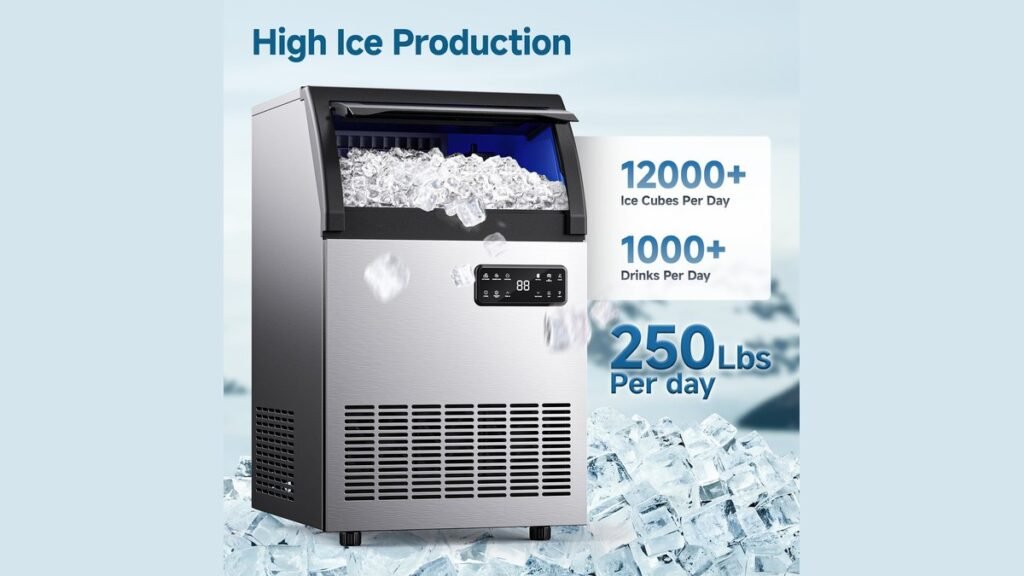
To activate your ice machine, you must ensure the power supply is connected, the water line is properly opened, and the control switch is toggled to the “on” or “ice” position. Most modern standalone units feature a digital interface, while under-counter models often utilize a physical rocker switch located behind the front grill or inside the storage bin. Once initiated, the cooling cycle typically begins within minutes, though full ice production may take several hours to reach maximum capacity.
Key Takeaways
- Check that the water supply valve is fully opened to prevent damage to the pump.
- Locate the internal control switch, which is frequently hidden behind the front kickplate.
- Ensure the unit has adequate clearance for ventilation to maintain efficient cooling cycles.
- Wait at least 24 hours for the system to stabilize if the unit was recently moved.
- Verify that the ice level sensor isn’t blocked by stray cubes or debris.
How to Turn On an Ice Machine
Activating an ice machine is usually a straightforward process, but the steps vary depending on whether you have a residential under-counter model, a standalone freezer-integrated unit, or a commercial-grade appliance. Before attempting to power on the device, ensure it’s level and stable. If you have just installed or moved the machine, you must allow the refrigerant to settle for at least 24 hours to prevent compressor failure.
Checking the Power and Water
Before turning the machine on, verify that the power connection is secure. If your unit is plugged into a GFCI outlet, ensure the reset button hasn’t tripped. Simultaneously, confirm the water supply valve is turned to the fully open position. Most manufacturers require that the water supply pressure meets specific requirements to ensure the float valve functions correctly.
| Component | Status Check | Action Required |
|---|---|---|
| Power Cord | Securely plugged in | Tighten or reset GFCI |
| Water Valve | Fully open | Rotate handle parallel to pipe |
| Control Switch | Set to “On” | Toggle to “Ice” mode |
| Ventilation | Clear of blockage | Remove objects from intake |
Locating the Controls
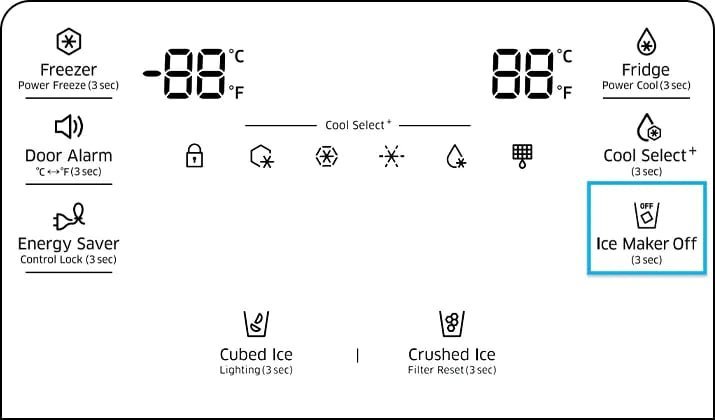
Most ice machines utilize one of three primary control methods. If you can’t find a power button on the exterior, look for a recessed switch inside the storage compartment.
- Rocker Switches: Common on older under-counter models; usually labeled “Ice,” “Clean,” and “Off.”
- Digital Displays: Found on premium models; requires holding the “Power” icon for three seconds.
- Mechanical Arms: Older units use a wire bail arm; when the arm is in the down position, the machine is active.
Why Is My Machine Not Starting?
If the machine fails to start after toggling the switch, begin by checking the bin sensor. If the storage bin is already full, the machine will automatically enter a standby mode to prevent overflow. Remove a few cubes to see if the cycle triggers. Additionally, check the drain line for any kinks or clogs, as many modern units feature a safety interlock that prevents operation if water can’t drain properly.
Warning: Never force a stuck mechanical switch or attempt to bypass the control board, as this can void your warranty and create an electrical hazard.
Routine Maintenance Requirements
Regular upkeep ensures that your machine runs efficiently once activated. You should clean the bin and sanitize the internal components at least every six months. Using a specialized nickel-safe cleaner prevents mineral buildup on the evaporator plate, which is the most common cause of slow ice production.
| Maintenance Task | Frequency | Purpose |
|---|---|---|
| Sanitize Bin | Monthly | Prevent mold and bacteria |
| Clean Condenser | Quarterly | Improve heat dissipation |
| Descale Evaporator | Semi-annually | Restore ice clarity and speed |
Addressing Common Start-Up Issues
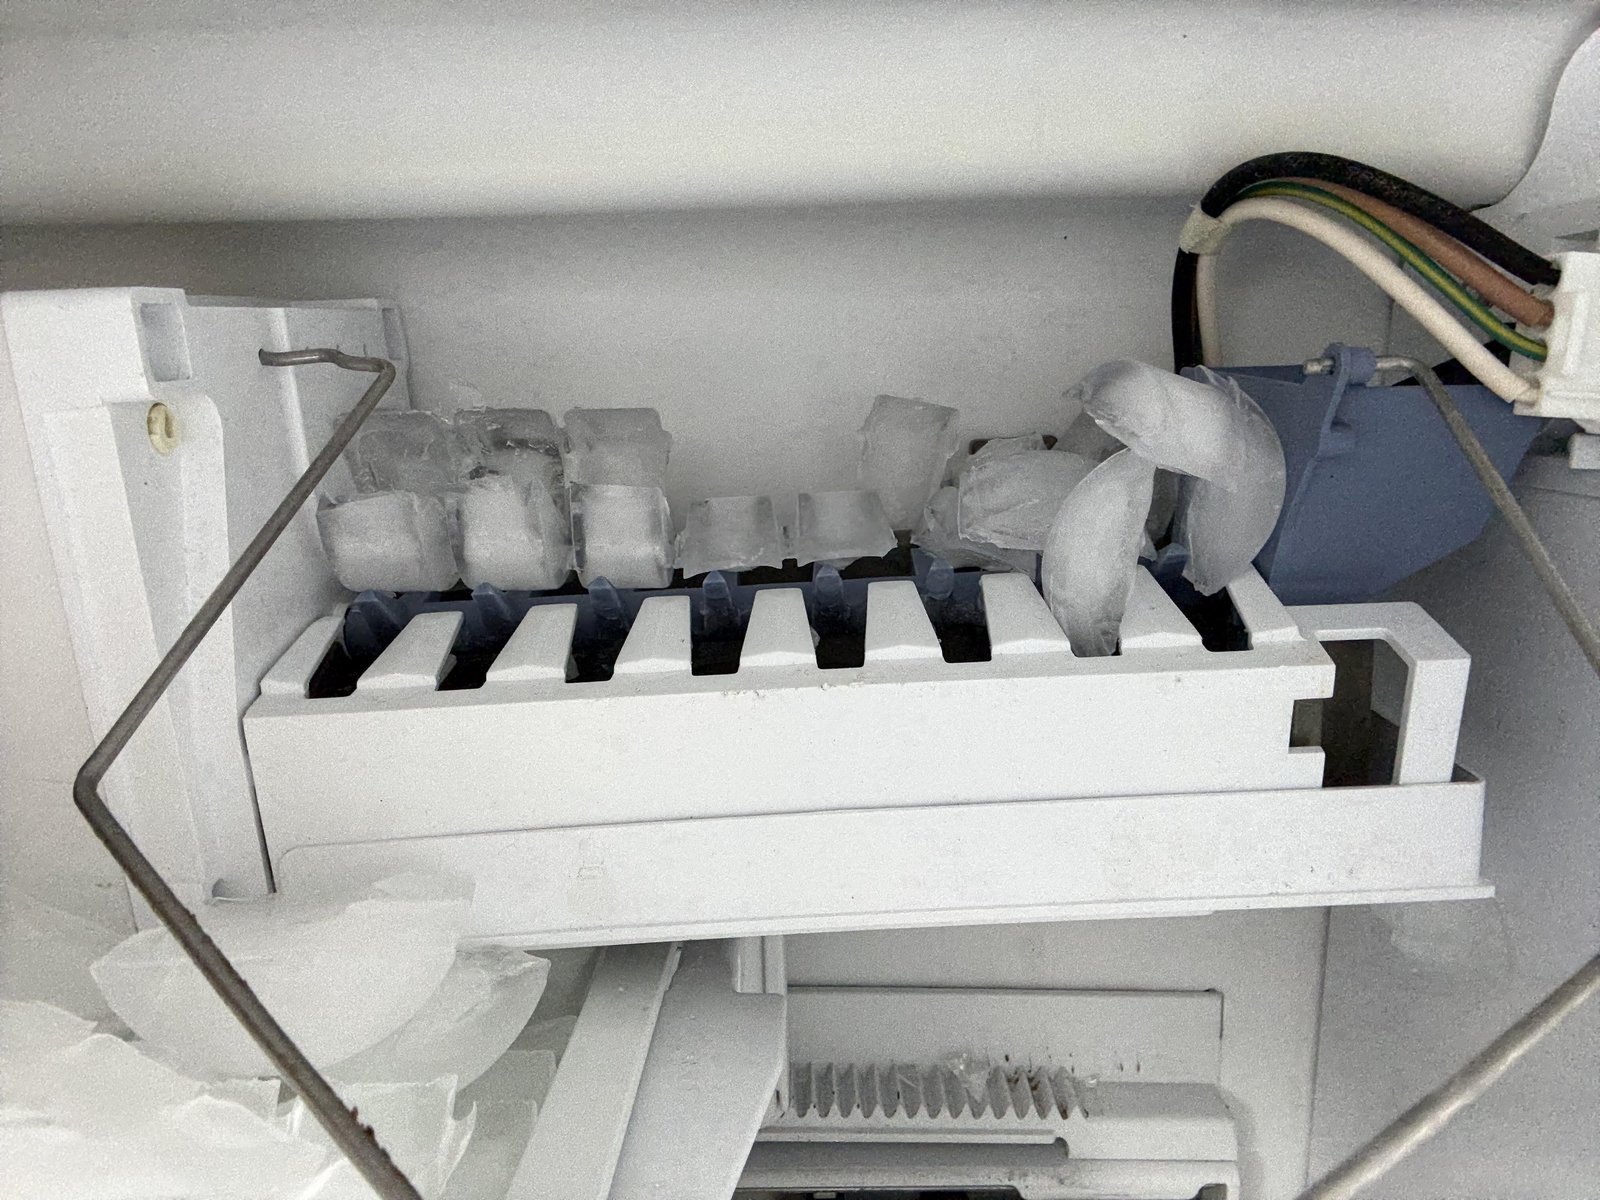
If the machine makes a humming sound but produces no ice, the water inlet valve may be blocked. Conversely, if the machine remains completely silent, check the circuit breaker in your home’s electrical panel. Sometimes, the unit may have simply entered a defrost cycle, which can last up to 20 minutes before the machine begins the ice-harvesting process again.
Pro Tip: If your ice tastes like plastic or chemicals, run the machine for two full cycles and discard all the ice before using it for beverages.
Related guides
- Game Ready Ice Machine How to Use: A Simple Setup Guide
- How to Operate Ice Maker Machine: Step-by-Step Setup Guide
- How to Use Ice Machine in Freezer: Step-by-Step Setup Guide
Frequently Asked Questions
Why does the machine make noise but not produce ice?
This usually indicates a water supply issue or a clogged intake filter. Ensure the water valve is fully open and that there are no kinks in the supply line. If the water supply is adequate, the internal pump may be obstructed by mineral deposits, requiring a professional cleaning or a descaling treatment to restore proper flow.
How long does it take to make the first batch?
After turning the machine on, it typically takes 15 to 30 minutes to complete the first cycle. However, the machine may not fill the bin completely for 12 to 24 hours. This initial period is required for the internal cooling components to reach the optimal temperature for consistent ice production.
Can I leave the machine on all the time?
Yes, ice machines are designed to run continuously. They feature automatic sensors that detect when the ice bin is full, causing the unit to pause production until more ice is removed. Leaving it on is the most efficient way to ensure you have a constant supply of ice ready for use.
What should I do if the ice is cloudy?
Cloudy ice is often caused by trapped air or minerals in the water supply. While it’s safe to consume, you can improve clarity by using a high-quality water filtration system. If the cloudiness is excessive, consider having your water tested for hardness, as high mineral content can also lead to faster scale buildup within the machine.
Is it safe to use a standard extension cord?
No, you should never use an extension cord for an ice machine. These appliances draw a significant amount of power, and an extension cord can lead to overheating, voltage drops, or fire hazards. Always plug the unit directly into a grounded wall outlet that meets the manufacturer’s specified voltage and amperage requirements.
If your machine still fails to operate after performing these steps, consult your user manual for model-specific reset procedures. Persistent issues often indicate a failure in the control board or the compressor, which may require professional service. Always keep your warranty information accessible, as many manufacturers provide technical support for these common startup problems.