
You operate a game ready ice machine how to use by filling the reservoir with ice and water, attaching the wrap to the injury site, and selecting your desired pressure and time settings on the control unit. Most therapy sessions last 15 to 20 minutes. This equipment is best suited for athletes and patients recovering from surgery who need consistent cold therapy and intermittent compression.
Getting your Game Ready machine set up
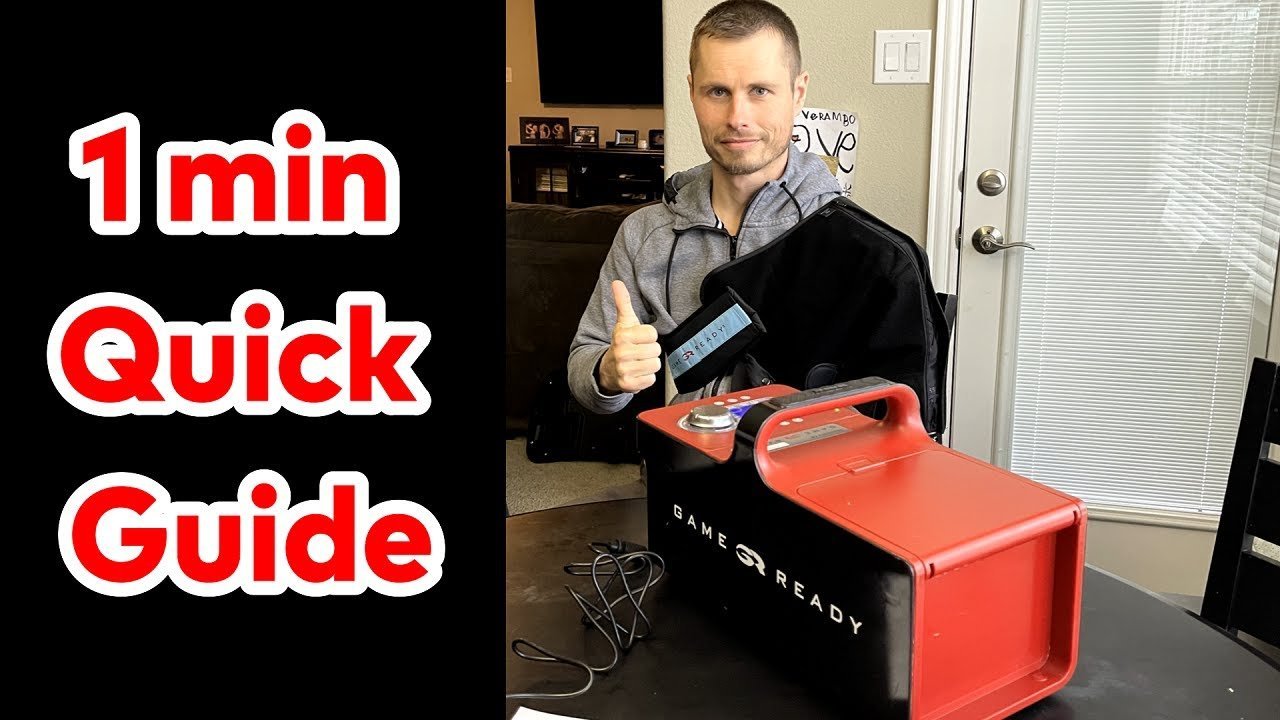
- Game Ready control unit: The main device that manages temperature and air pressure.
- Connector hose: A dual-channel tube that connects the control unit to the wrap.
- Anatomical wrap: The specific sleeve designed for your target body part (knee, shoulder, etc.).
- Ice: Standard cubed or crushed ice from a freezer or machine.
- Water: Cold tap water to fill the reservoir up to the indicated line.
- Power adapter: The original manufacturer-provided plug for the control unit.
You should always use the specific wrap size recommended for your anatomy; a loose wrap won’t provide effective compression, while an overly tight one may restrict blood flow. If your unit is rented, ensure the serial number matches the documentation provided by your clinic.
Operating the Therapy Unit
- Place the control unit on a flat, stable surface; the pump is designed to circulate water regardless of the height of the injury site.
- Fill the reservoir with ice up to the inner rim, then add cold water until it reaches the water level line.
- Connect the hose to the control unit by pushing the connector until you hear a distinct click.
- Attach the wrap to the body part, ensuring the inner lining is in direct contact with your skin or a thin layer of clothing.
- Plug the power cord into a grounded wall outlet and press the power button on the front panel.
- Select your pressure setting (Low, Medium, or High) and temperature setting using the digital display buttons.
- Press the start button to begin the cycle; the unit will automatically circulate cold water and apply compression.
Tip: If you feel numbness or excessive tingling, stop the cycle immediately and check the wrap fit. Careful: Never operate the unit without water in the reservoir, as this can damage the internal pump.
Adjustments by Therapy Need
Different injuries require specific settings to ensure recovery while protecting the skin from cold-related issues. You should consult your doctor to determine your specific protocol, as starting with lower intensity is always safer than overshooting on your first attempt.
| Situation | Typical Time | Pressure Level | Safety Note |
|---|---|---|---|
| Acute swelling | 15 minutes | Low | Check skin every 5 mins |
| Post-surgery | 20 minutes | Medium | Monitor for bruising |
| Chronic pain | 30 minutes | High | Don’t exceed 30 mins |
| Mild soreness | 10 minutes | Low | Use thin barrier cloth |
Confirming Successful Operation
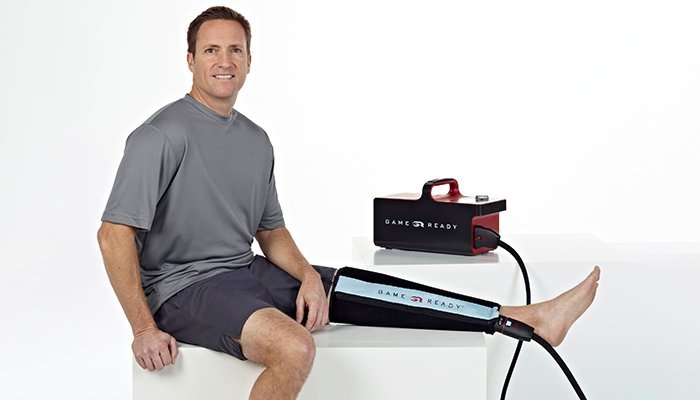
A successful session results in the target area feeling cool and firm, not numb or painful. If the area turns bright red or develops white patches, the temperature is likely too low or the session is too long. This often happens if the wrap is applied directly to bare skin without a thin barrier. To prevent this, always place a light cotton sock or sleeve between the wrap and your skin. If the unit makes a loud grinding noise, check that the hose isn’t kinked, as this blocks the pump and causes mechanical strain.
Safety Standards and Maintenance
The FDA guidance on cold therapy emphasizes that prolonged contact with cold surfaces can lead to skin damage. You must monitor the skin under the wrap regularly throughout every session. After use, disconnect the hose, empty the water reservoir completely, and wipe the exterior with a damp cloth. Store the unit in a dry place away from direct sunlight. If you notice any cracks in the hose or leaking from the wrap, stop use immediately and contact the provider for a replacement.
Alternative Therapy Approaches
Static Ice Packs
Using gel packs or bags of ice provides cooling without the cost of a machine. This is cheaper but lacks the active compression that helps reduce swelling effectively after surgery.
Manual Compression
Wrapping an injury with an elastic bandage provides support but doesn’t maintain a constant, cold temperature. This requires constant manual adjustment and doesn’t offer the same recovery benefits as motorized systems.
Professional Physical Therapy
Visiting a clinic for supervised cryotherapy sessions ensures the settings are adjusted by a professional. This is the most expensive route but offers the highest level of safety and clinical oversight for complex injuries.
Frequently asked questions
Can I use the machine while sleeping?
No, you should never use the device while sleeping. You must be awake to monitor your skin for signs of cold injury, as the constant cold can lead to frostbite or nerve damage if left unattended for long periods.
How long does it take to reduce swelling?
Follow the specific frequency and duration protocol prescribed by your healthcare provider.
Is it safe to put the wrap on bare skin?
It isn’t recommended to place the wrap directly on bare skin. Always use a thin cotton barrier, such as a sock or a sleeve, to protect your skin from potential irritation or low-temperature injury during the session.
What happens if the water doesn’t flow?
If the water stops flowing, check that the hose isn’t pinched or twisted. If the flow doesn’t restart after straightening the hose, the unit may have an airlock or a pump failure that requires professional repair.
How much ice do I need per session?
You need enough ice to reach the fill line inside the reservoir, which is usually about two to three pounds. The exact amount depends on the size of the ice cubes and the current temperature of the water.
Can I use the unit without the compression feature?
Yes, you can turn off the compression feature on the control panel. This is useful if you have sensitive tissue or if your doctor has advised against pressure on your specific injury site.
Game ready, in short
Always remember to empty the reservoir and let the wrap air dry completely after each session to keep the unit in top shape. If you’re still experiencing significant pain or swelling, don’t hesitate to reach out to your physical therapist. They’ll help you adjust your recovery plan so you’re back moving soon.
Related guides
