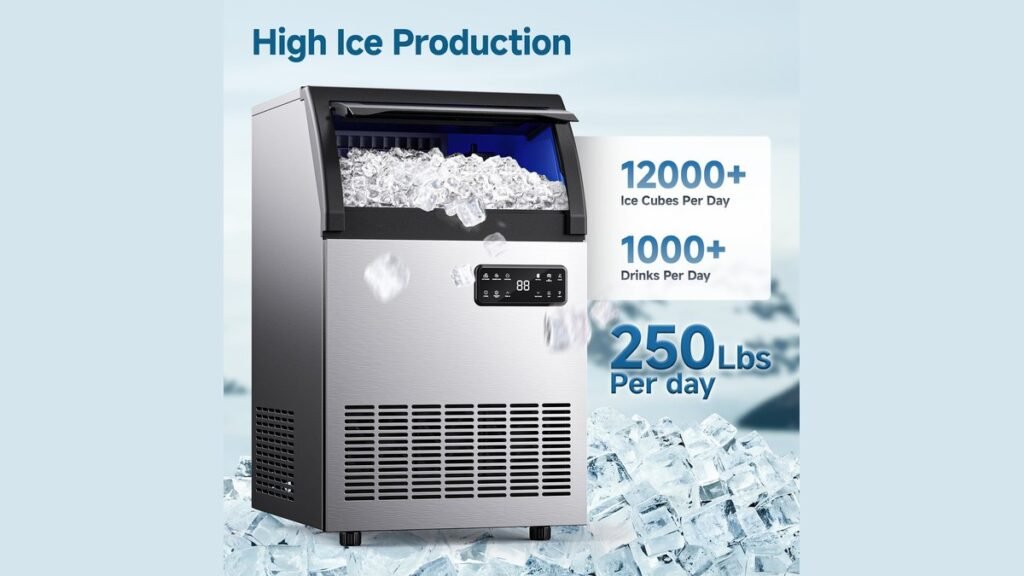
To make flake ice at home, you must utilize mechanical methods to shave or crush solid ice cubes into the soft, snow-like texture preferred for cocktails, smoothies, and seafood displays. While professional flake ice machines cost anywhere from $1,200 to $4,500, home users can achieve identical results using affordable manual or electric kitchen tools that typically range from $25 to $150. By manipulating the size and density of standard freezer ice, you can create the perfect consistency for cooling drinks rapidly without the harshness of large, jagged cubes.
Key Takeaways
- Use high-quality, clear ice for the best-tasting results.
- Electric food processors are the fastest way to achieve a uniform flake.
- Manual hand-crank shavers provide the most control over ice texture.
- Always chill your serving glassware to prevent the flakes from melting immediately.
- Store finished ice in a freezer-safe container to maintain its powdery consistency.
How to Make Flake Ice
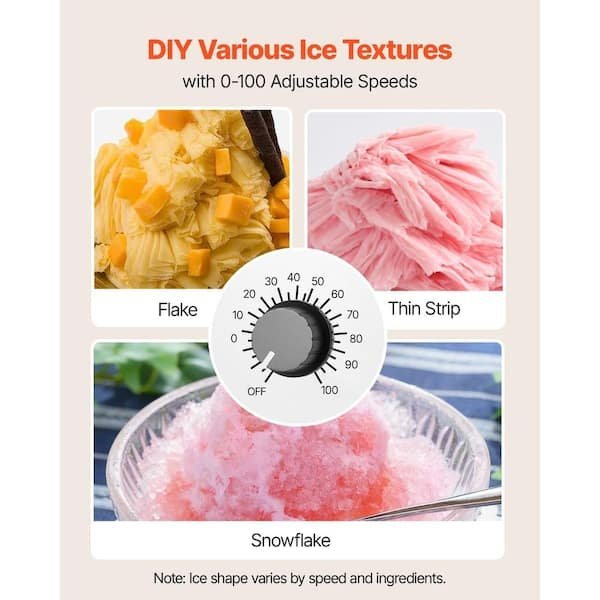
The most effective method for producing consistent flake ice at home involves using a high-powered food processor or a dedicated ice-shaving appliance. To begin, gather your solid ice cubes and allow them to temper on the counter for two to three minutes. This light melting process softens the exterior of the ice, which prevents it from shattering into large, uneven chunks during the processing phase. Once the edges look slightly wet, pulse the ice in short, sharp bursts to avoid turning it into a watery slush.
| Method | Effort Level | Texture Quality | Speed |
|---|---|---|---|
| Food Processor | Low | High | Very Fast |
| Manual Shaver | Medium | Excellent | Moderate |
| Blender (Pulse) | Low | Moderate | Fast |
| Mallet and Bag | High | Variable | Slow |
Choosing the Right Equipment
When selecting tools to make flake ice, consider the volume you require for your daily needs. A dedicated manual ice shaver is ideal for individual cocktails, as it produces a delicate, snow-like consistency that mimics commercial flake ice closely. If you’re hosting a party and need large amounts of ice for a raw bar or a punch bowl, an electric food processor is the superior choice. Ensure your blade is sharp, as dull blades can cause the ice to melt too quickly due to friction.
The Role of Ice Quality
The quality of your base ice significantly impacts the final product. Using tap water often results in cloudy ice with a metallic taste that can ruin a delicate cocktail. Instead, use filtered water or distilled water to ensure your ice is crystal clear and odor-free. Freezing your water in large, flat silicone trays allows for easier handling and ensures that the ice isn’t overly dense, making it much easier to shave into the fine flakes required for professional-grade presentations.
How to Maintain Texture
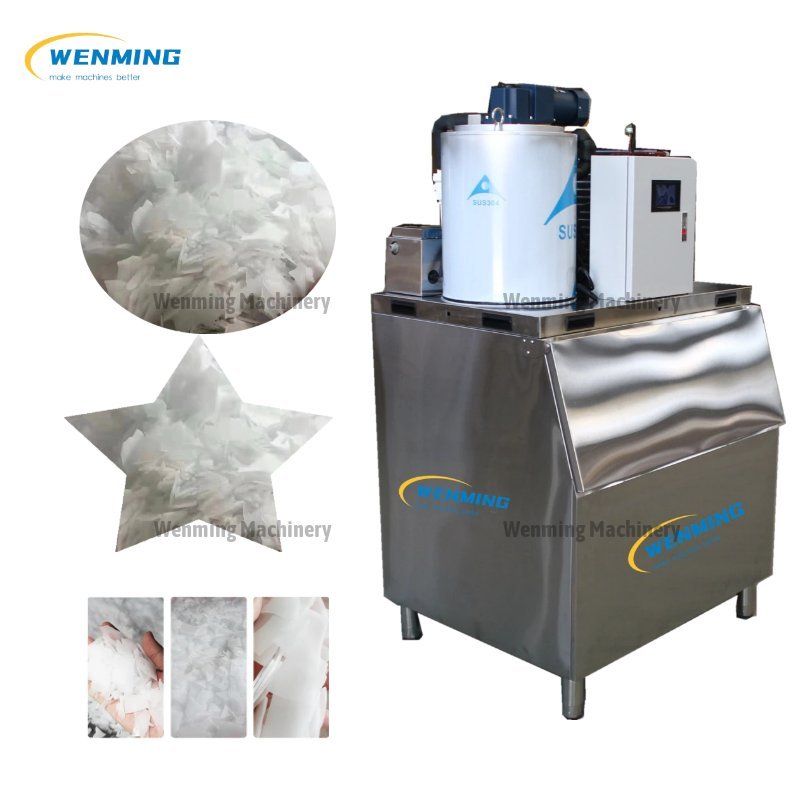
Warning: Never over-process your ice, as the friction generated by the blades will convert your beautiful, fluffy flakes into a dense block of slush that refreezes into a solid mass. To maintain the light, airy texture, process only small batches at a time. If you notice the ice beginning to stick together, transfer it immediately to a pre-chilled metal bowl or a freezer-safe container. Keeping your production environment cold is essential for professional results.
Storage and Handling Tips
Once you have achieved the desired consistency, storage is the final hurdle. Flake ice has a large surface area, meaning it melts much faster than standard cubes. To combat this, store your finished product in an insulated container inside your freezer. According to the Food and Drug Administration food safety guidelines, maintaining a freezer temperature of 0 degrees Fahrenheit or below is necessary to prevent the growth of harmful bacteria and ensure the integrity of your ice supply.
Why Does Texture Matter?
The texture of ice isn’t merely an aesthetic choice; it fundamentally alters the way a liquid is cooled. Flake ice provides a massive surface area, which allows for rapid heat exchange. This is why bartenders prefer it for drinks that require immediate chilling without excessive dilution. The tiny flakes melt just enough to integrate with the spirit, creating a smooth, velvet-like mouthfeel that standard, slow-melting cubes simply can’t replicate in a glass.
Troubleshooting Common Issues
| Problem | Likely Cause | Suggested Fix |
|---|---|---|
| Ice is too slushy | Over-processing | Use shorter pulses |
| Ice is too chunky | Dull blades | Sharpen or replace blades |
| Ice sticks together | Ambient heat | Chill the container first |
| Off-flavor in ice | Impure water | Use filtered water only |
Essential Kitchen Tools
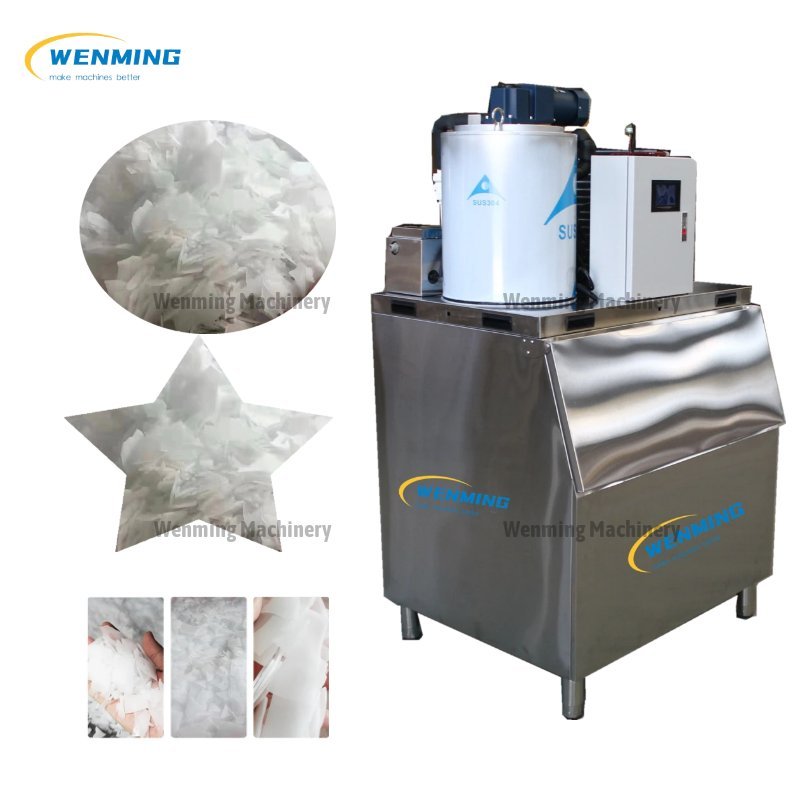
- Heavy-duty food processor with a pulse function.
- Insulated stainless steel bowls for catching output.
- Silicone ice trays for creating thin sheets.
- Canvas ice bags for manual crushing.
- Rubber mallet for breaking down larger blocks.
Related guides
- The Ice Making Process for Flake Ice Machines Explained
- How Much an Ice Machine Costs for Home and Commercial Use
- What Is the Best Undercounter Ice Maker: Our Top Home Pick
Frequently Asked Questions
Can I use a regular blender?
Yes, you can use a blender, but you must use the pulse setting carefully. High-speed blending will turn your ice into liquid almost instantly. Place only a small handful of cubes in the jar at a time and pulse for one-second intervals until you reach the desired consistency. Pour out the flakes immediately to prevent them from melting into a slushy mess.
How do I make clear flake ice?
To make clear ice, you must use the directional freezing method. By insulating the sides and bottom of your ice container, you force the water to freeze from the top down. This pushes the trapped air bubbles and minerals to the bottom, leaving you with a block of pure, clear ice that produces much higher-quality flakes when shaved.
Is it safe to store ice long-term?
While ice doesn’t technically “spoil,” it will absorb odors from your freezer over time. Always store your flake ice in an airtight, freezer-safe container or a heavy-duty plastic bag. If you notice a strange taste or smell, it’s best to discard the batch and start fresh. Change your ice supply at least once every two weeks for the best flavor.
Why is my ice clumping together?
Clumping is usually caused by the ice being too warm or having too much surface moisture. When you process the ice, the friction creates a thin layer of water on the surface of the flakes. Once this water refreezes in your freezer, it acts as a glue. To avoid this, ensure your ice is very cold before processing and store it in a container that allows for airflow.
To begin your journey into professional-grade ice, start by clearing out your freezer to make space for a dedicated, insulated storage container. Once you have your materials ready, try processing your first batch of filtered ice using the pulse method in your food processor. With a little practice, you’ll master the perfect texture for every beverage you serve at home.