
To make ice flakes at home or in a commercial setting, you must utilize specialized equipment or manual techniques that shave or crush ice into thin, delicate layers perfect for chilling seafood or crafting cocktails. While standard ice cubes are dense and slow to melt, flakes provide a larger surface area, which leads to rapid cooling and a more elegant presentation. Achieving this texture requires either high-speed blades or controlled physical force applied to frozen water.
Key Takeaways
- Use distilled water to ensure your ice flakes remain clear and free of mineral deposits.
- The most consistent results come from dedicated countertop ice flake machines.
- Manual shaving requires a heavy-duty ice pick or a specialized manual shaver.
- Always chill your serving vessels before adding ice to prevent premature melting.
- Maintain a freezer temperature of zero degrees Fahrenheit for the best flake structure.
How to Make Ice Flakes Manually
Creating flakes by hand is labor-intensive but rewarding for small batches. Start by freezing water in wide, shallow containers rather than deep trays. This allows you to create thin sheets of ice that are much easier to break down. Once frozen solid, remove the sheet and use a heavy-duty ice pick or a metal spatula to scrape the surface. The goal is to shave off thin layers rather than smashing the entire block into irregular, jagged chunks.
| Tool Type | Primary Function | Best For |
|---|---|---|
| Ice Pick | Manual scoring | Small, decorative shards |
| Hand Grater | Surface shaving | Fine, slushy flakes |
| Metal Spatula | Sheeting | Large, thin ice layers |
Choosing an Ice Flake Machine
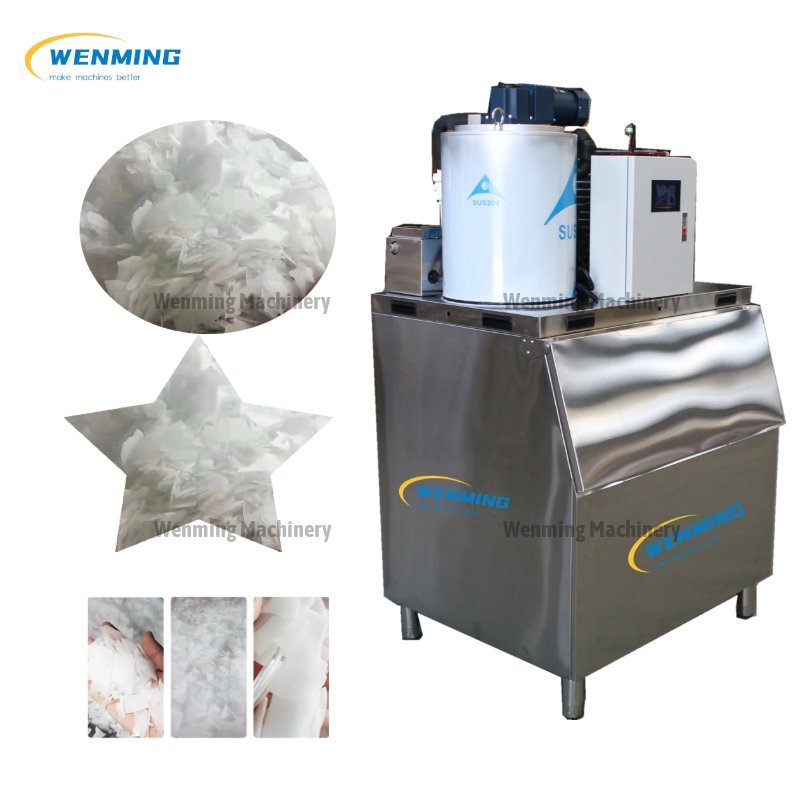
If you require high volume, professional-grade equipment is the only practical solution. These machines use an internal auger to scrape ice from a chilled cylinder, pushing it up through a chute to produce consistent flakes. When selecting a unit, look for models that emphasize food safety standards from the NSF International to ensure your ice remains sanitary.
- Countertop Flakers: Ideal for home bars and small cafes.
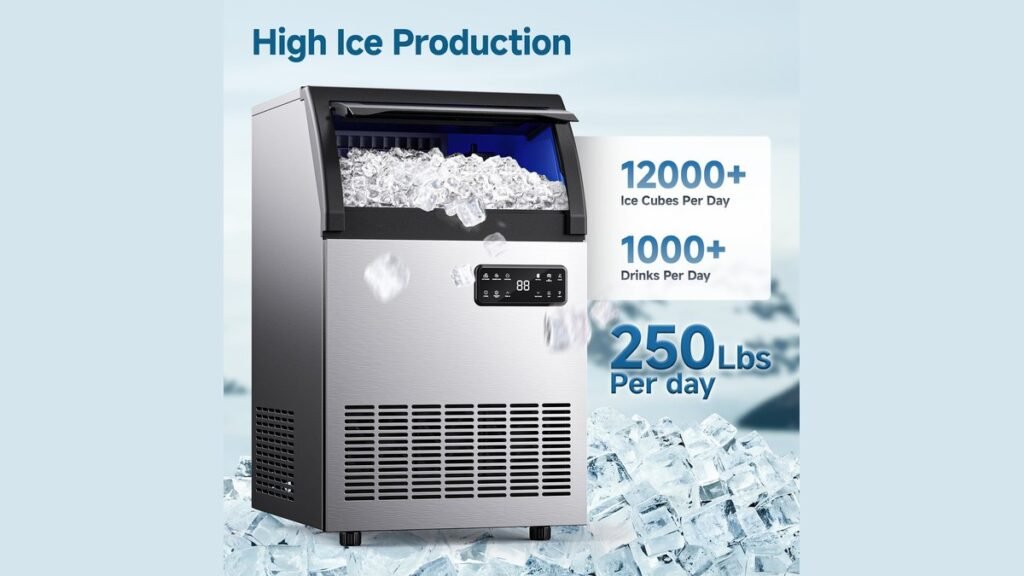
- Under-Counter Units: Perfect for high-traffic restaurant service stations.
- Modular Flakers: Designed for industrial applications and large-scale catering.
How to Make Ice Flakes Faster
Speeding up the process involves managing the surface area of your water. By using silicone molds with multiple small cavities, you can freeze water faster than in a single large block. Alternatively, use a high-powered food processor equipped with a pulse setting. Place your ice cubes inside, pulse briefly, and check the texture. Don’t over-process, or you’ll end up with water instead of flakes.
Pro Tip: Always pre-chill your food processor bowl in the freezer for thirty minutes before adding ice to prevent the heat from the motor from melting your flakes instantly.
Essential Equipment for Ice Preparation
You need specific gear to move from solid cubes to delicate flakes. A high-quality stainless steel mallet can be used to break down cubes wrapped in a heavy linen towel. This method is often called “crushed ice” but can be refined into flakes if you use a light touch. Avoid plastic tools, as they may crack under the pressure of repeated strikes against frozen water.
- Lewis Bag: A heavy canvas bag that absorbs excess water during the crushing process.
- Rubber Mallet: Provides the necessary force without damaging your kitchen surfaces.
- Ice Shaver: A mechanical device featuring adjustable blades for thickness control.
Troubleshooting Common Ice Texture Issues
If your flakes turn into a puddle, your environment is likely too warm. Keep your prep area cold and work quickly. If your ice is cloudy, it’s usually due to trapped air or minerals in your tap water. Use boiled and cooled water or distilled water to achieve a crystal-clear look. If the flakes are too large, your blade settings might be too coarse or your manual scraping technique is too aggressive.
| Issue | Likely Cause | Fix |
|---|---|---|
| Cloudy Ice | Mineral content | Use distilled water |
| Rapid Melting | High ambient heat | Chill serving containers |
| Large Chunks | Incorrect blade gap | Tighten blade settings |
| Slushy Texture | Excessive water | Drain ice before use |
Proper Storage for Your Flakes
Storing flakes is challenging because they naturally want to refreeze into a solid mass. If you aren’t using them immediately, store your flakes in an insulated thermal container inside the freezer. Place a piece of parchment paper directly against the surface of the ice to minimize air exposure. This prevents frost buildup and keeps the flakes separated for longer periods, ensuring they remain loose and easy to scoop when your guests arrive.
Warning: Never store ice near raw meats or pungent foods in the freezer, as ice is highly absorbent and will quickly take on the odors of nearby items.
Related guides
Frequently Asked Questions
Can I use a blender for ice?
Yes, you can use a high-powered blender to create flakes. Add a small amount of water to the ice cubes to act as a lubricant, then use the pulse function in short, sharp bursts. If you run the blender continuously, the blades will generate heat and turn your ice into a liquid slurry. Always monitor the consistency closely to stop before the ice loses its flake structure.
How do I keep ice from clumping?
To prevent clumping, you must minimize the surface melting of individual flakes. Ensure your freezer is set to the coldest possible temperature. When storing, try to keep the flakes in a flat layer rather than a deep pile. If they do stick together, a quick tap with a metal spoon against the container usually breaks them apart without destroying the delicate flake texture.
Is there a difference between crushed and flaked?
There’s a distinct difference in texture and function. Crushed ice consists of small, irregular pieces of broken cubes, which are harder and melt more slowly. Flaked ice is much thinner, softer, and lighter, often resembling snow. Flakes provide superior cooling for delicate items like raw fish or oysters because they mold to the shape of the food without damaging it.
How much water do I need?
The amount of water depends on your desired output volume. Generally, one cup of water will yield approximately two cups of flaked ice due to the air incorporated during the shaving process. If you’re preparing for an event, estimate that each guest will require roughly one pound of ice for drinks and chilling, so calculate your water volume requirements based on that ratio.
Should I use tap or bottled water?
Distilled or filtered water is always superior for making ice. Tap water contains dissolved minerals and gases that create cloudy ice and can impart unwanted flavors to your drinks. By using high-quality filtered water, you ensure that your ice flakes are flavorless and visually clear, which is particularly important for high-end cocktails or food displays where aesthetics are a priority for your presentation.
Start your journey by clearing space in your freezer and gathering the necessary tools like a Lewis bag or a dedicated shaver. Practice your technique with a small batch to find the exact pressure required for your preferred flake size. Once you master the texture, you’ll have the perfect foundation for professional-level chilling and drink preparation in your own home kitchen.
Pingback: How Is Commercial Ice Made: The Freezing and Harvesting