
Operating an ice machine requires a basic understanding of water supply, power cycles, and regular sanitation protocols to ensure the equipment functions reliably. Whether you’re managing a commercial unit in a restaurant or a built-in model in your home, the process involves verifying the connection to a potable water source, ensuring the bin is level, and maintaining a consistent power supply. By following a structured approach to installation and daily operation, you can avoid common mechanical failures and keep your ice supply clean and safe for consumption.
Key Takeaways
- Ensure the water supply line is connected to a filtered source to prevent mineral buildup.
- Check that the machine is placed on a flat, level surface to facilitate proper drainage.
- Sanitize the internal bin and evaporator plate at least every six months to inhibit mold.
- Verify that the ambient temperature around the unit remains within the manufacturer’s specified range.
- Monitor the indicator lights on the control panel to identify cycle interruptions immediately.
How to Work Ice Machine Systems
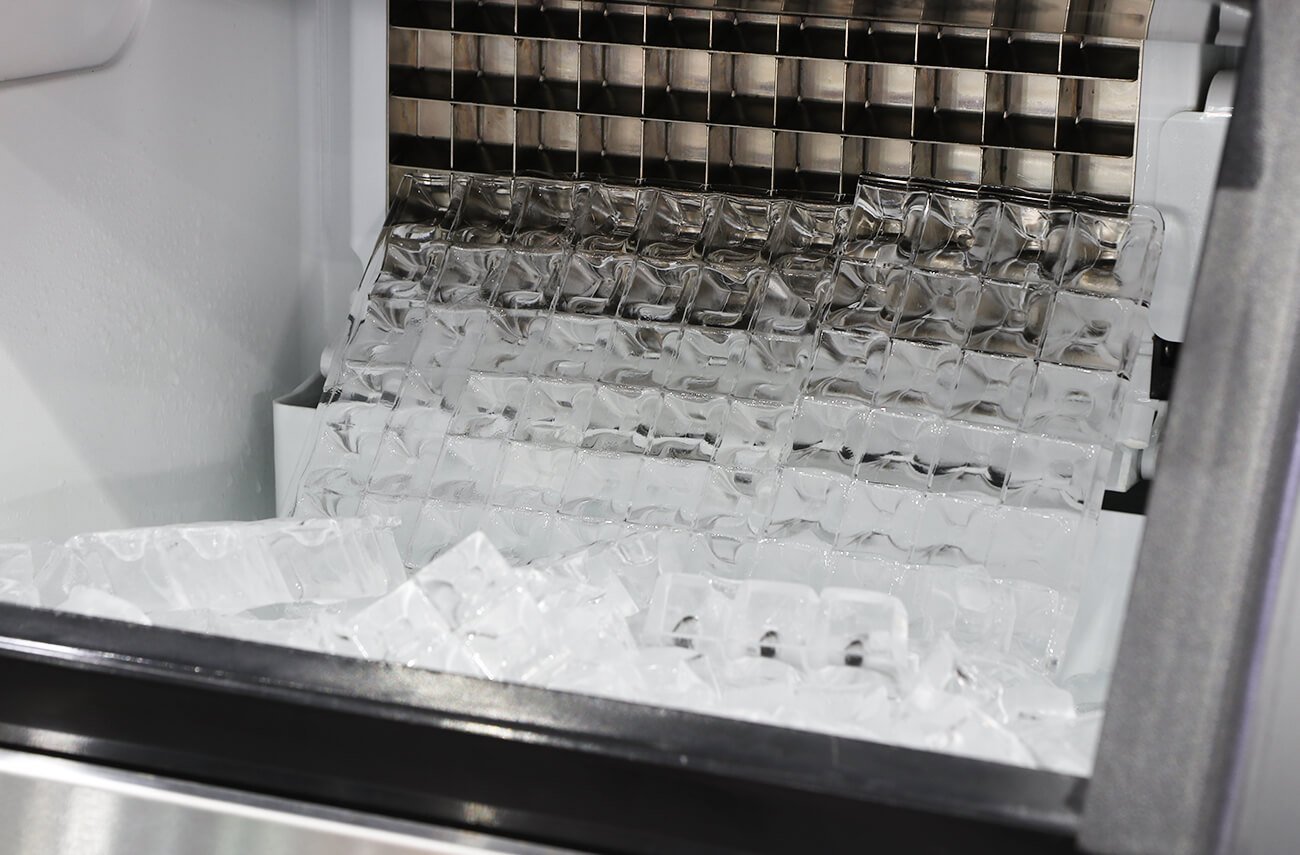
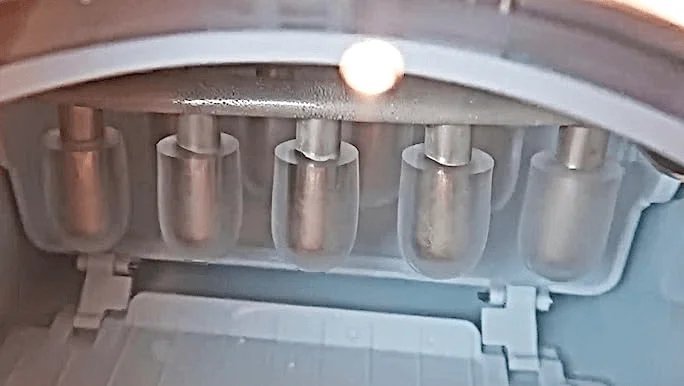
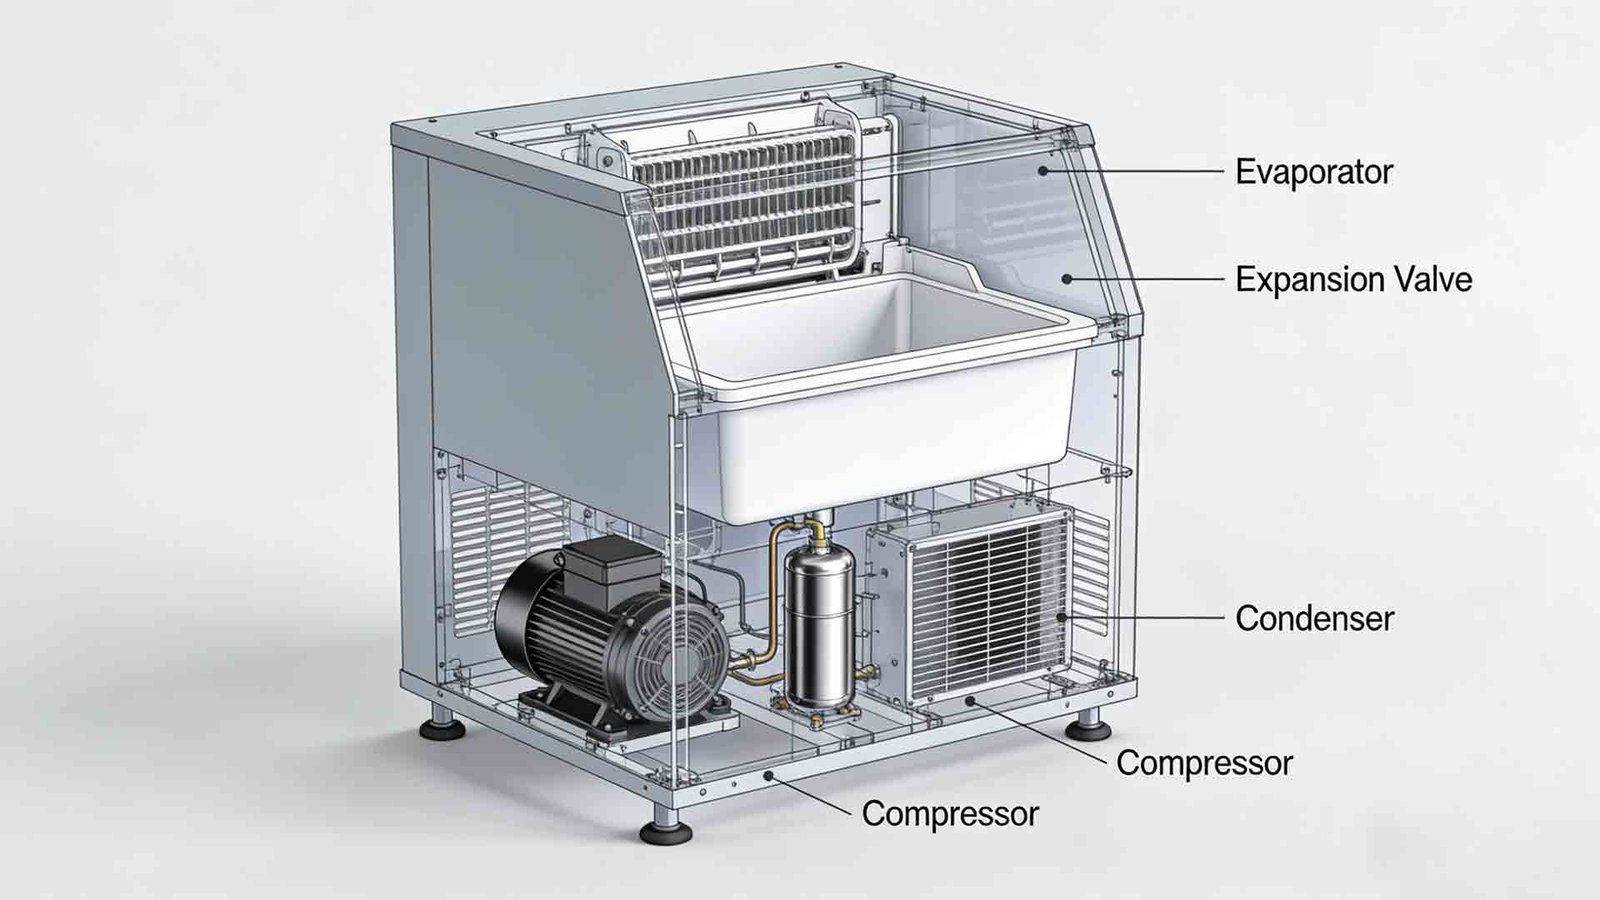
To operate a standard ice maker, first ensure the power cord is plugged into a dedicated grounded outlet. Most modern machines feature a control panel where you can select the cube size or initiate a cleaning cycle. Once the machine is powered on, the water inlet valve opens to fill the reservoir, and the refrigerant cycle begins to chill the evaporator plate. As water flows over the plate, ice forms until the thickness sensor triggers a harvest cycle, which warms the plate slightly to release the ice into the storage bin.
| Component | Function | Maintenance Task |
|---|---|---|
| Water Inlet | Supplies H2O | Check for leaks |
| Evaporator | Forms the ice | Descale regularly |
| Thermostat | Controls temp | Verify accuracy |
| Drain Line | Removes waste | Clear blockages |
Proper Installation Requirements
Proper setup is the foundation of machine longevity. Always consult the NSF International food equipment standards to ensure your unit meets health safety requirements for commercial or residential use. The machine must have adequate clearance on all sides—typically at least six inches—to allow for proper ventilation of the condenser. If the unit is built into cabinetry, ensure the front-facing vent is never obstructed, as this will lead to compressor overheating and eventual motor failure.
Understanding the Control Panel
Most units utilize a simple interface with three primary indicators: “Power,” “Ice Full,” and “Add Water.” If the “Add Water” light flashes, ensure the shut-off valve is fully open and the supply line isn’t kinked. The “Ice Full” sensor uses an infrared beam or a mechanical bin probe to stop production once the reservoir reaches capacity. Periodically wipe these sensors with a clean, dry cloth to prevent dust from creating false “full” signals that stop your production prematurely.
Daily Operational Best Practices
Pro Tip: Always use a sanitized plastic scoop to remove ice from the bin, never a glass or ceramic cup, to prevent dangerous shards from contaminating the supply.
Maintain a log of your machine’s performance to catch issues early. If the machine is producing cloudy or soft ice, it often indicates that the water filter is saturated and needs immediate replacement. A consistent production cycle should take approximately fifteen to thirty minutes depending on the ambient air temperature. Keep the lid or door closed whenever possible to minimize thermal gain and reduce the electrical load on the compressor.
Troubleshooting Common Issues
When the machine fails to cycle, start by checking the power supply and the water line. If the unit is running but not producing ice, the problem is likely a refrigerant leak or a faulty water pump. In such cases, professional repair is recommended rather than attempting to open the sealed cooling system yourself.
| Symptom | Probable Cause | Action to Take |
|---|---|---|
| No Ice Produced | Power or Water | Check supply lines |
| Cloudy Cubes | Mineral buildup | Change water filter |
| Loud Rattling | Loose hardware | Tighten panel screws |
| Slow Harvest | Dirty evaporator | Perform deep clean |
Cleaning and Sanitization Cycles
Sanitization is the most critical task for preventing the growth of biofilms. Start by turning the machine off and emptying the bin completely. Use a food-grade nickel-safe descaling solution to clean the evaporator plate, as harsh chemicals can corrode the metallic finish. After running the cleaning cycle, rinse the system thoroughly with fresh water before resuming normal ice production to ensure no chemical residue remains in the ice supply.
Why Do My Cubes Stick?
If ice cubes are clumping together in the storage bin, the ambient temperature in the room is likely too high, or the bin isn’t properly insulated. This is often caused by a malfunctioning door seal that allows warm, humid air to enter the bin. Inspect the rubber gasket around the door for cracks or debris. If the gasket appears worn, replace it to restore the airtight seal necessary for maintaining sub-freezing temperatures inside the storage cabinet.
Frequently Asked Questions
How often should I change the filter?
You should replace your water filter every six months, or sooner if you notice a decrease in water flow or a change in the taste of the ice. High-sediment water supplies may necessitate more frequent changes to protect the internal valves and the evaporator plate from mineral scale accumulation.
Can I use tap water?
Yes, you can use standard tap water, provided it’s potable and meets your local water quality standards. However, if your area has “hard” water with high mineral content, using a filtration system is highly recommended to prevent premature scaling on the evaporator, which significantly reduces the efficiency and the lifespan of your machine.
What causes the machine to stop?
The most common reason a machine stops is the “Ice Full” sensor being triggered, which is a normal safety feature. Other causes include a tripped circuit breaker, a disconnected water supply, or a clogged drain line. Check your control panel for error codes, as these will specifically identify whether the issue is electrical, hydraulic, or mechanical in nature.
Is professional servicing necessary?
While you can perform routine cleaning and filter changes yourself, professional servicing is required for refrigerant leaks, electrical wiring issues, or compressor failures. Attempting to repair the sealed cooling system can be dangerous and will almost certainly void your manufacturer’s warranty. If the unit is still under warranty, always contact an authorized service technician for repairs.
Maintaining your ice machine is a straightforward process that rewards you with clean, consistent results when you stay disciplined with your schedule. By keeping the intake valves clear, the evaporator plate descaled, and the surrounding area well-ventilated, you can extend the life of your equipment significantly. Start by checking your water filter status today to ensure your machine is running at its peak efficiency.
Pingback: Where Is the Nearest Ice Machine: How to Find Public