To activate your ice machine, you must ensure the unit is connected to a water supply, the power source is active, and the control arm or digital interface is toggled to the “on” position. Most modern residential appliances feature a simple mechanical lever or a button located inside the freezer compartment that governs the production cycle. Understanding these basic components allows you to troubleshoot common issues without needing professional intervention, saving time and maintenance costs.
Key Takeaways
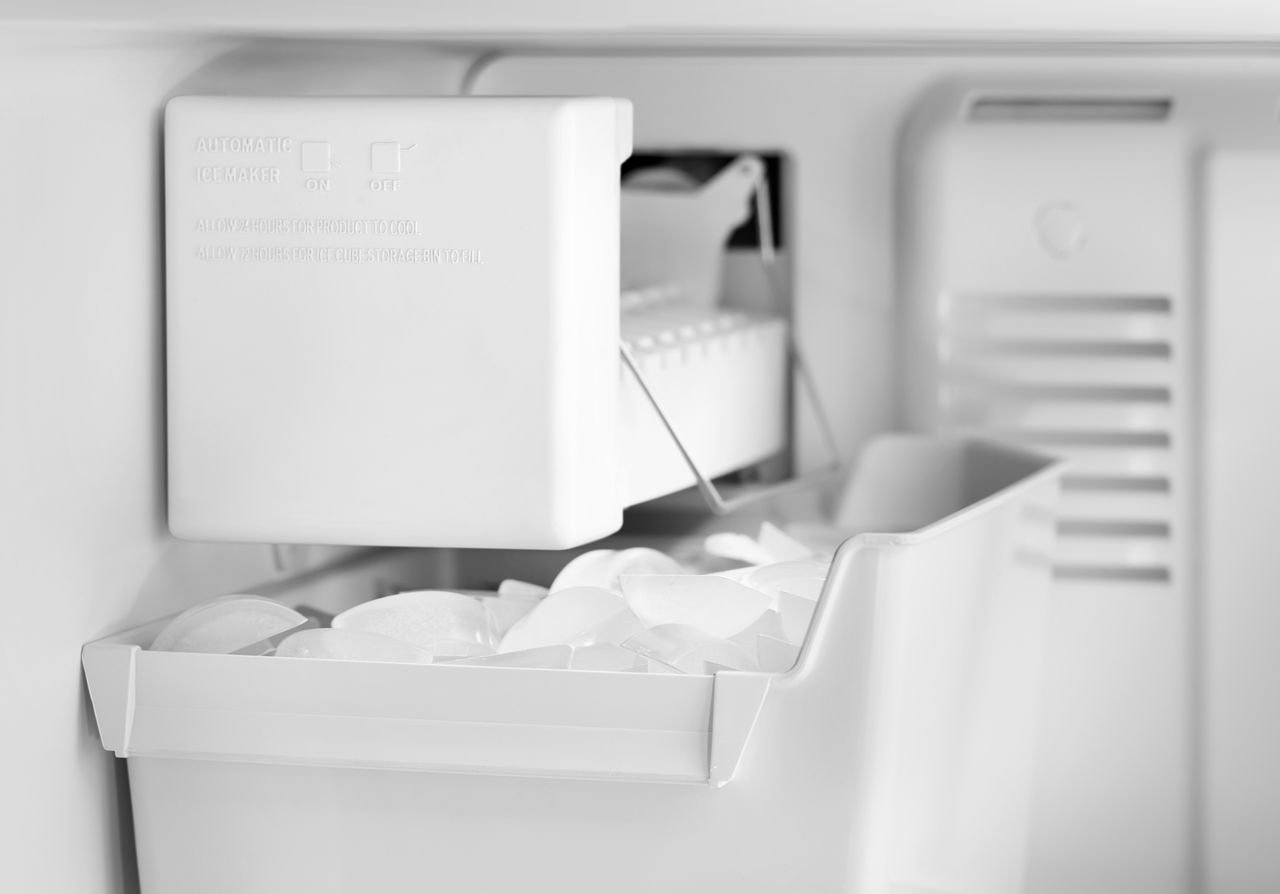
- Confirm the water shut-off valve behind the refrigerator is turned fully counter-clockwise.
- Check the wire shut-off arm; it must be in the downward position to allow production.
- Verify the freezer temperature is set between 0 and 5 degrees Fahrenheit for optimal freezing.
- Wait at least 24 hours after installation for the first batch of ice to harvest.
- Ensure the refrigerator door is closed properly to engage the light switch and power sensors.
How to Turn On Ice Machine
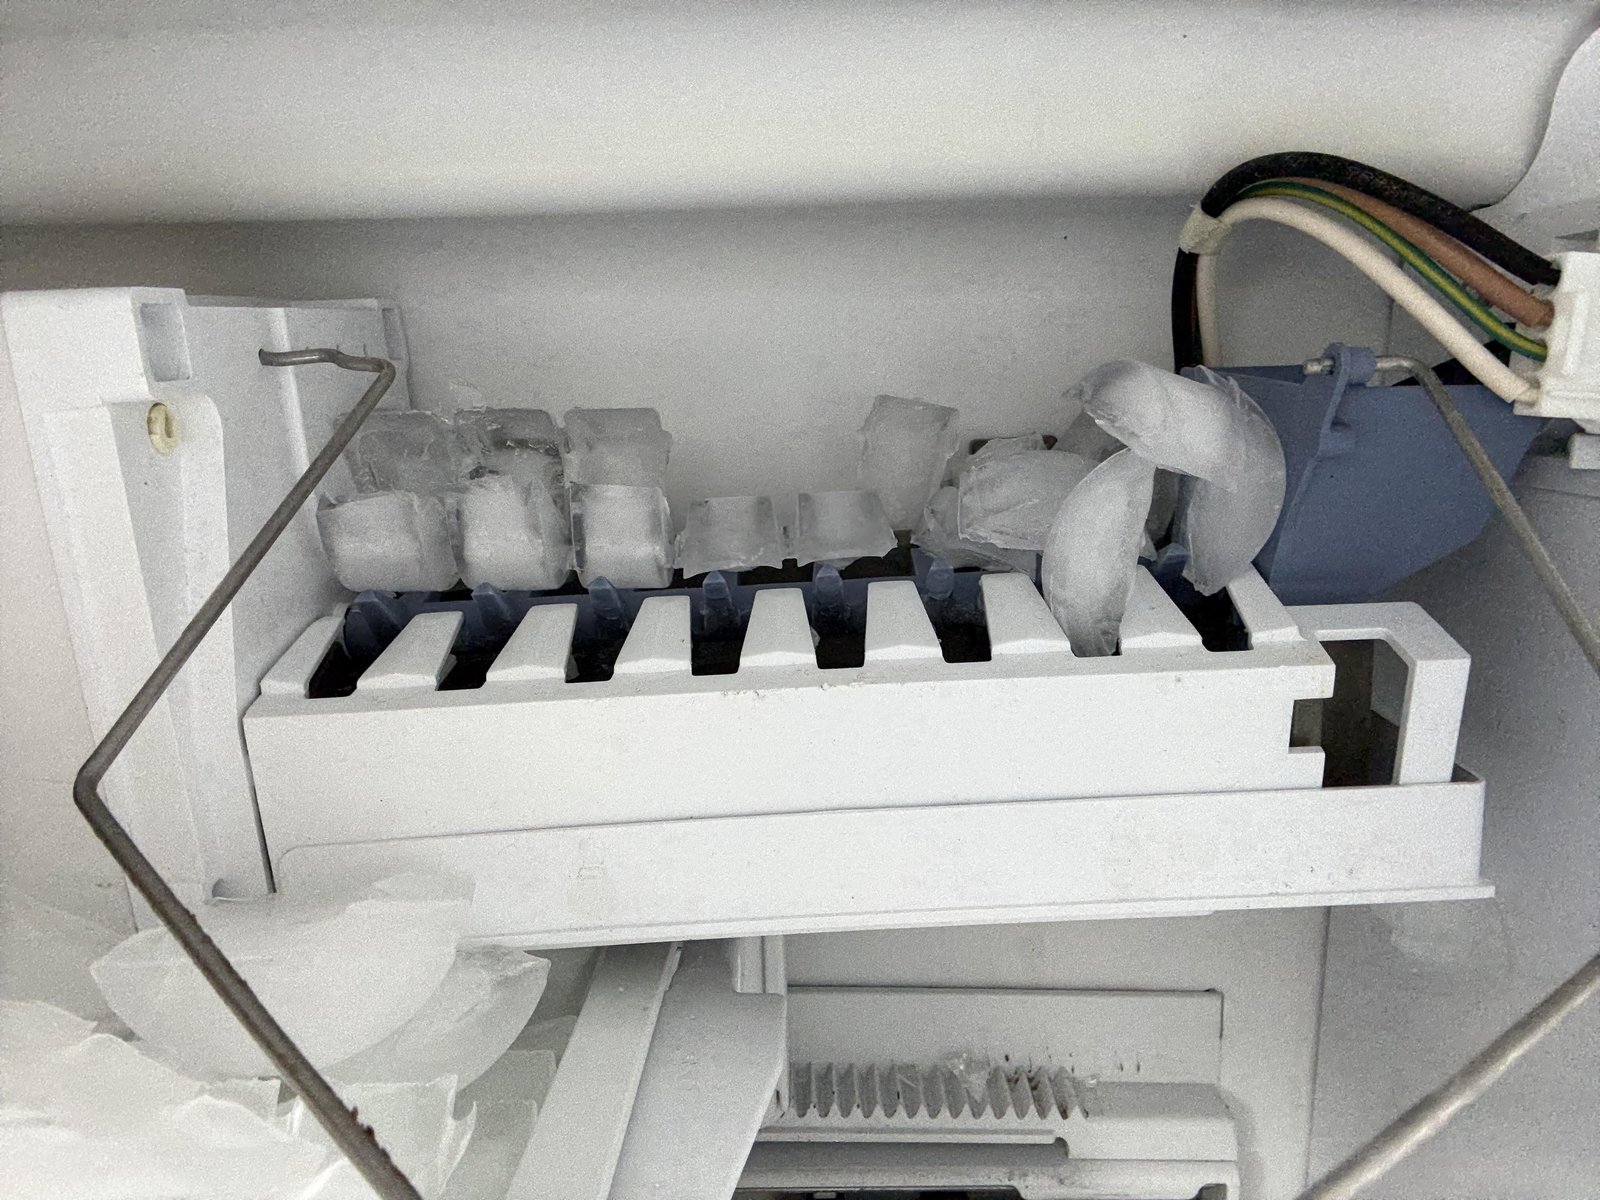
Most built-in ice makers operate through a physical switch or a wire sensor arm. If your unit isn’t producing ice, first inspect the interior of the freezer. You’ll likely see a metal wire arm or a plastic toggle switch. If there’s a wire arm, push it down into the “on” position. If your unit uses a digital interface, look for an “Ice Maker” button on the front panel and ensure the indicator light is illuminated.
Checking the Water Supply
Your ice machine requires a steady flow of water to function. Locate the water supply line, which is usually a thin plastic or copper tube running from the wall to the back of the refrigerator. Ensure the saddle valve or shut-off valve is open. Water pressure requirements vary by model, so verify your specific manufacturer’s manual for pressure ranges, which typically fall between 30 and 120 psi according to NSF International plumbing standards.
| Component | Location | Action Required |
|---|---|---|
| Shut-off Valve | Behind Fridge | Open fully (counter-clockwise) |
| Wire Arm | Inside Freezer | Push down to engage |
| Digital Toggle | Front Panel | Press “On” or “Ice” button |
| Water Filter | Filter Housing | Check for clogs or age |
Is My Ice Maker Receiving Power?
If you have toggled the switch and lowered the arm but nothing happens, the unit may lack power. Start by checking the circuit breaker in your home’s electrical panel. If the breaker has tripped, reset it. Additionally, ensure the refrigerator plug is firmly seated in the wall outlet. Some models have a separate power cord for the ice maker specifically, so inspect the area behind the machine to ensure no cables were dislodged during a recent move or cleaning.
Why Is My Machine Not Making Ice?
Several factors can impede production, ranging from simple user error to mechanical failure. The most common culprit is a frozen water line, which occurs if the freezer temperature is too high or the water pressure is insufficient. Another frequent issue is a clogged water inlet valve, which prevents water from entering the mold.
Troubleshooting Common Production Issues
- Frozen Fill Tube: Use a hair dryer on a low setting to thaw the tube leading into the ice maker.
- Clogged Filter: Replace the water filter every six months to prevent mineral buildup.
- Temperature Issues: Ensure the freezer is cold enough; if it’s above 10 degrees Fahrenheit, the ice maker may disable itself.
- Door Switch: If the door switch is faulty, the refrigerator may think the door is open and disable ice production.
Understanding Ice Maker Cycles
The ice-making process involves three distinct phases: filling, freezing, and harvesting. During the fill phase, the valve opens to let water into the mold. The freezing phase is time-dependent, usually taking several hours. Finally, the harvesting process involves a heating element warming the mold slightly so the cubes can be ejected. If the unit makes a clicking sound but produces no ice, the motor may be stuck.
| Phase | Duration | Potential Failure Point |
|---|---|---|
| Filling | 5–10 seconds | Inlet valve or water pressure |
| Freezing | 2–4 hours | Temperature settings or airflow |
| Harvesting | 1–3 minutes | Ejector arm or mold thermostat |
Pro Tip: Resetting the Unit
Pro Tip: If your ice maker stops working suddenly, a simple hard reset often fixes the issue. Unplug the refrigerator from the wall outlet for 60 seconds, then plug it back in. This cycles the control board and can clear minor electronic glitches that prevent the harvest cycle from initiating.
Related guides
- How Much Is Ice Maker Machine Cost and Price Ranges Explained
- How Much Is an Ice Maker Machine? Price Ranges Explained
Frequently Asked Questions
How long does it take to start making ice?
After you turn the machine on, it typically takes between 12 and 24 hours to begin producing a full bin of ice. The unit must reach a specific temperature threshold before the harvest cycle triggers. Don’t be alarmed if you hear no noise for the first few hours, as the system is simply cooling the mold to the required freezing point.
Why does my ice taste strange?
Strange-tasting ice is usually caused by an old or expired water filter that has stopped trapping contaminants. If your refrigerator uses a charcoal-based filter, it needs replacement every six months. Additionally, ensure your freezer is clean and free of strong-smelling foods, as ice cubes can absorb odors from the surrounding air if they aren’t stored in a sealed bin.
Can I manually trigger the harvest cycle?
Yes, most models allow you to initiate a manual harvest. Look for a small button on the side of the ice maker assembly or a specific button on the digital control panel. Pressing this will force the motor to rotate the tray and eject the current ice cubes. This is an excellent way to test if the motor and heating element are working correctly.
What should I do if the line is frozen?
If you suspect the water fill tube is frozen, unplug the refrigerator and use a hair dryer to carefully melt the ice inside the tube. Be cautious not to melt the plastic components of the ice maker. Once the tube is clear, verify that your freezer temperature is set correctly, as a freezer that’s too warm often causes the fill tube to freeze over repeatedly.
Is the wire arm supposed to be up or down?
For almost all standard refrigerators, the wire arm must be in the “down” position to produce ice. When the arm is in the “up” position, it acts as a mechanical shut-off, signaling to the appliance that the bin is full. If you have accidentally pushed the arm up, the ice maker will stop production immediately until you lower it again.
Warning: Never use sharp metal tools like knives or screwdrivers to chip away ice inside the mold or around the water line, as this can puncture the plastic tubing or damage the evaporator coils, leading to expensive repairs. If you encounter a stubborn block of ice, rely on warm water or gentle heat from a hair dryer to loosen the obstruction safely without risking damage to the internal cooling components.
To get your ice machine running again, start by checking the position of the wire shut-off arm inside your freezer, then verify that your water supply valve is fully open. If the unit remains inactive after confirming these physical connections, perform a power cycle by unplugging the unit for one minute. If production doesn’t resume within 24 hours, consult your owner’s manual for specific diagnostic codes.