
Using an ice maker effectively involves understanding the connection to your water supply, the cycle timing, and the importance of regular maintenance to ensure your cubes remain clear and odor-free. Whether you have a built-in unit inside your freezer or a portable countertop appliance, the core mechanics rely on a consistent water flow and a freezing element that triggers the harvest cycle. By managing your settings and cleaning the internal components, you can ensure a steady supply of ice for your beverages and kitchen needs.
Key Takeaways
- Ensure your water line is properly connected and free of kinks to prevent internal damage.
- Discard the first two to three batches of ice to flush out manufacturing dust or stagnant water.
- Clean the reservoir and ice bin every three to six months to prevent mineral buildup and mold.
- Use filtered water whenever possible to improve the taste and clarity of your ice cubes.
- Verify your freezer temperature is set between zero and five degrees Fahrenheit for optimal production.
How to use a ice maker
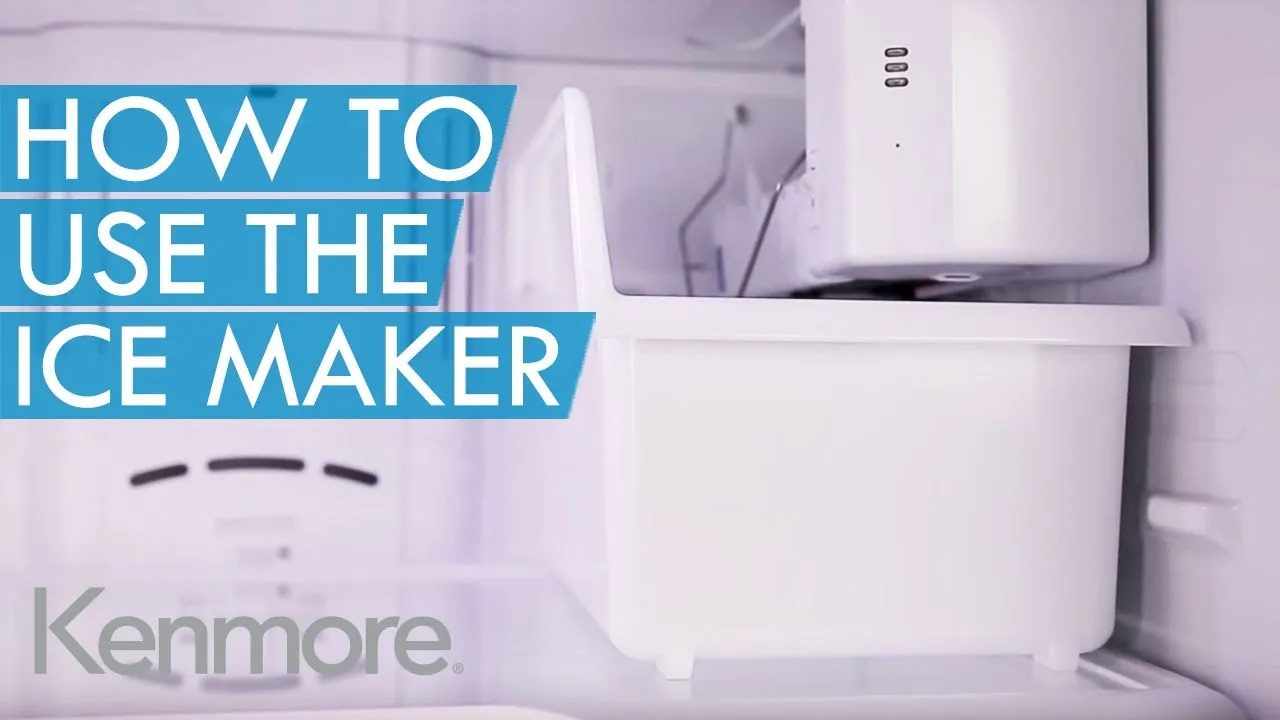
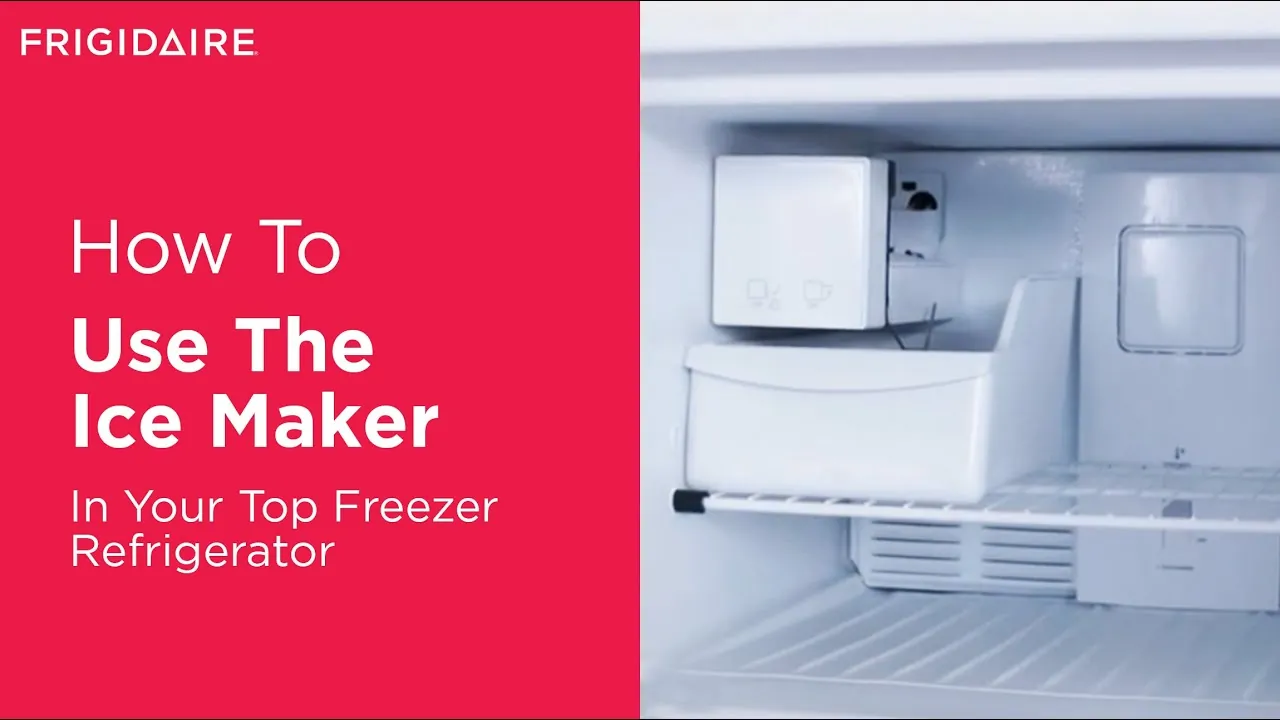
To start using a built-in ice maker, you must first verify that the water supply line is fully open and the wire shut-off arm is in the “on” or downward position. For portable units, fill the reservoir to the indicated fill line with fresh, cold water.
Once powered on, the machine will begin the cooling process. The first batch may take longer to produce as the system needs to reach the required sub-zero temperatures. Always ensure the ice bin is correctly seated, as many models feature a safety switch that halts production if the bin is missing or pushed out of place.
Maintenance and cleaning schedule
Regular upkeep is essential to prevent the accumulation of scale and bacteria. You should perform a deep clean if you notice cloudy ice or an unpleasant odor.
| Task | Frequency | Purpose |
|---|---|---|
| Wipe down bin | Monthly | Remove debris and stuck cubes |
| Descale reservoir | Every 3 months | Eliminate hard water deposits |
| Sanitize lines | Every 6 months | Prevent mold and bacterial growth |
| Inspect water filter | Every 6 months | Maintain water quality and flow |
Warning: Always unplug your unit before using any chemical cleaning agents to avoid electrical shock or accidental ingestion of concentrated detergents.
Troubleshooting common ice issues
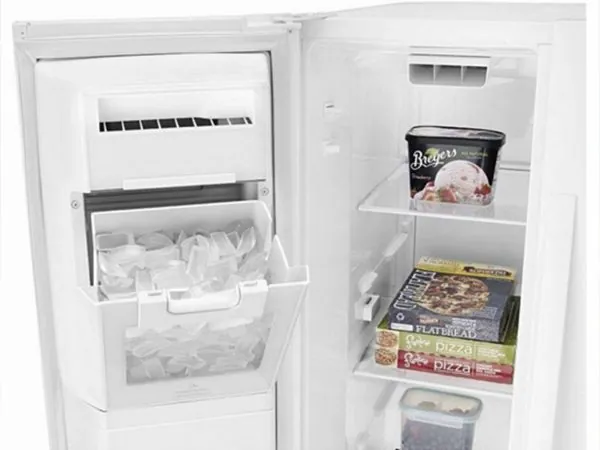
If your ice maker stops producing, check for common mechanical obstructions first. A jammed ejector arm is the most frequent culprit for halted production. If the machine runs but produces no ice, ensure the water inlet valve hasn’t frozen over due to low freezer temperatures.
- Frozen water line: Use a hair dryer on a low setting to gently thaw the supply tube.
- Sensor misalignment: Ensure the ice-level sensor isn’t blocked by a stray piece of ice.
- Water filter clog: Replace the filter if you notice a significant drop in production speed.
- Low water pressure: Confirm your home water pressure meets the manufacturer’s minimum requirement.
Selecting the right water source
The quality of your ice is directly tied to the quality of your water. Hard water contains minerals that can cause white flakes in your cubes and build up scale inside your machine’s pump. Using a dedicated water filtration system is highly recommended to extend the lifespan of your appliance. According to the Environmental Protection Agency drinking water guidelines, managing mineral content is vital for both taste and equipment longevity.
Understanding ice production cycles
Every ice maker follows a specific sequence: filling, freezing, harvesting, and sensing. The fill phase introduces water into the mold. The freezing phase uses a refrigerant to drop the temperature until the water solidifies. During the harvest phase, a heating element warms the mold slightly to release the cubes, which are then pushed into the bin by an ejector arm. Finally, the sensor detects the ice level and determines if the cycle should repeat or pause.
| Cycle Phase | Duration | Function |
|---|---|---|
| Water Fill | 10–30 seconds | Replenishes the mold |
| Freezing | 30–60 minutes | Solidifies the water |
| Harvesting | 2–5 minutes | Ejects ice into bin |
| Standby | Indefinite | Pauses until bin clears |
How do you improve ice clarity?
Clear ice requires the removal of trapped air and minerals. You can achieve this by using distilled water or by ensuring the water is boiled and cooled before filling the reservoir. Slow freezing also helps, as it allows air bubbles to escape before the water becomes solid. If your machine is a built-in model, ensure that no warm air is entering the freezer, as temperature fluctuations cause cloudy, uneven ice.
Frequently Asked Questions
Why is my ice maker making loud noises?
Loud noises usually indicate that the ejector arm is hitting an obstruction or that the water inlet valve is struggling to open. It could also mean that the unit isn’t perfectly level. Check that the ice bin is pushed all the way in and use a level tool to ensure the appliance is balanced on your floor or countertop.
How often should I change the filter?
Most manufacturers recommend replacing your water filter every six months. If your home has hard water or you notice the ice taste changing, you may need to replace it more frequently. A clogged filter restricts flow, which puts unnecessary strain on the internal pump and can lead to smaller, misshapen ice cubes that are prone to sticking together in the bin.
Can I use vinegar to clean it?
Yes, a solution of white vinegar and water is an excellent, natural way to descale your ice maker. Mix one part vinegar with two parts water and run it through the cleaning cycle. Always follow this with at least two cycles of fresh, plain water to ensure no vinegar residue remains. This acidic cleaning solution effectively breaks down mineral deposits without damaging the plastic components.
What causes ice to taste bad?
Bad-tasting ice is almost always caused by odors migrating from food stored in your freezer. If you keep uncovered items like onions or fish nearby, the ice will absorb those smells. Ensure all food is stored in airtight containers and consider placing a box of baking soda in the freezer to neutralize odors. If the problem persists, perform a thorough cleaning of the ice bin.
Is it normal for ice to clump?
Minor clumping is normal if the ice sits for a long time, as the surface of the cubes melts and refreezes. However, if the ice forms a solid block, your freezer temperature might be too high, or the humidity levels inside the unit are excessive. Ensure the door seal is tight and avoid leaving the freezer door open for extended periods, as this introduces warm, moist air.
Conclusion
Properly managing your ice maker will provide years of reliable service and refreshing drinks. If you encounter persistent mechanical failures despite troubleshooting, consult your owner’s manual to identify the specific part numbers needed for professional repair. Always prioritize safety by keeping electrical components dry and following the manufacturer’s recommended maintenance schedule to keep your machine running at its peak efficiency.
Pingback: How to Get Ice Maker to Make Ice: 5 Proven Troubleshooting