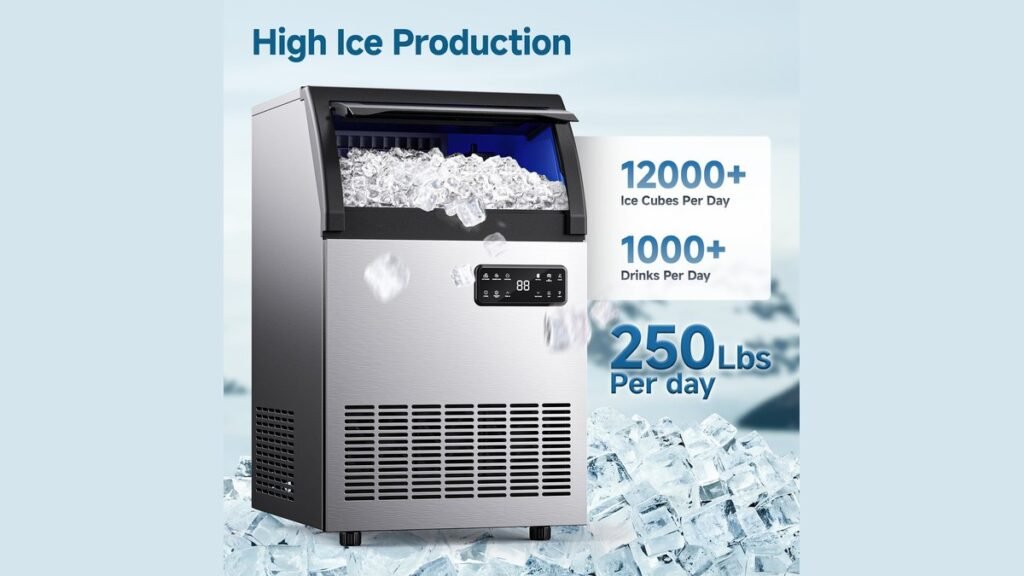
Using an ice machine involves a consistent cycle of preparation, operation, and sanitation to ensure you have a reliable supply of clean, frozen water. Whether you’re managing a countertop unit in a home kitchen or a large-scale commercial bin, the fundamental mechanics of water intake, freezing, and harvesting remain the same. By understanding the specific requirements of your model, you can prevent mechanical failures and ensure the ice produced is safe for human consumption.
Key Takeaways
- Always use filtered, potable water to prevent scale buildup and mineral deposits inside the internal components.
- Allow the unit to sit upright for at least twelve hours after transport before plugging it into a power source.
- Clean the interior surfaces and storage bin regularly using mild, food-safe sanitizing solutions to prevent bacterial growth.
- Ensure proper ventilation around the machine to prevent overheating and maintain consistent ice production speeds.
- Monitor the water inlet valve and drainage lines to prevent leaks or clogs that could damage the motor.
How to Use Ice Machine Equipment
Operating your machine starts with proper placement on a flat, stable surface. Ensure the unit has at least six inches of clearance on all sides to allow for adequate airflow. Once positioned, connect the water supply line if your model isn’t a manual-fill version.
Plug the unit into a grounded electrical outlet and power it on. Most machines will run a brief diagnostic cycle before the pump begins drawing water into the freezing tray. The ice cycle typically takes between 10 and 20 minutes depending on the ambient temperature.
| Component | Function | Maintenance Frequency |
|---|---|---|
| Water Filter | Removes sediment | Every 6 months |
| Evaporator Plate | Forms ice cubes | Monthly |
| Drain Line | Removes excess water | Quarterly |
| Storage Bin | Holds finished ice | Weekly |
Preparing for First Use
Before the first cycle, run a cleaning cycle using a mixture of water and a manufacturer-recommended descaling solution. This removes any manufacturing residue or dust from the internal tubing. Once the cycle finishes, discard the first two or three batches of ice produced. This ensures any remaining cleaning solution is fully flushed from the system, keeping the ice taste neutral. Initial rinse cycles are critical for long-term flavor quality.
Regular Maintenance Steps
Routine care prevents the most common mechanical issues. Every month, inspect the condenser coils for dust buildup, as blocked coils force the compressor to work harder, increasing energy consumption. Clean these coils with a soft brush or vacuum attachment. Additionally, check the water level sensors to ensure they’re free of mineral deposits. According to the FDA Food Code, maintaining a clean, sanitized environment for ice production is essential to prevent the contamination of ice intended for human consumption.
Troubleshooting Common Operational Issues
If your machine stops producing ice, check the water supply line first. A kinked hose or a closed valve is the most frequent cause of production failure. If the machine is running but not dropping ice, the sensor may be blocked or the evaporator plate might need a deep cleaning to remove scale. Mineral scale buildup often causes the internal parts to stick, preventing a successful harvest cycle.
| Problem | Likely Cause | Suggested Action |
|---|---|---|
| No ice produced | Water line blocked | Check shut-off valve |
| Small, cloudy cubes | Impure water supply | Install water filter |
| Machine is noisy | Uneven surface level | Adjust leveling feet |
| Ice melts quickly | Poor bin insulation | Check door gasket |
How to Clean Your Machine
Pro Tip: Always disconnect the power supply before performing deep internal cleaning to avoid electrical hazards.
To clean the unit, empty the storage bin completely. Use a soft cloth dampened with a solution of warm water and mild dish soap to wipe down the interior walls. Avoid abrasive sponges that can scratch the plastic lining, as scratches provide a surface for bacteria to colonize.
If your model includes a removable ice scoop, wash it in a dishwasher or soak it in a sanitizing solution. Rinse all surfaces thoroughly with clean water to ensure no soap residue remains. Sanitization protocols should be strictly followed to ensure food safety.
Understanding Ice Production Modes
Most modern units offer different size settings. The small setting is ideal for cooling drinks quickly due to the increased surface area, while the large setting is better for long-term cooling in insulated containers. Some machines include a timer function, which allows you to program production during off-peak energy hours. Be aware that running the machine in high ambient temperatures will naturally slow down the harvest cycle duration, as the unit struggles to dissipate heat from the condenser.
Managing the Storage Bin
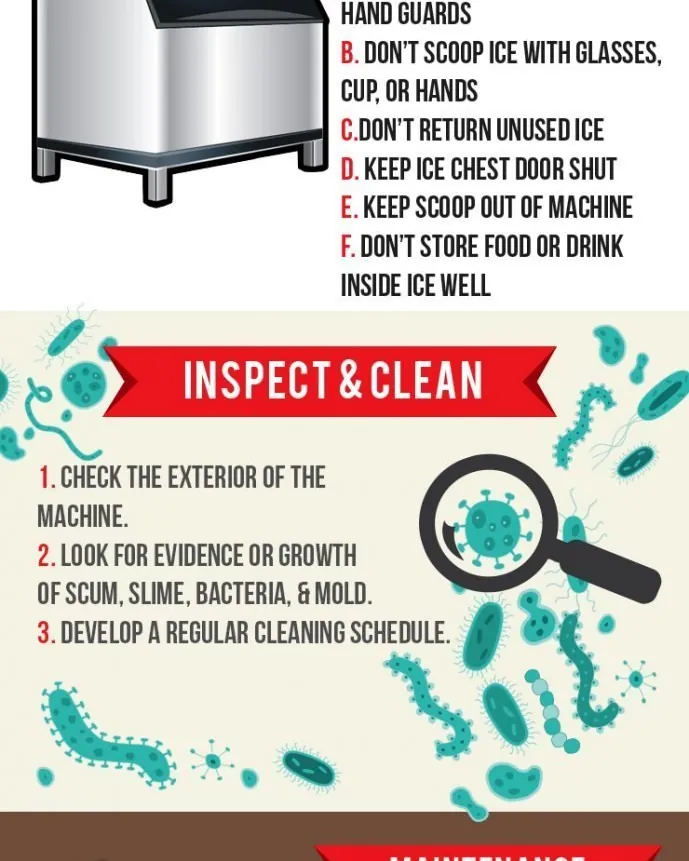
The storage bin isn’t a freezer; it’s an insulated container. Most units will automatically stop production once the bin is full, detected by a physical sensor or an infrared beam. If you notice ice clumping together, it’s usually a sign that the bin is too warm or the ice is being left in the bin for too long.
Break up large clumps with a plastic ice scoop rather than metal tools, which can chip the interior finish. Regularly emptying the bin helps ensure the ice remains fresh and free from odors absorbed from the surrounding environment.
Related guides
- How to Work an Ice Machine: Step-by-Step Operation Guide
- How to Work a Ice Machine: Simple Steps for Proper Operation
- How to Open Ice Machine: Step-by-Step Access Guide
Frequently Asked Questions
Why is my ice cloudy?
Cloudy ice is typically caused by trapped air bubbles or dissolved minerals in your water source. As the water freezes, these impurities are pushed toward the center of the cube. Using a high-quality water filtration system can remove these minerals and improve the clarity of your ice, though it won’t eliminate all air bubbles.
How often should I sanitize?
You should perform a full sanitization of your ice machine at least every three to six months. If your machine is located in a high-traffic area or a kitchen with significant grease, you may need to increase this frequency to ensure the internal components remain free of biofilm and bacteria.
Can I use bottled water?
Yes, you can use bottled water in manual-fill machines. In fact, using distilled or filtered water is often preferred because it contains fewer minerals, which significantly slows the rate of scale buildup inside the machine. This extends the life of your pump and evaporator plate, reducing the frequency of required deep cleanings.
Why does my ice smell strange?
Ice is porous and can easily absorb odors from nearby food items in a refrigerator or freezer. If your machine is standalone, ensure the air intake isn’t near a trash can or a stove. Additionally, perform a thorough cleaning of the storage bin, as old, stagnant water or debris can create unpleasant smells.
Does the machine need a drain?
Most countertop models use a recirculating system, meaning they don’t require a permanent drain line. However, larger or built-in models often require a gravity drain or a dedicated pump to remove meltwater. Always consult your owner’s manual to determine if your specific unit requires a professional plumbing installation to handle drainage properly.
Conclusion
Proper upkeep ensures your machine remains a reliable kitchen asset. Always keep the exterior vents clear of debris to maintain optimal airflow, and never store chemicals or food items inside the ice bin. By following the cleaning schedule outlined in your manual and regularly checking the water supply, you’ll enjoy a consistent supply of fresh ice for many years to come.